Pizza on the grill… Quick. Easy and too good for words!

Grilled Pizza
Grilled Pizza

A friend and I were walking one morning and she was telling me about how they made grilled pizza… Grilled pizza? I had heard of it, but dough on a grill? Seems like a sticky nightmare. I’m here to tell you it is LIFE CHANGING! Seriously. It’s so quick and easy and you can change it up with different toppings! I found a website that gave direction on how to grill a pizza (SimplyRecipes.com) – I’m telling you… this is one you want to try! Check out the link I provided for details, but here is what I did:

HOW TO GRILL PIZZA

I bought pizza dough at the grocery store. Many stores now have it in their bakery section. You can also make it yourself, either way works!

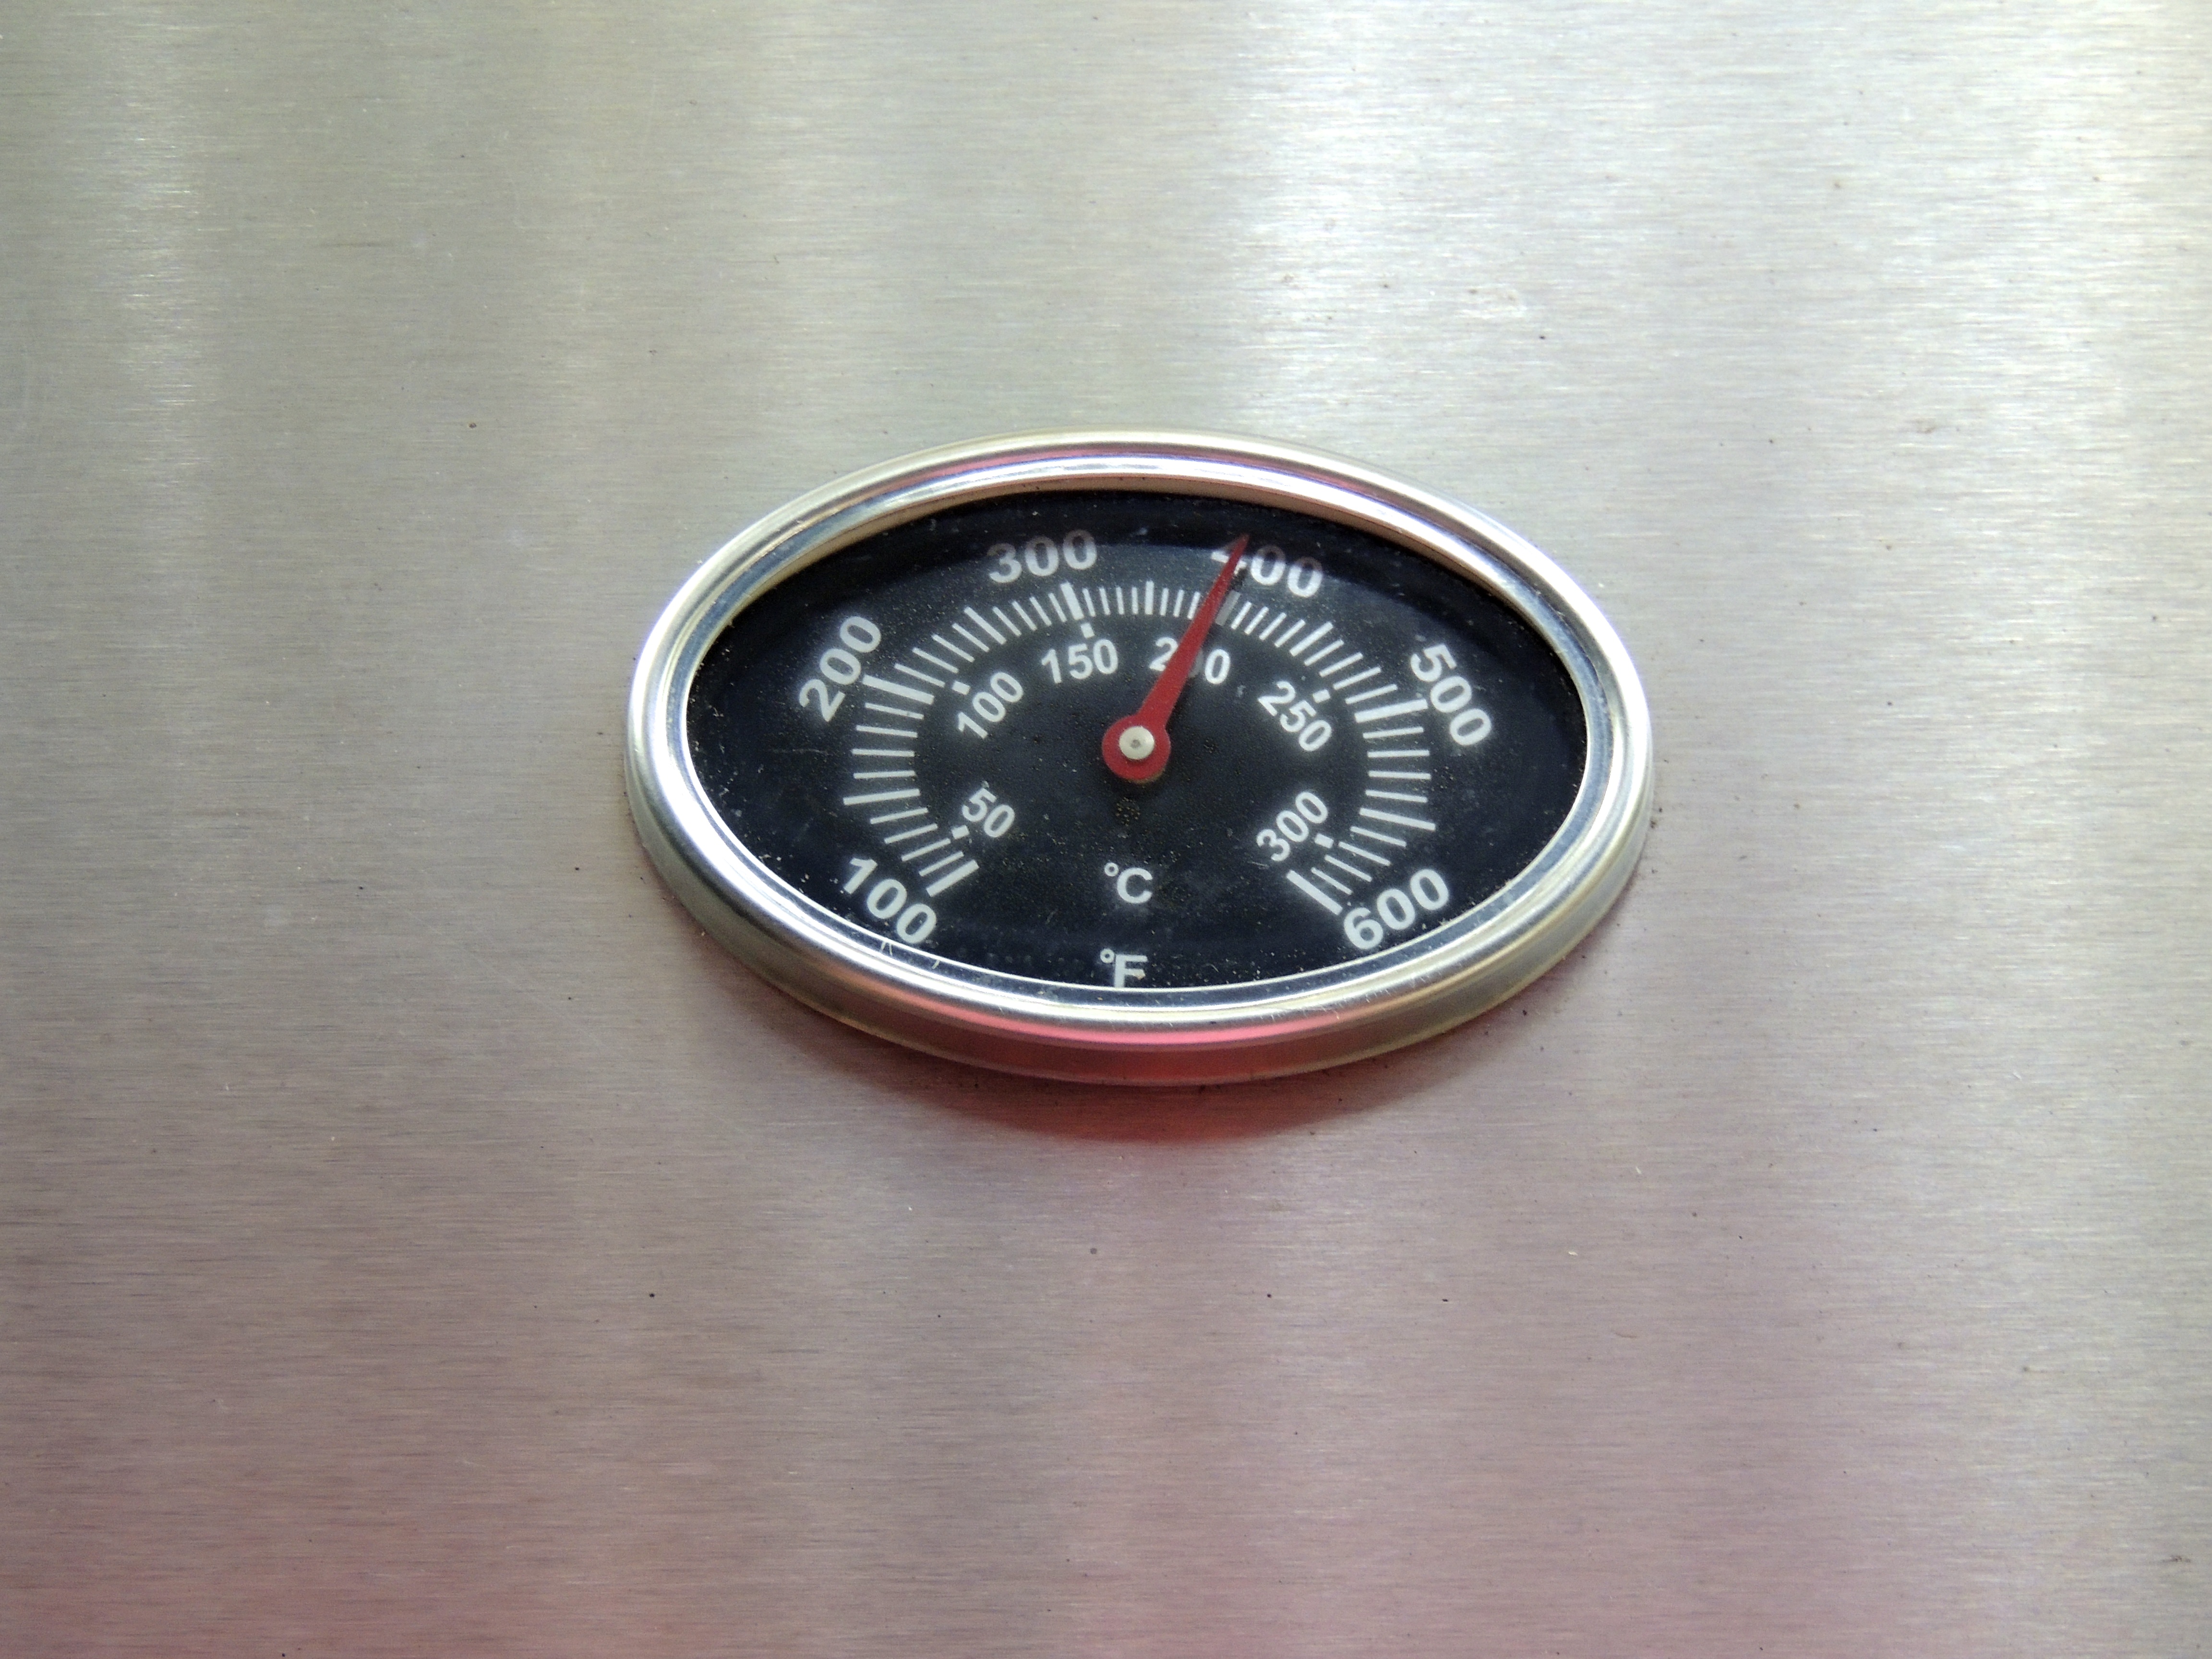
Turn your grill on high.

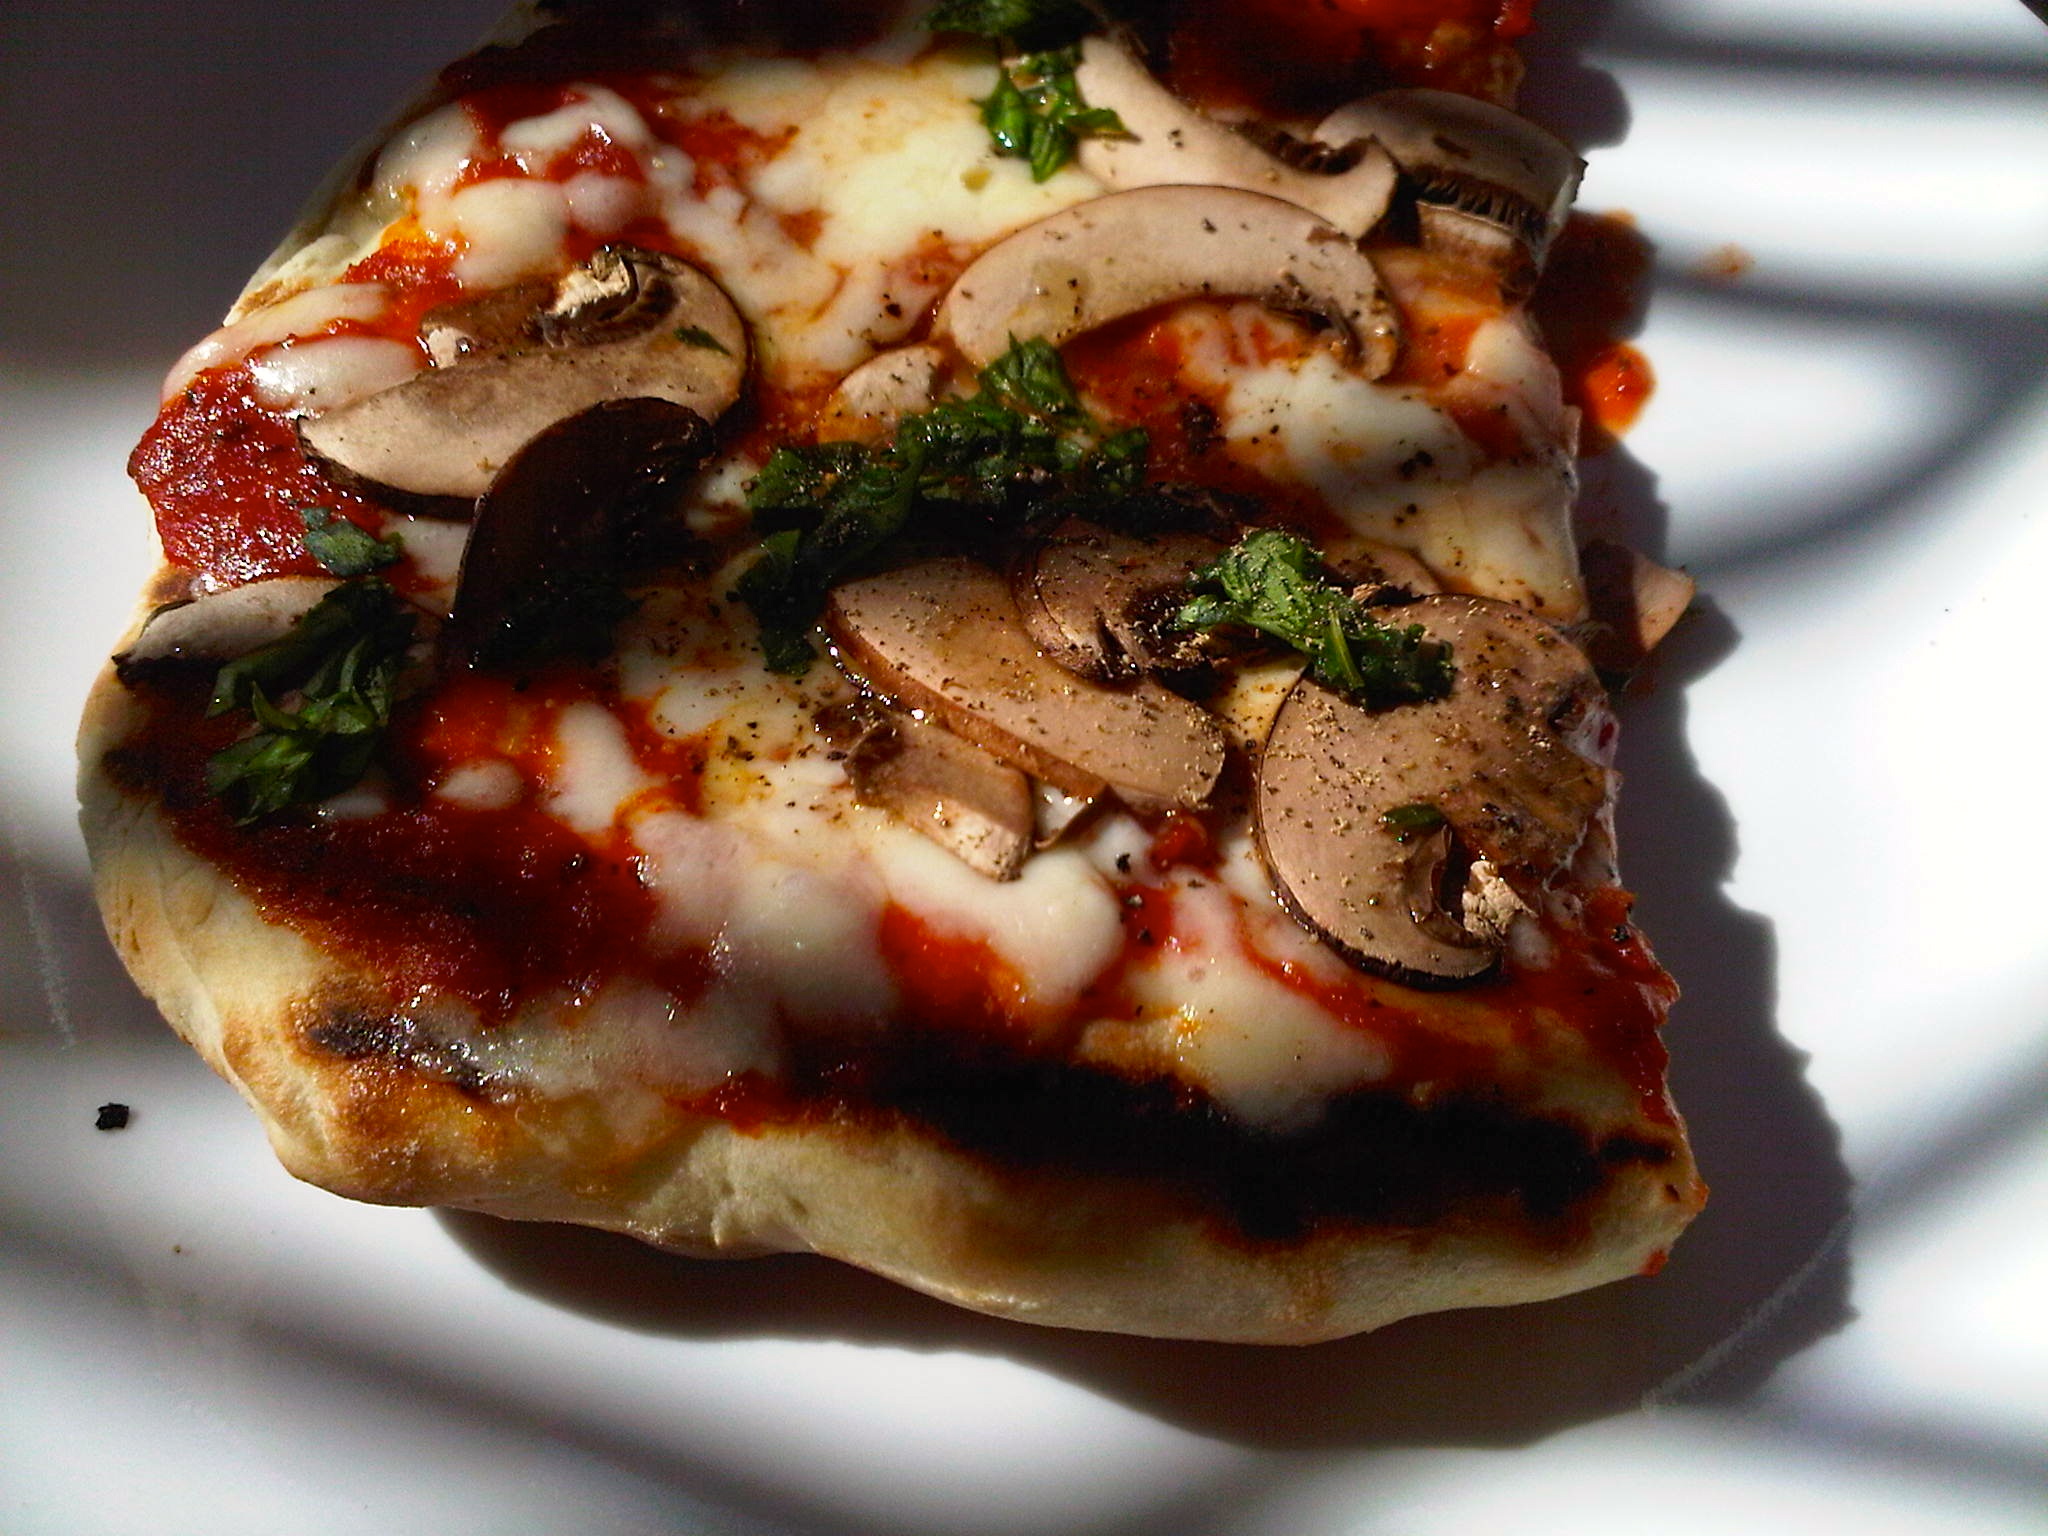
Get your toppings ready, because once the pizza comes off the grill you work swiftly to get it back on, so it’s important to have everything ready to use… The top pizza I used pizza sauce, cheese, fresh mushrooms* and fresh basil. I had posted this photo on Facebook and mentioned that it was beyond fabulous, but the mushrooms made it a little watery, and I received a comment back from a master pizza maker… the secret? Sauté the mushrooms first! Tada! That did the trick!! You can make it traditional with pizza sauce or step out of the box and try just olive oil, cheese, red onion and olives – that was nice too…

Ok… next step… let the dough sit in a olive oil coated (lightly) bowl with a clean towel over it for about 30 minutes.

DSCN2529

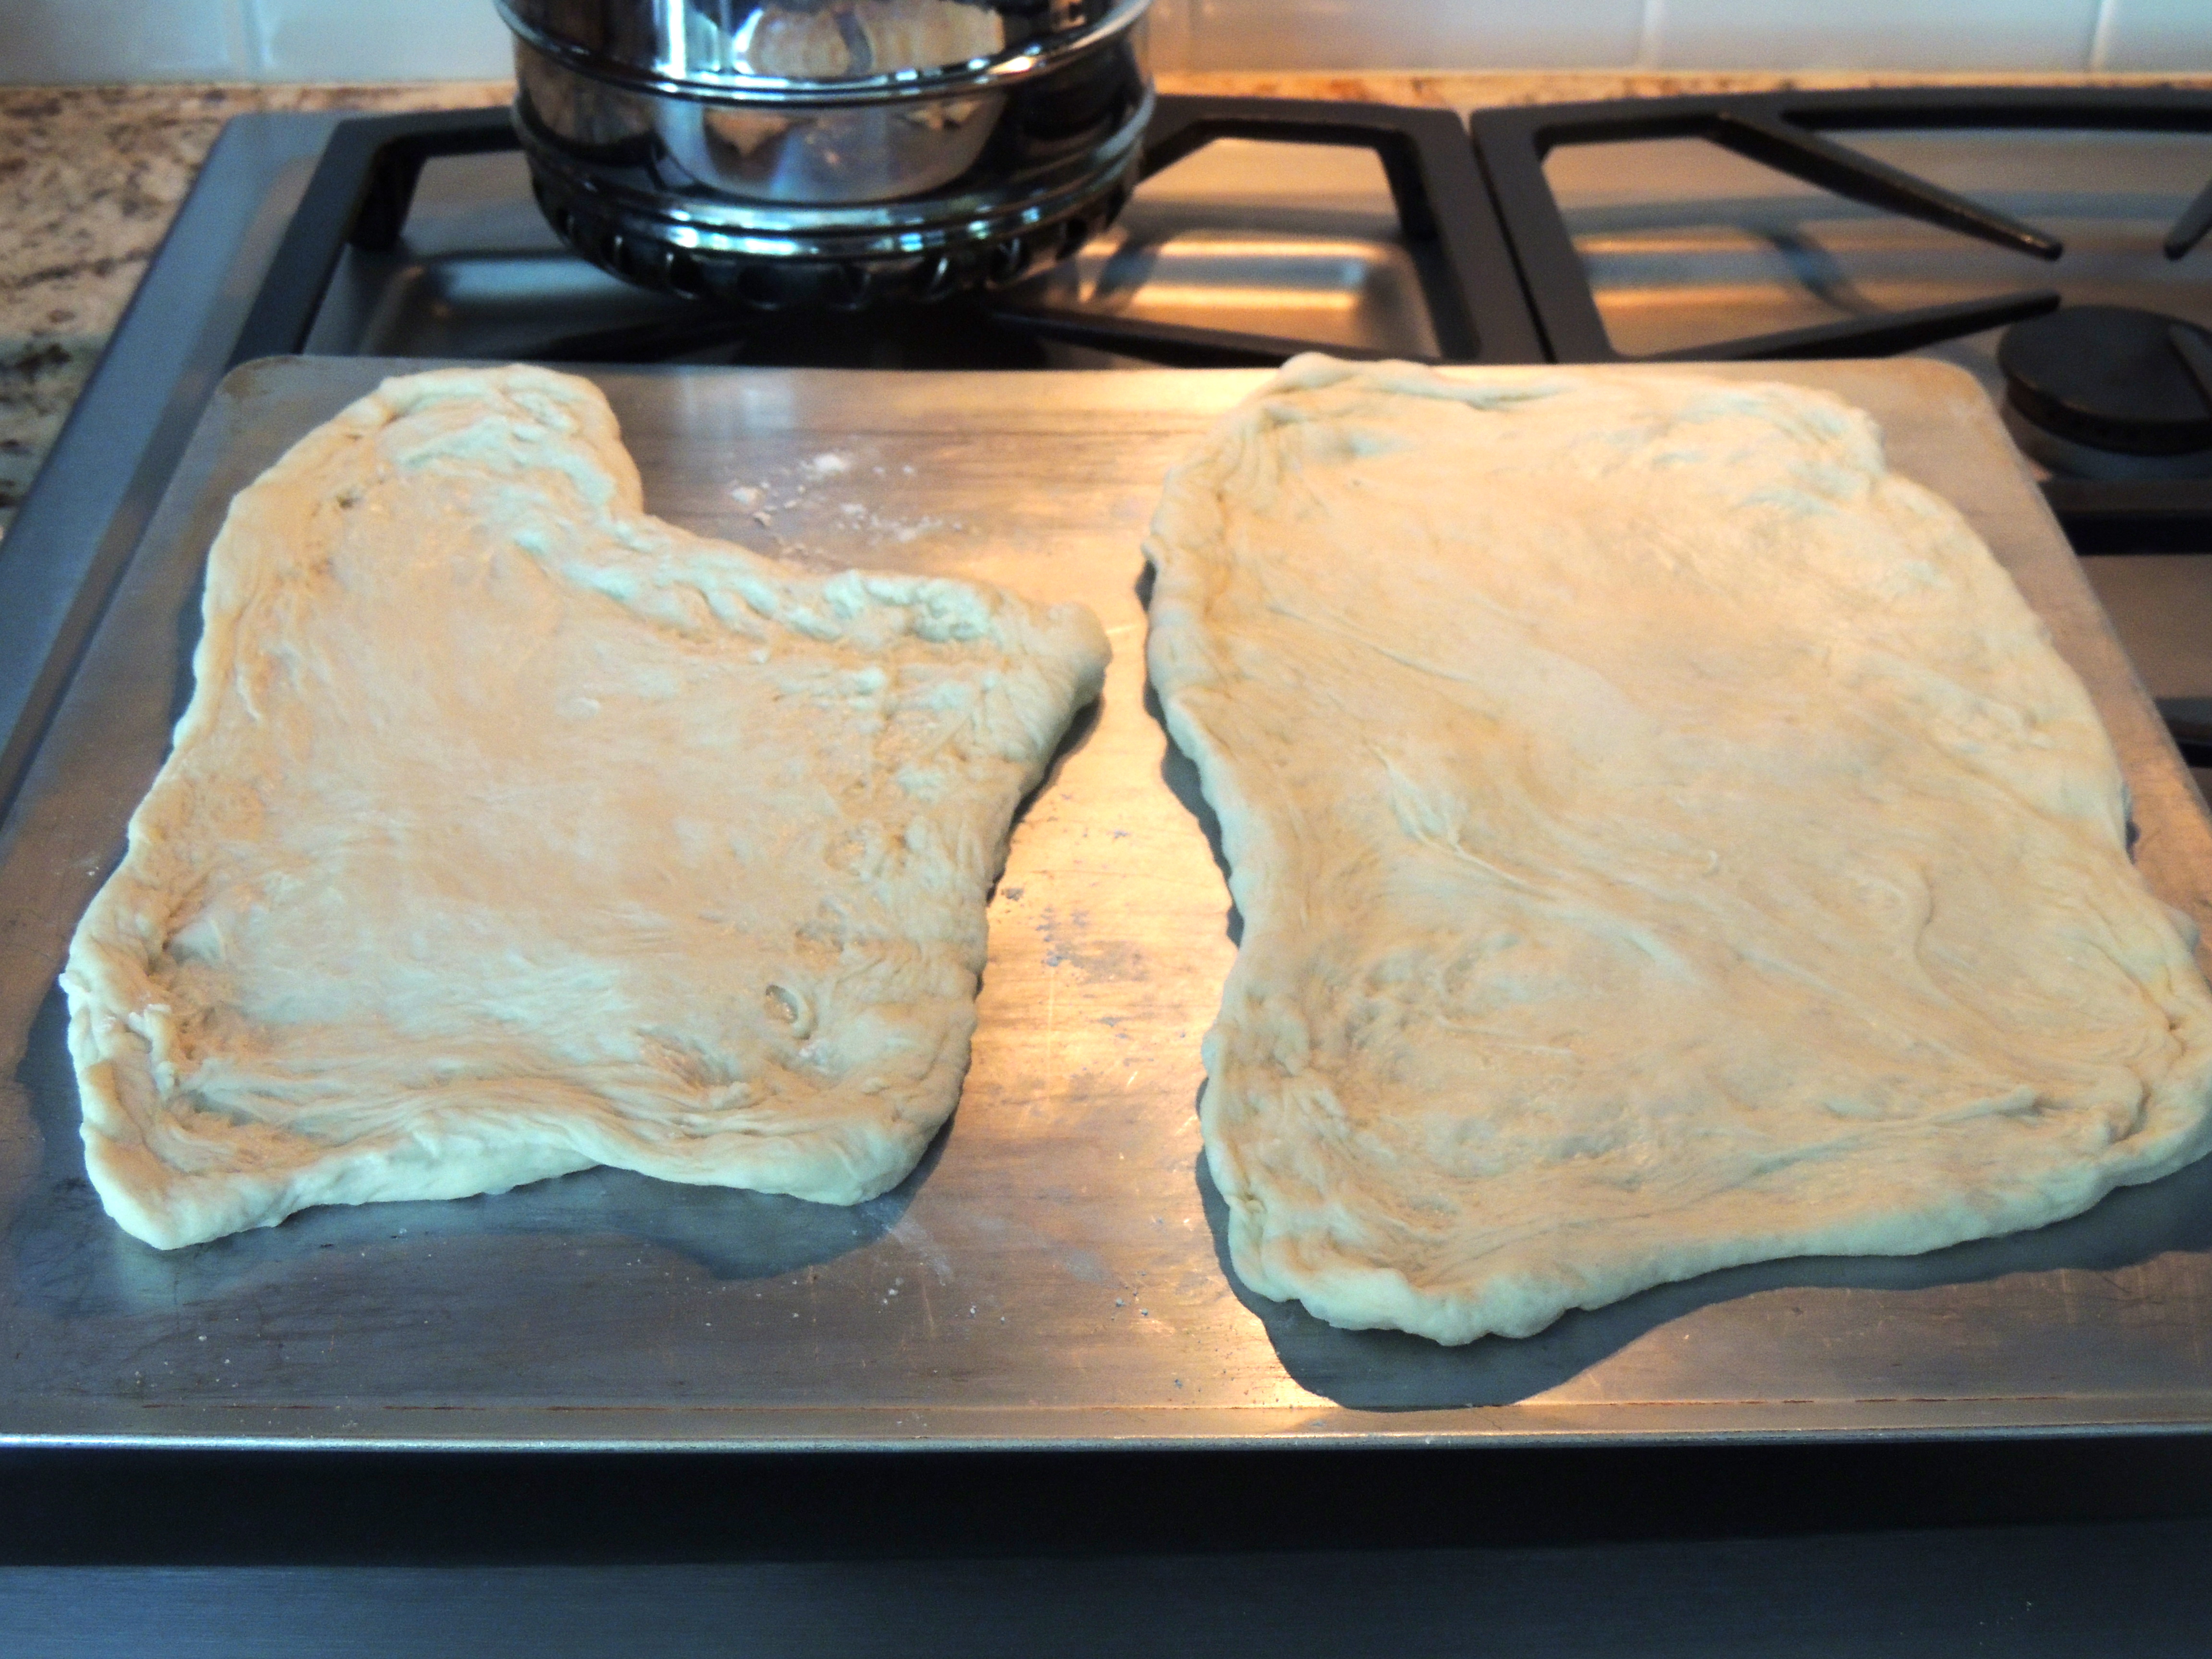
Then shape the dough, first by flattening with hands, then pick up and let it hang to stretch. I find this approach works best. You can use a light dusting of flour to keep it from sticking to the counter/your hands, etc. I cut the dough in half first and I make two pizzas with one package of pie dough, it seems easier to handle that way.

DSCN2532

Shape them how you like, they don’t have to be round… I like my funky shapes… Place them on a rimless baking sheet or an upside down cookie sheet. If the dough seems sticky, dust with a little cornmeal or flour…

DSCN2535

Once the grill is hot, oil the grates with olive oil. We used paper towels dipped in olive oil and used tongs…

DSCN2536

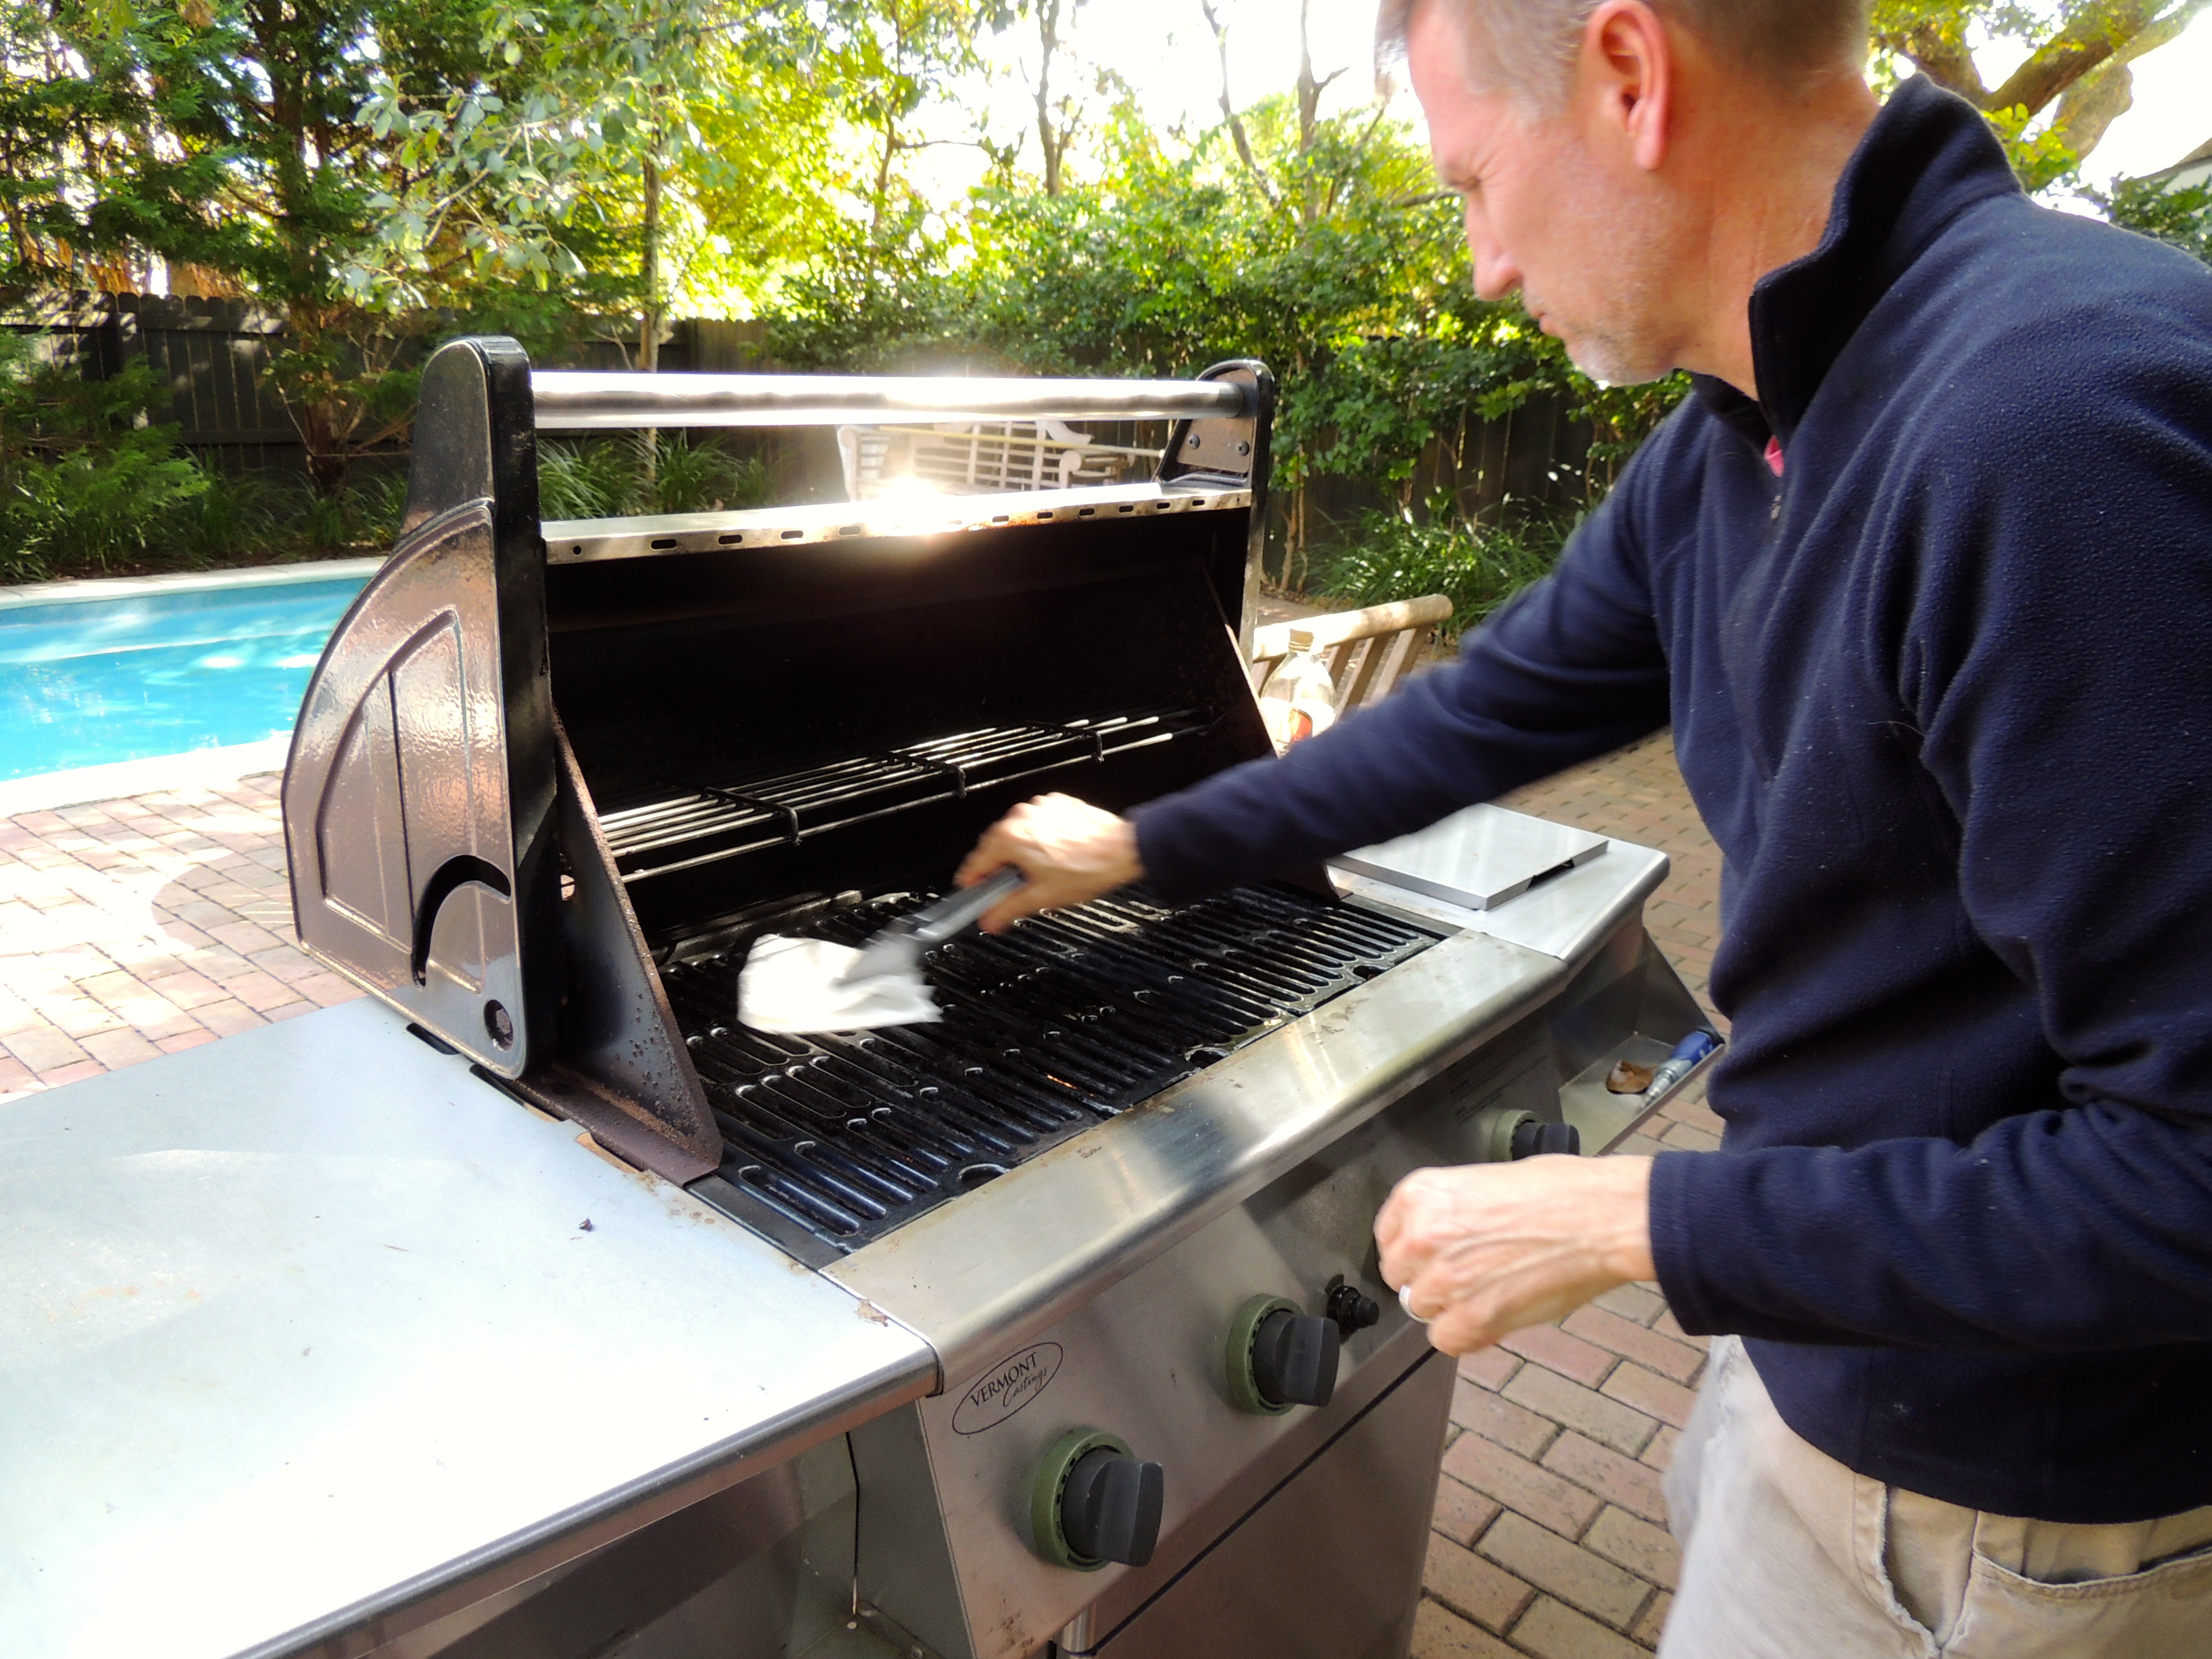
Slide the crust on to the grill (or sometimes it’s easier to pick it up and plop it on the grill, whatever works for you)…

DSCN2539

Then IMMEDIATELY CLOSE THE GRILL… cook approximately 2 minutes, check it if you smell burning. It’s ok for the crust to get charred a bit. You can check it part way through to see if its browning evenly, if not rotate it a bit if you can. Ours has never taken more than 2 minutes.

DSCN2550

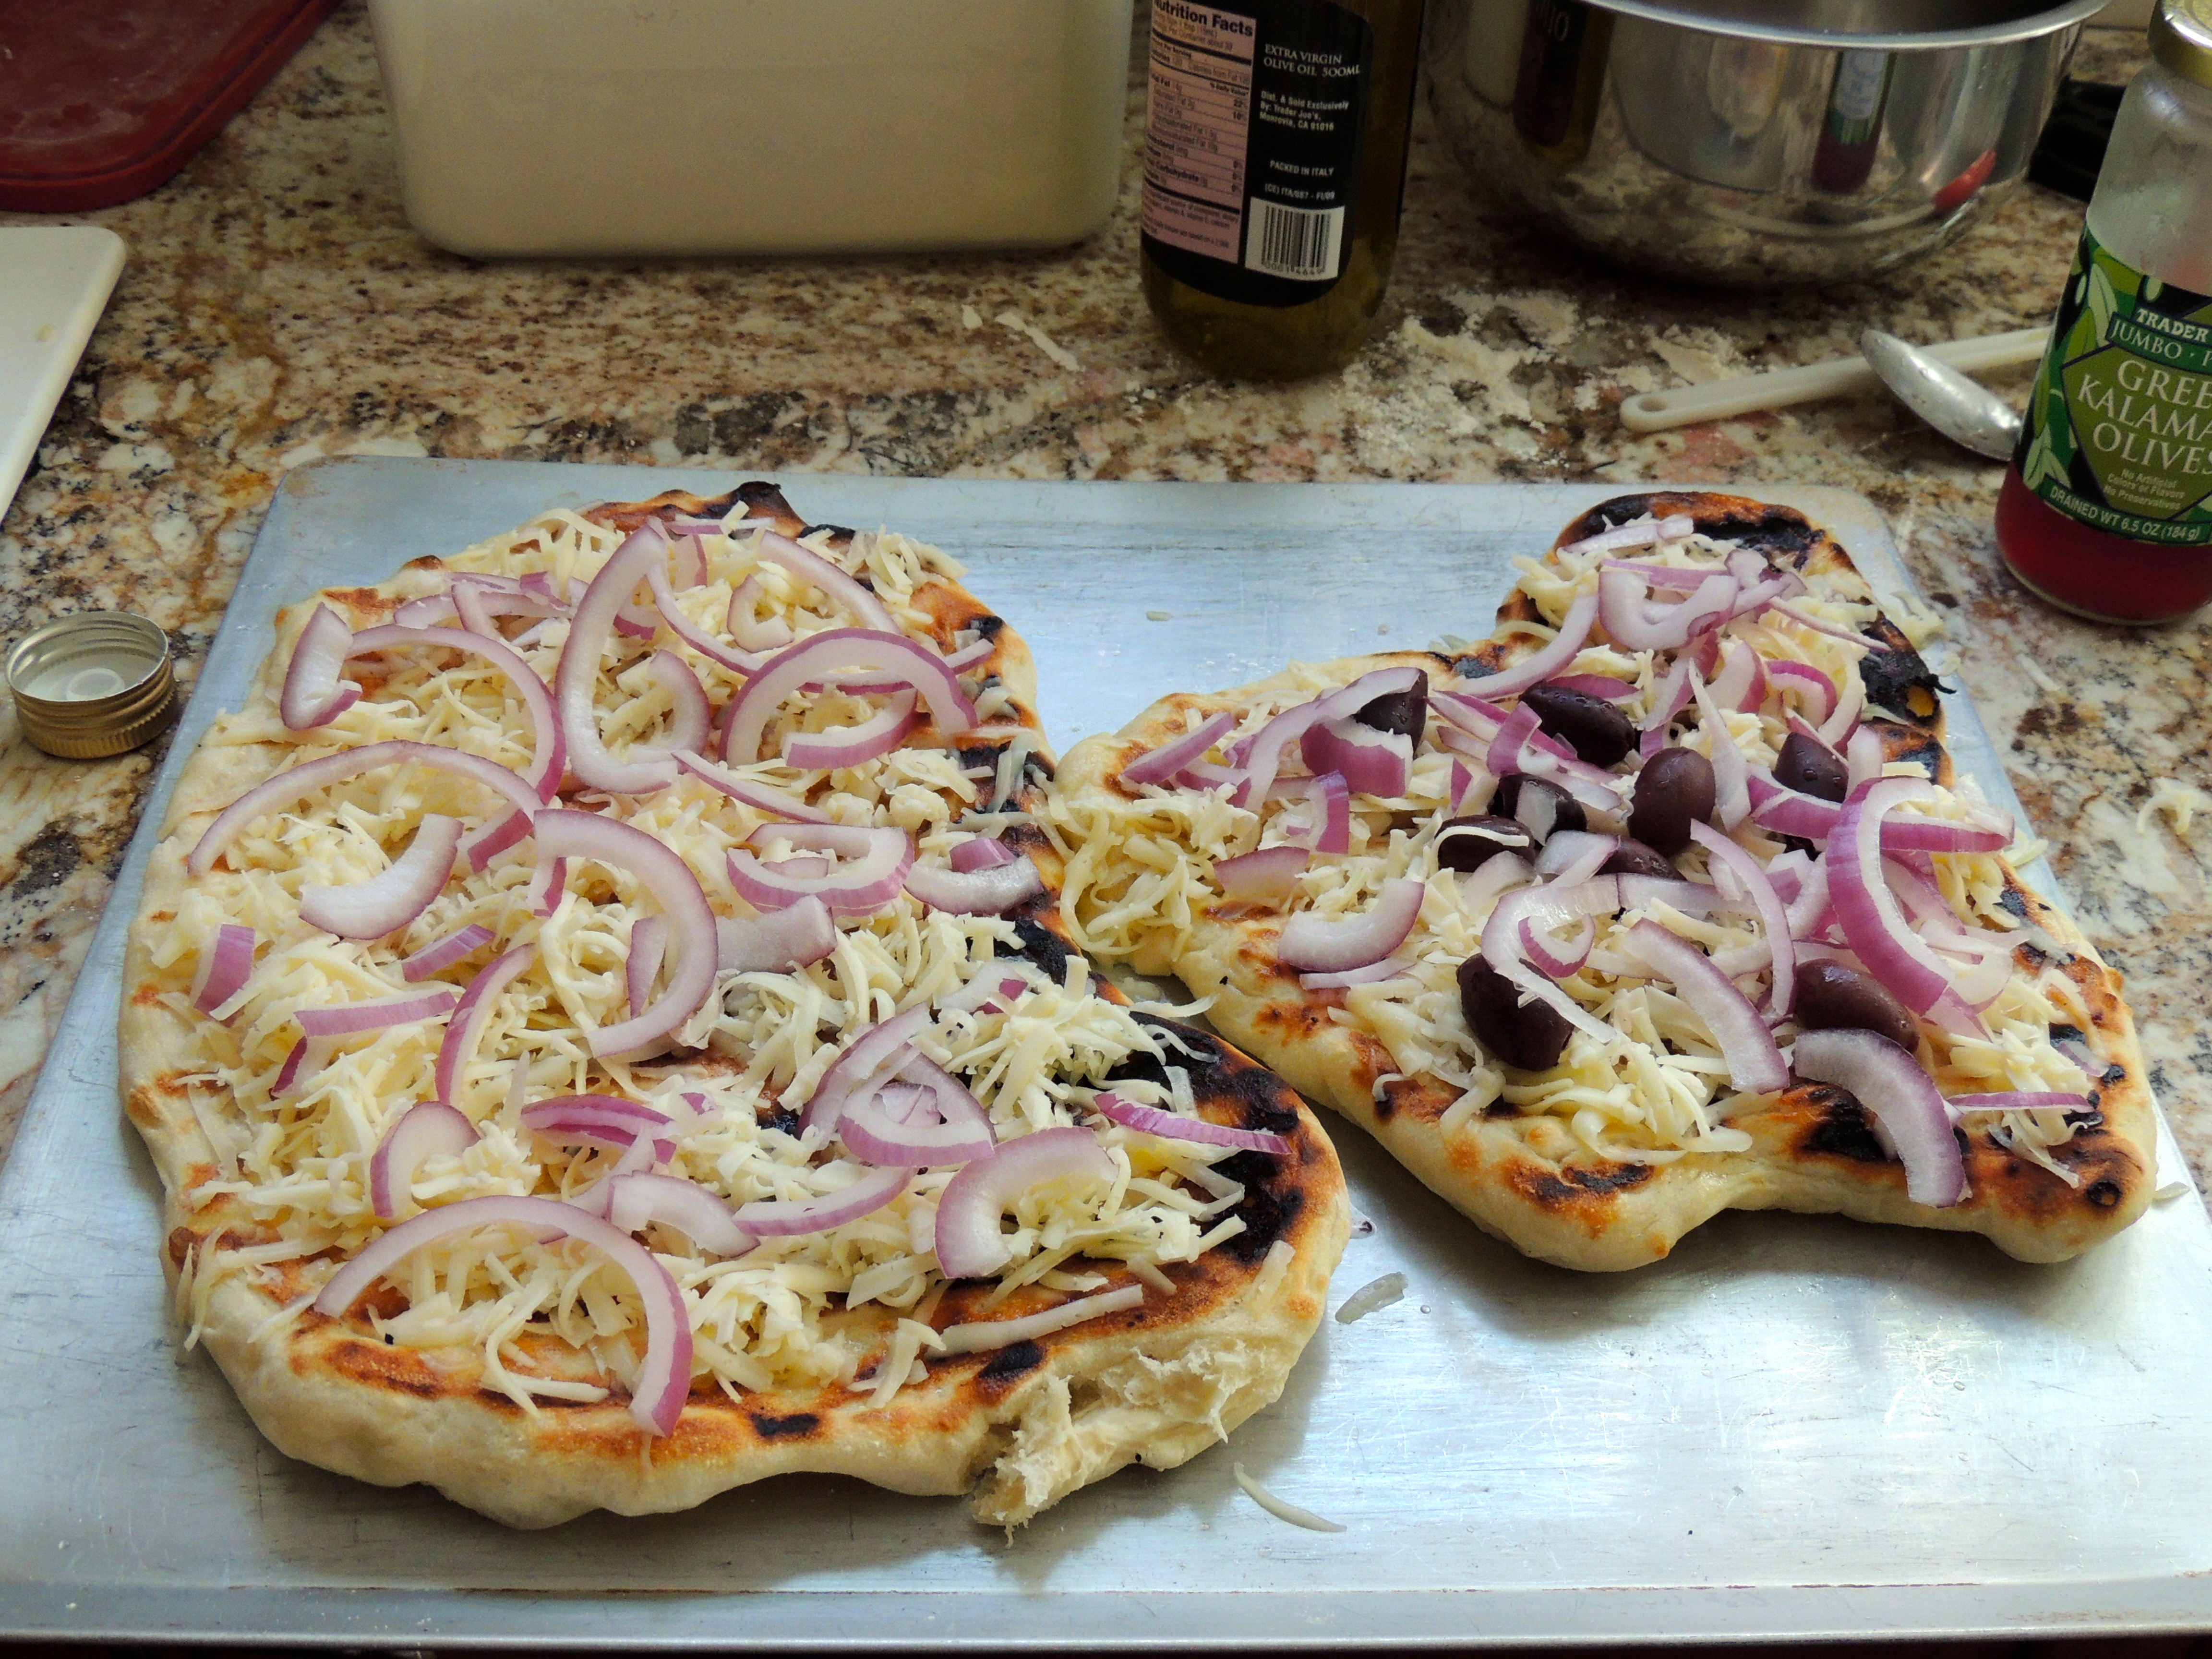
Now remove the dough from the grill, and place on the rimless baking sheet COOKED SIDE UP.

DSCN2540

DSCN2542

Make a mad dash to wherever your toppings are located, hopefully nearby… place the toppings on the cooked side of the dough. Add sauce or olive oil, then cheese, veggies, meat, but go lightly on top or it will be soggy and heavy. This one was made with olive oil instead of sauce, asiago cheese (Trader Joe’s!), red onion (next time I would sauté first) and olives.

DSCN2545

Time to get it back on the grill!

DSCN2549

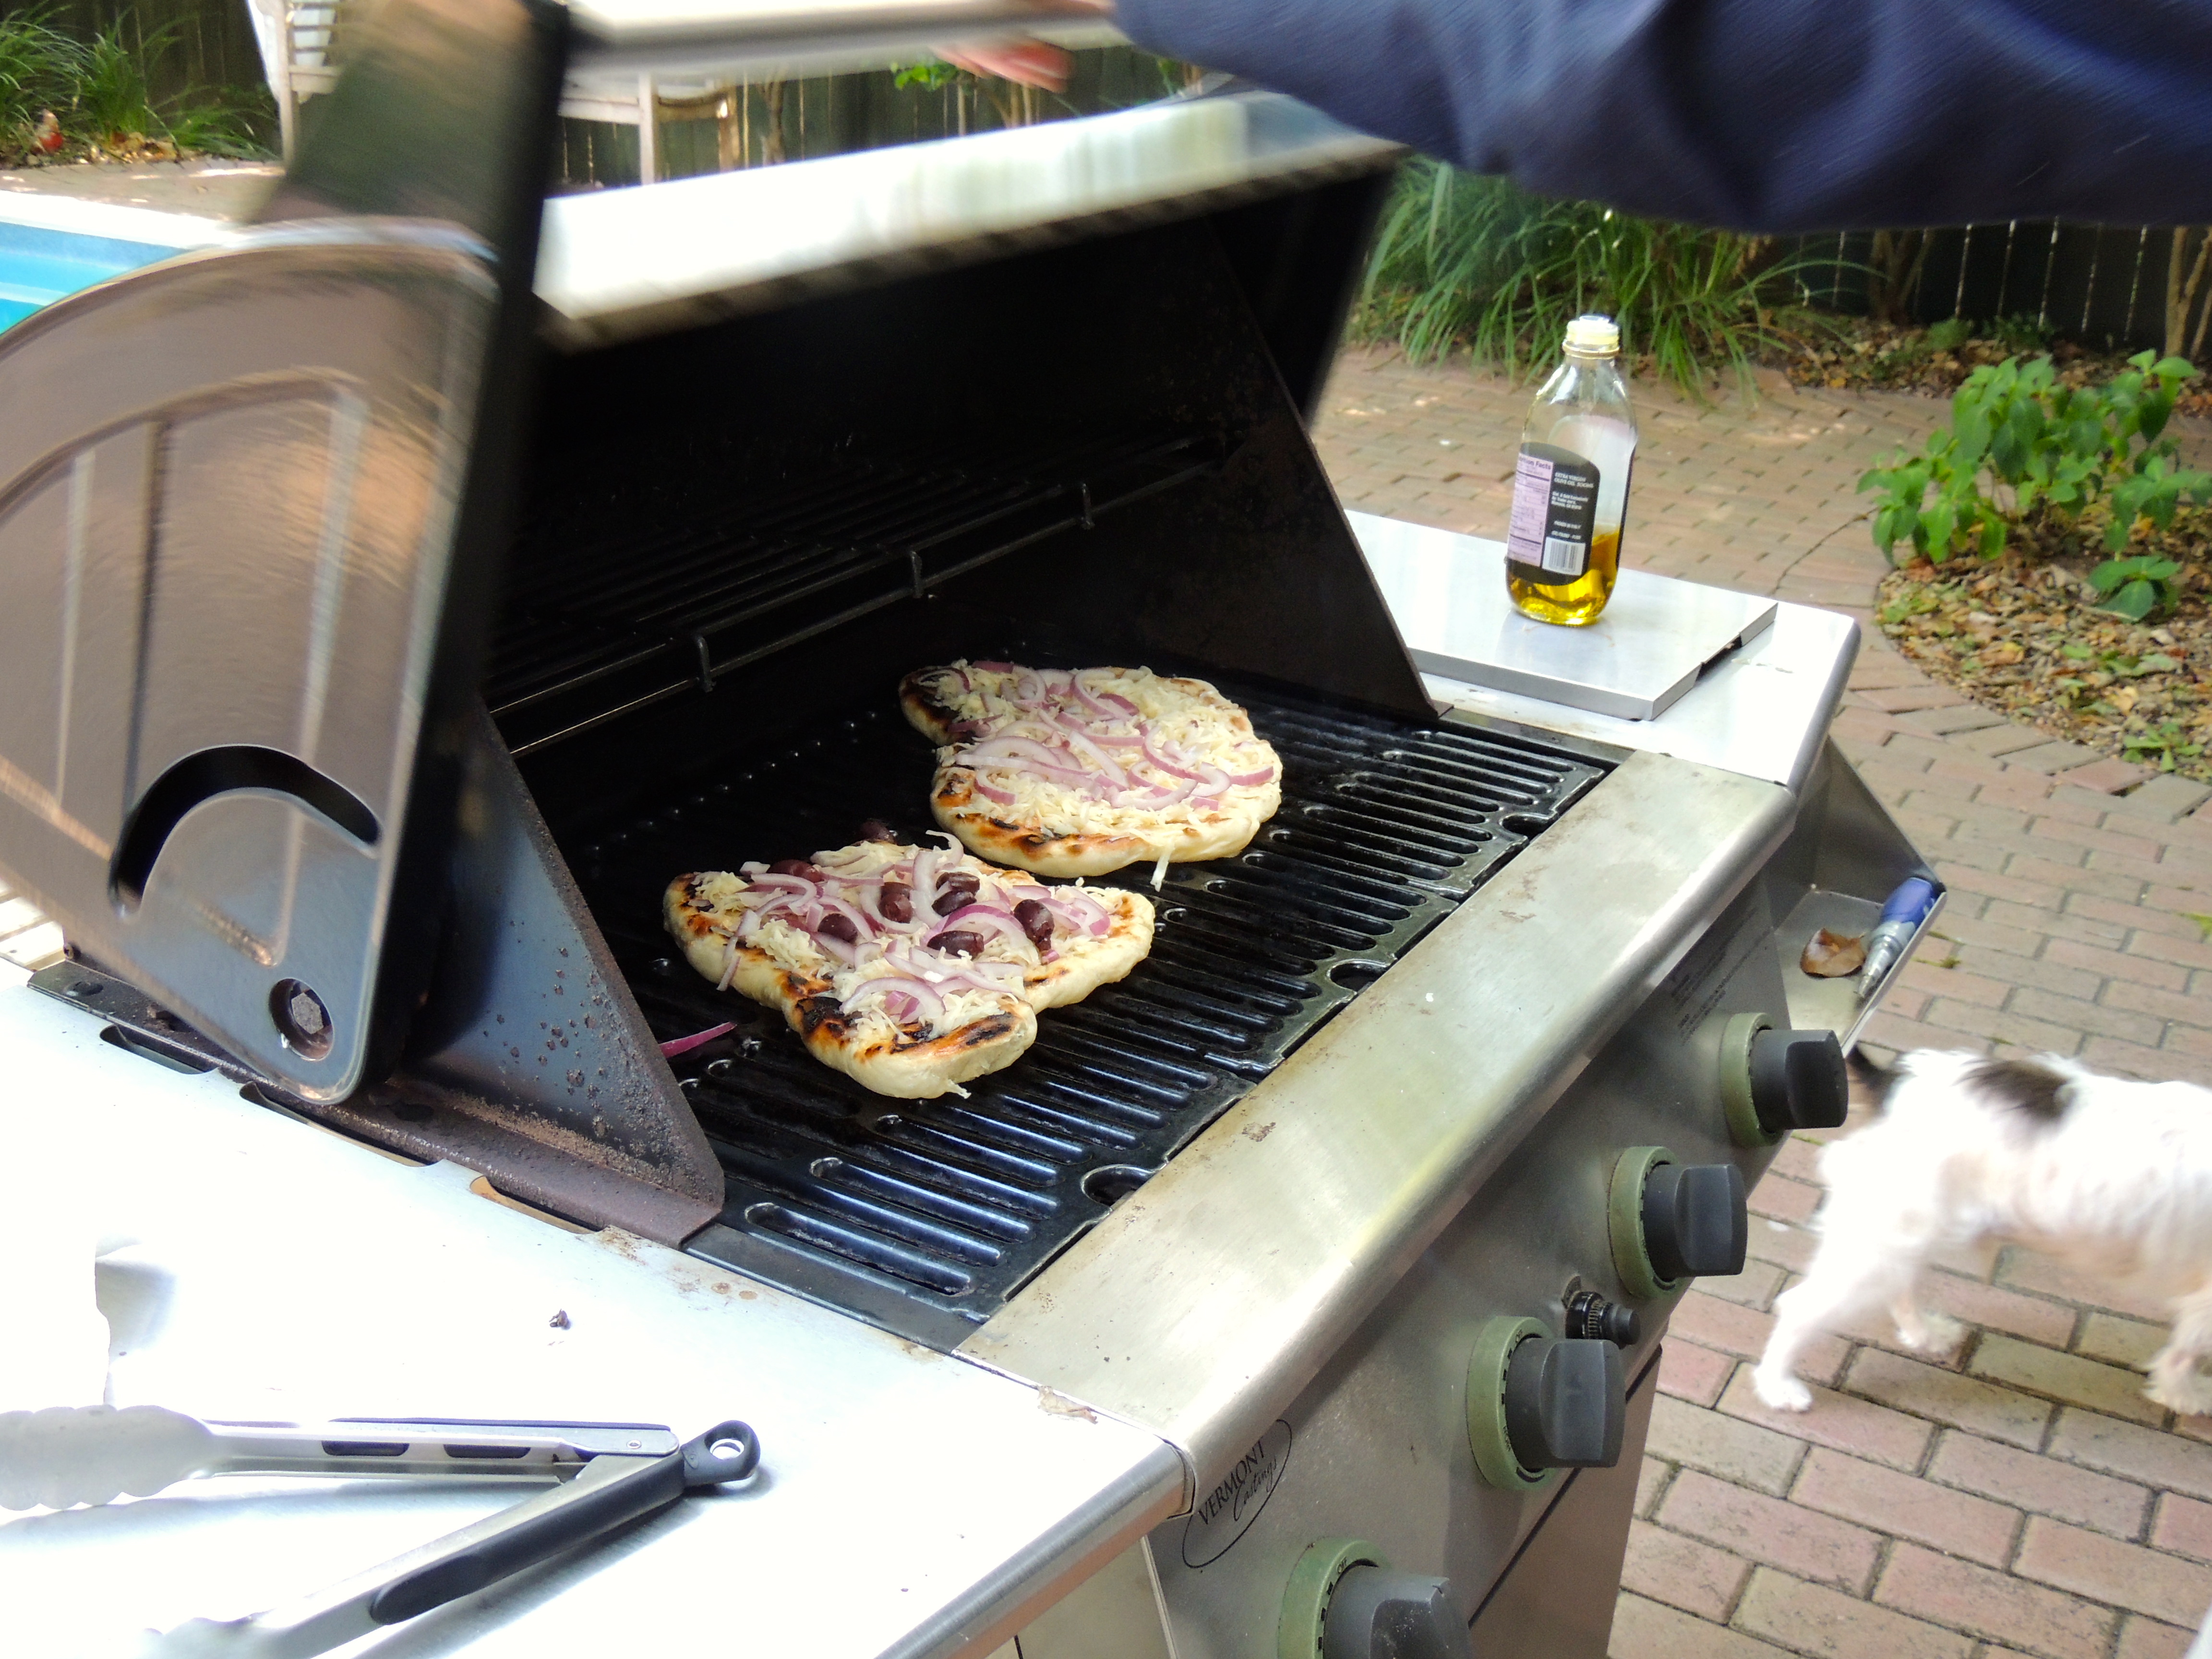
and… CLOSE. THE. LID. Wait about 2-3 minutes until cheese is bubbly and bottom starts to char.

DSCN2550

Then sit back and enjoy! Have you ever tasted crust like that? So heavenly light and crispy… just like it was made with a wood burning oven. Out of this world!!

DSCN2552

F L A S H B A C K

O N E   Y E A R   A G O…       Winslow Homer – The Veteran in a New Field

T W O   Y E A R S   A G O…   Live Oak Beauty on the Water in Meggett, SC

Catch you back here tomorrow!

How to grill a perfect pork tenderloin… every time!

Dinner's ready!
Dinner’s ready!

WOOT! WOOT! Confetti falls from the sky, the music is blaringthis is my 1,000th post on this blog! A daily post for nearly three years… I can’t believe I’ve made it this far! A big thank you to all of you who read it!

This was a thrilling find on FINECOOKING.COM! I like a sure thing… a recipe where the cooking time is fairly consistent… this has worked for EVERY pork tenderloin that we have grilled this summer. I guess if you had a large one or a tiny one, the results might vary a bit, but use a meat thermometer if you have one, and you’ll be fine!

DSCN2475

I didn’t brine our pork tenderloin, I took a ziplock and micro planed a few cloves of garlic (or mince), poured in some olive oil (enough to coat the pork) and some pepper… mush it around and add the pork tenderloin. Seal the bag, move it around to get it nice and coated. [Note: something you might not know about me… I’m weird about meat… 1) it can only go on the bottom shelf in the fridge per dr. oz… so no meat drips (*GASP*) to prevent contamination of any other food 2) I put the sealed bag inside another bag (told ya… weird) 3) I put that bag inside a plastic container (see… weird! when that container comes out of the fridge it goes directly to the dishwasher… it does not pass GO, it does not collect $200… straight to the DW!)… I drive Fred crazy… enough said…]

Grill burners all on high… Fred puts the pork on at 400 degrees… temp continues to rise… or you can wait until it reaches a higher temp… either way yields great results!

DSCN2477

Place the oiled pork tenderloin onto a hot grill and CLOSE THE LID. NO PEEKING!

Set timer for 7 MINUTES… yep, use a timer for each step, you don’t want to forget… because if you’re like me, you’ll have good intentions, you’ll keep your eye on the grill for 6 minutes and 50 seconds and then something will capture your attention and off you go… then you think to yourself… what’s burning?? Ugh, that would be dinner… that scenario hasn’t happened yet because I use a timer, but I guarantee you that it would… if I didn’t…

DSCN2480

When timer goes off, FLIP the pork tenderloin… (note the action shot, thankyouverymuch!)… CLOSE THE LID! NO PEEKING.

Set the timer for 6 minutes! (Did I say no peeking?) – it’s really important that the grill is closed… so I wonder why I didn’t take a photo of that? Hmmm…

DSCN2481

DSCN2482

When the timer goes off… TURN THE GRILL OFF… DO NOT OPEN THE LID!!!

Set the timer for 5 minutes!

DSCN2483

Then… just to be sure it’s done, insert an instant read thermometer (thickest part of the meat), it should read 145-150 degrees. If it doesn’t just close the lid and check on it in a few more minutes. Ours always has registered perfectly!

DSCN2485

Then remove the pork from the grill, place a piece of foil over the top and let it rest for 5 minutes… it’s worked hard, it needs a break!

DSCN2486

To recap this 7-6-5 method: Grill on high, place oiled pork tenderloin on grill, close lid – 7 minutes.

Flip to other side, close lid… 6 minutes

Turn grill off… (keep lid closed) 5 minutes

Take temp… let rest 5 minutes if it’s reached 145-150

From FineCooking.com  (Use this link to see their entire recipe, I did not brine my, however, they show you how… I need to try it some time! This link also gives details for charcoal grills)

Season and grill

Rub the brined tenderloins all over with the glaze and then season with the pepper. Or, season to taste with another flavoring of your choice.

Heat a gas grill, turning all the burners to high until the grill is fully heated, 10 to 15 minutes.

Put the pork on the hot grill grate. Close the lid and grill for 7 minutes.

Turn the pork over, close the lid, and grill for another 6 minutes.

Turn off the heat (keep the lid closed) and continue to cook the pork for another 5 minutes. At this point, an instant-read thermometer inserted into the middle of the thickest end of the tenderloin should read 145° to 150°F. (If not, close the lid and let the pork continue to roast in the residual grill heat.)

Remove the pork from the grill and let rest for 5 minutes before carving. Cut across the grain into 1/2-inch slices and serve immediately, with the sauce of your choice.

It’s nice to have this recipe isn’t it? Pork tenderloin is a lean cut of meat, although it is considered “red meat” for those of you who limit your red meat intake… it goes great with little red potatoes, a salad, or rice and blackbeans… yum!

I was thrilled to find this recipe on FineCooking.com… woohoo! Happy to share my good finds with you!

Dinner's ready!
Dinner’s ready!

F L A S H B A C K

O N E   Y E A R   A G O…  Featured Artist… Frank Emrick!

T W O   Y E A R S   A G O… Stunning photography… Is this real?

Catch you back here tomorrow!

BBQ and hotdogs… what could be better?

The Great Organic Uncured Hot Dog by… APPLEGATE! Let me tell you… this is one AWESOME hotdog… full of flavor, less fat because it’s made with grass fed beef (and NO it doesn’t taste “light”)! You’ve got to try it!

Now here’s a hotdog that is waaaay tasty AND not so bad for you… no evil nitrates, not as much fat, thanks to the grass fed beef. Owie! I can’t wait for Fred to throw a few on the grill! Also… they freeze well! So you can just pop a few out instead of eating the entire package at once!

From the Applegate website:

The Great Organic Beef Hot Dog

Made from 100% organic grass-fed and finished beef, these lean hot dogs are bursting with old-fashioned classic hot dog flavor—juicy, flavorful and delicious! These dogs have only 8 grams of fat compared to the average 15 grams in most brands, and because they’re made from grass-fed beef, they’re also high in omega-3 fatty acids (the good fat). Great on the grill or steamed on your stovetop any time you’re craving a taste of summer.

/uploadedImages/Products/winner.jpg Men’s Health – 2011Woman’s Day – 2011
Cottage Living – 2008
Kiwi Magazine – 2008Men’s Health – 2008Consumer Reports – 2007

This is a great tasting hotdog that makes you feel like you’ve fallen off the eating healthy wagon!

Catch you back here tomorrow!

Steak fajitas… quick and easy! Delish!

Quick and easy fajitas

You know when you need to get out of a rut and try something different? Summertime is the hardest time for me, in the winter I can think up all kinds of things that bake, stew, roast, all with the oven on slowly making a meal into a masterpiece while heating the kitchen all at the same time. Then it’s summer. It’s hot and the last thing you want to do is spend too much time with the stove/oven on… enter FAJITAS. I usually make them with chicken, but on this day we needed a break from chicken. So I ran to the store and got 1/2# of flank steak. I whipped together a marinade in a ziplock with a clove or two of garlic (use the microplane!), some olive oil, and some lime juice (one nice big wedge squeezed into the bag). I then mixed the ingredients in the bag by mushing around with my hot little hands, then tossed in the hunk o’beef and let it sit and fester for a while (in the fridge of course!). Actually that night dinner plans changed so it sat in the bag for about 12 hours which was perfect! Fred threw the hunk o’meat on the grill, then right before it was ready he took it off, wrapped it in foil and allowed it to rest. Then we sliced it at an angle against the grain. We heated up some tortilla’s that we had, cut up some tomato, green onion, grated some cheddar and threw on a nice plop of greek yogurt! (We use it instead of sour cream). Oh, and we had some of that tasty salsa from Trader Joe’s… nice touch. It’s quick, you can put what you like on it, you can spice it up more (or less), add avocado, onions, etc. Use chicken, tofu, steak, fish or whatever else you may have. As they say… No rules, it’s just right.

Enjoy a fajita tonight! Catch you back here tomorrow!

Something quick and easy to toss on the grill!

We had been out all day and were starving! What’s quick and easy to throw on the grill and call a meal?? Kabobs! We picked up some chicken Italian sausage, whew! It was out of this world, along with some potatoes, onions and peppers we had a meal! It’s important to use cooked Italian sausage unless you’re really going to monitor to be sure it’s completely cooked… this meal was QUICK… To keep this moving along quickly, we did put the potatoes in the microwave until barely able to pierce with a fork, then finished on the grill. We quickly soaked the skewers while we cut up the veggies and sausage… anything else that sounds good, go ahead and add it!  Corn on the cob broken into 2-3″ sections would have been good. Prior to adding to the grill we brushed with olive oil and lightly sprinkled with salt and pepper… had some nice sweet watermelon afterwards. Yum!

It would have been really nice if I would have taken more than a “before” photo… Trust me… the “after” photo would make your mouth water… I guess I was too hungry to snap a quick picture, heavy sigh…

Catch you back here tomorrow!!