I want to start by saying… I am a healthy eater. I read labels. I don’t buy anything with corn syrup, high fructose corn syrup, fillers that are bad, milk from cows treated with rBST, etc. etc.)… now with that said, when I’m sick and absolutely nothing sounds good for days and days I have to go with what my tastebuds want.
I went to the grocery store, which I didn’t think I would live through… I wandered around and picked up a few things that sounded good… fresh ginger, lemon/ginger tea, and… this… I didn’t read the ingredients until after I ate it. It was just as good as I remember 40 years ago, ha ha… I did it, and I’m over it. It got me through a day, ha ha… thanks Captain!
Nothing can heat your innards like a good bowl of soup. This is an easy one, and oh so delicious. I double the recipe so we have leftovers. This soup will warm your soul (I’m not being dramatic, really)!
Cheesy Potato Soup – recipe by Cooking Light magazine (myrecipes.com) – Click HERE to print.
1 tablespoon butter
1 cup chopped onion
2 1/2 tablespoons all-purpose flour
3 cups chopped red potato (about 1 pound)
1 1/4 cups 1% low-fat milk
3/4 cup fat-free, lower-sodium chicken broth
1/2 cup water
1/2 cup (2 ounces) shredded reduced-fat sharp cheddar cheese
1/8 teaspoon ground red pepper
2 tablespoons chopped green onions
Preparation
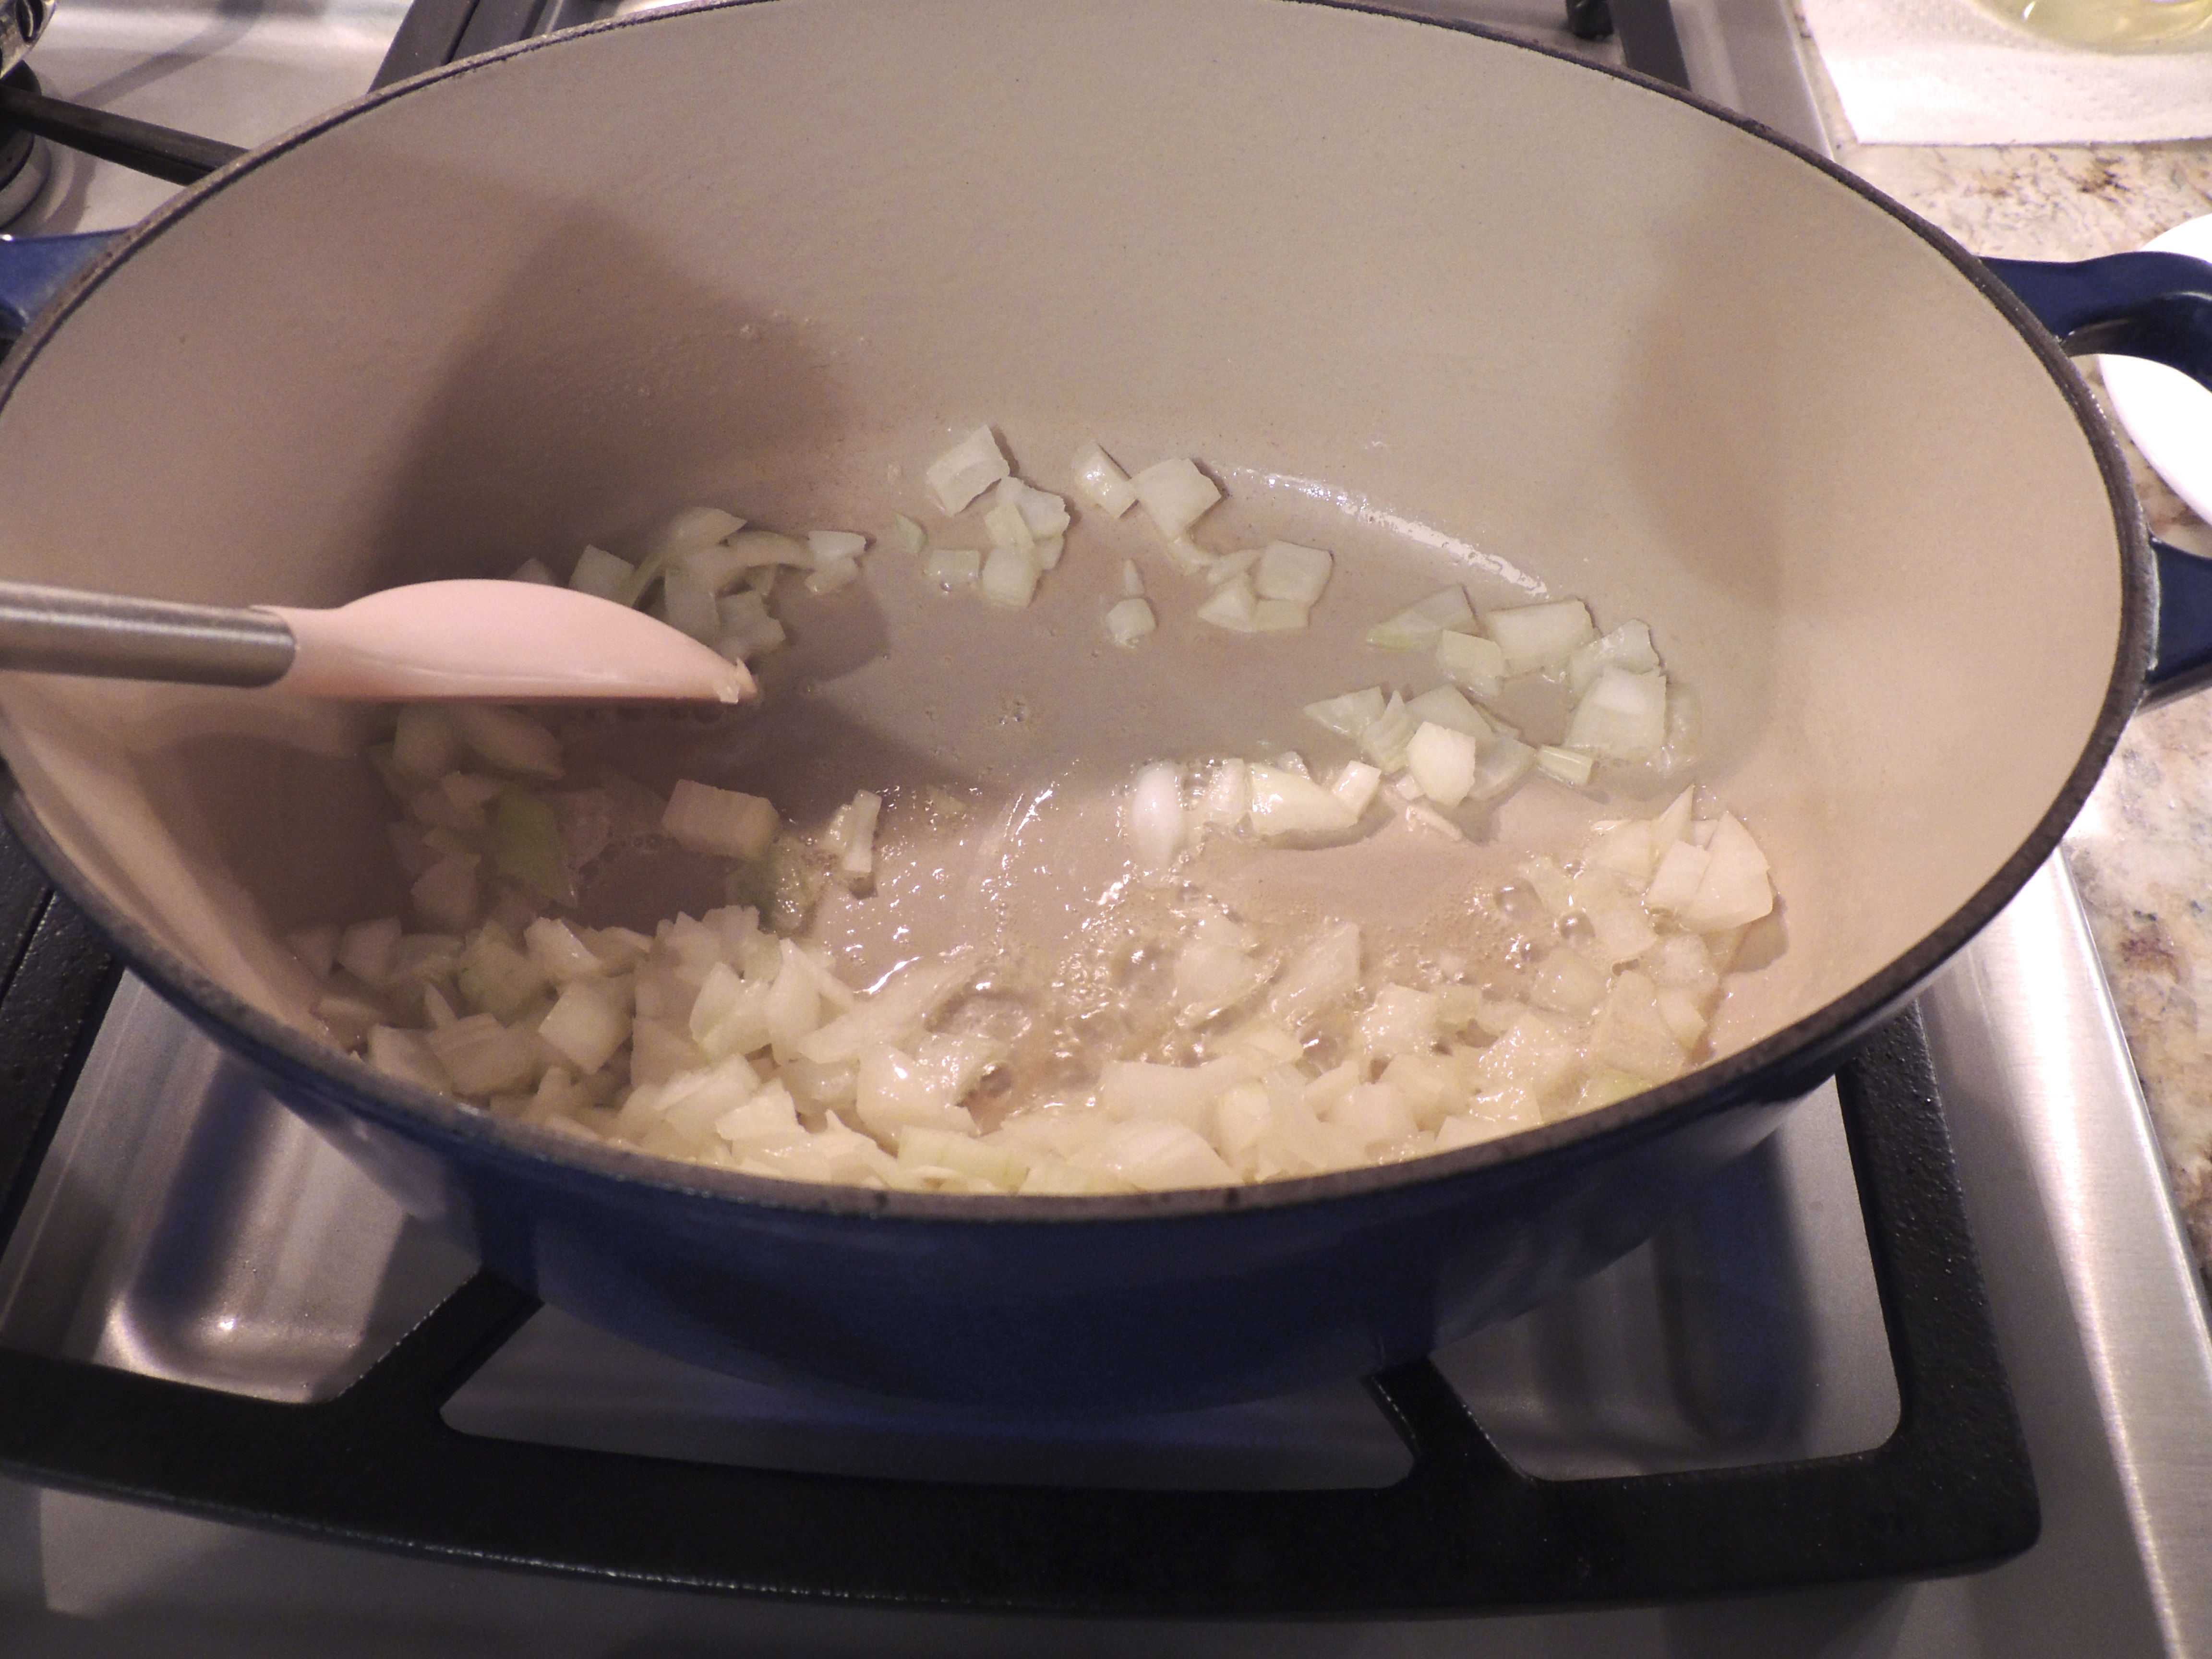
Melt butter in a medium saucepan over medium-high heat. Add onion to pan; sauté 5 minutes or until onion is tender.
Sprinkle with flour; cook 1 minute, stirring onion mixture constantly.
Add potato, milk, broth, and 1/2 cup water to pan; bring to a boil.
Cover, reduce heat, and simmer 10 minutes.
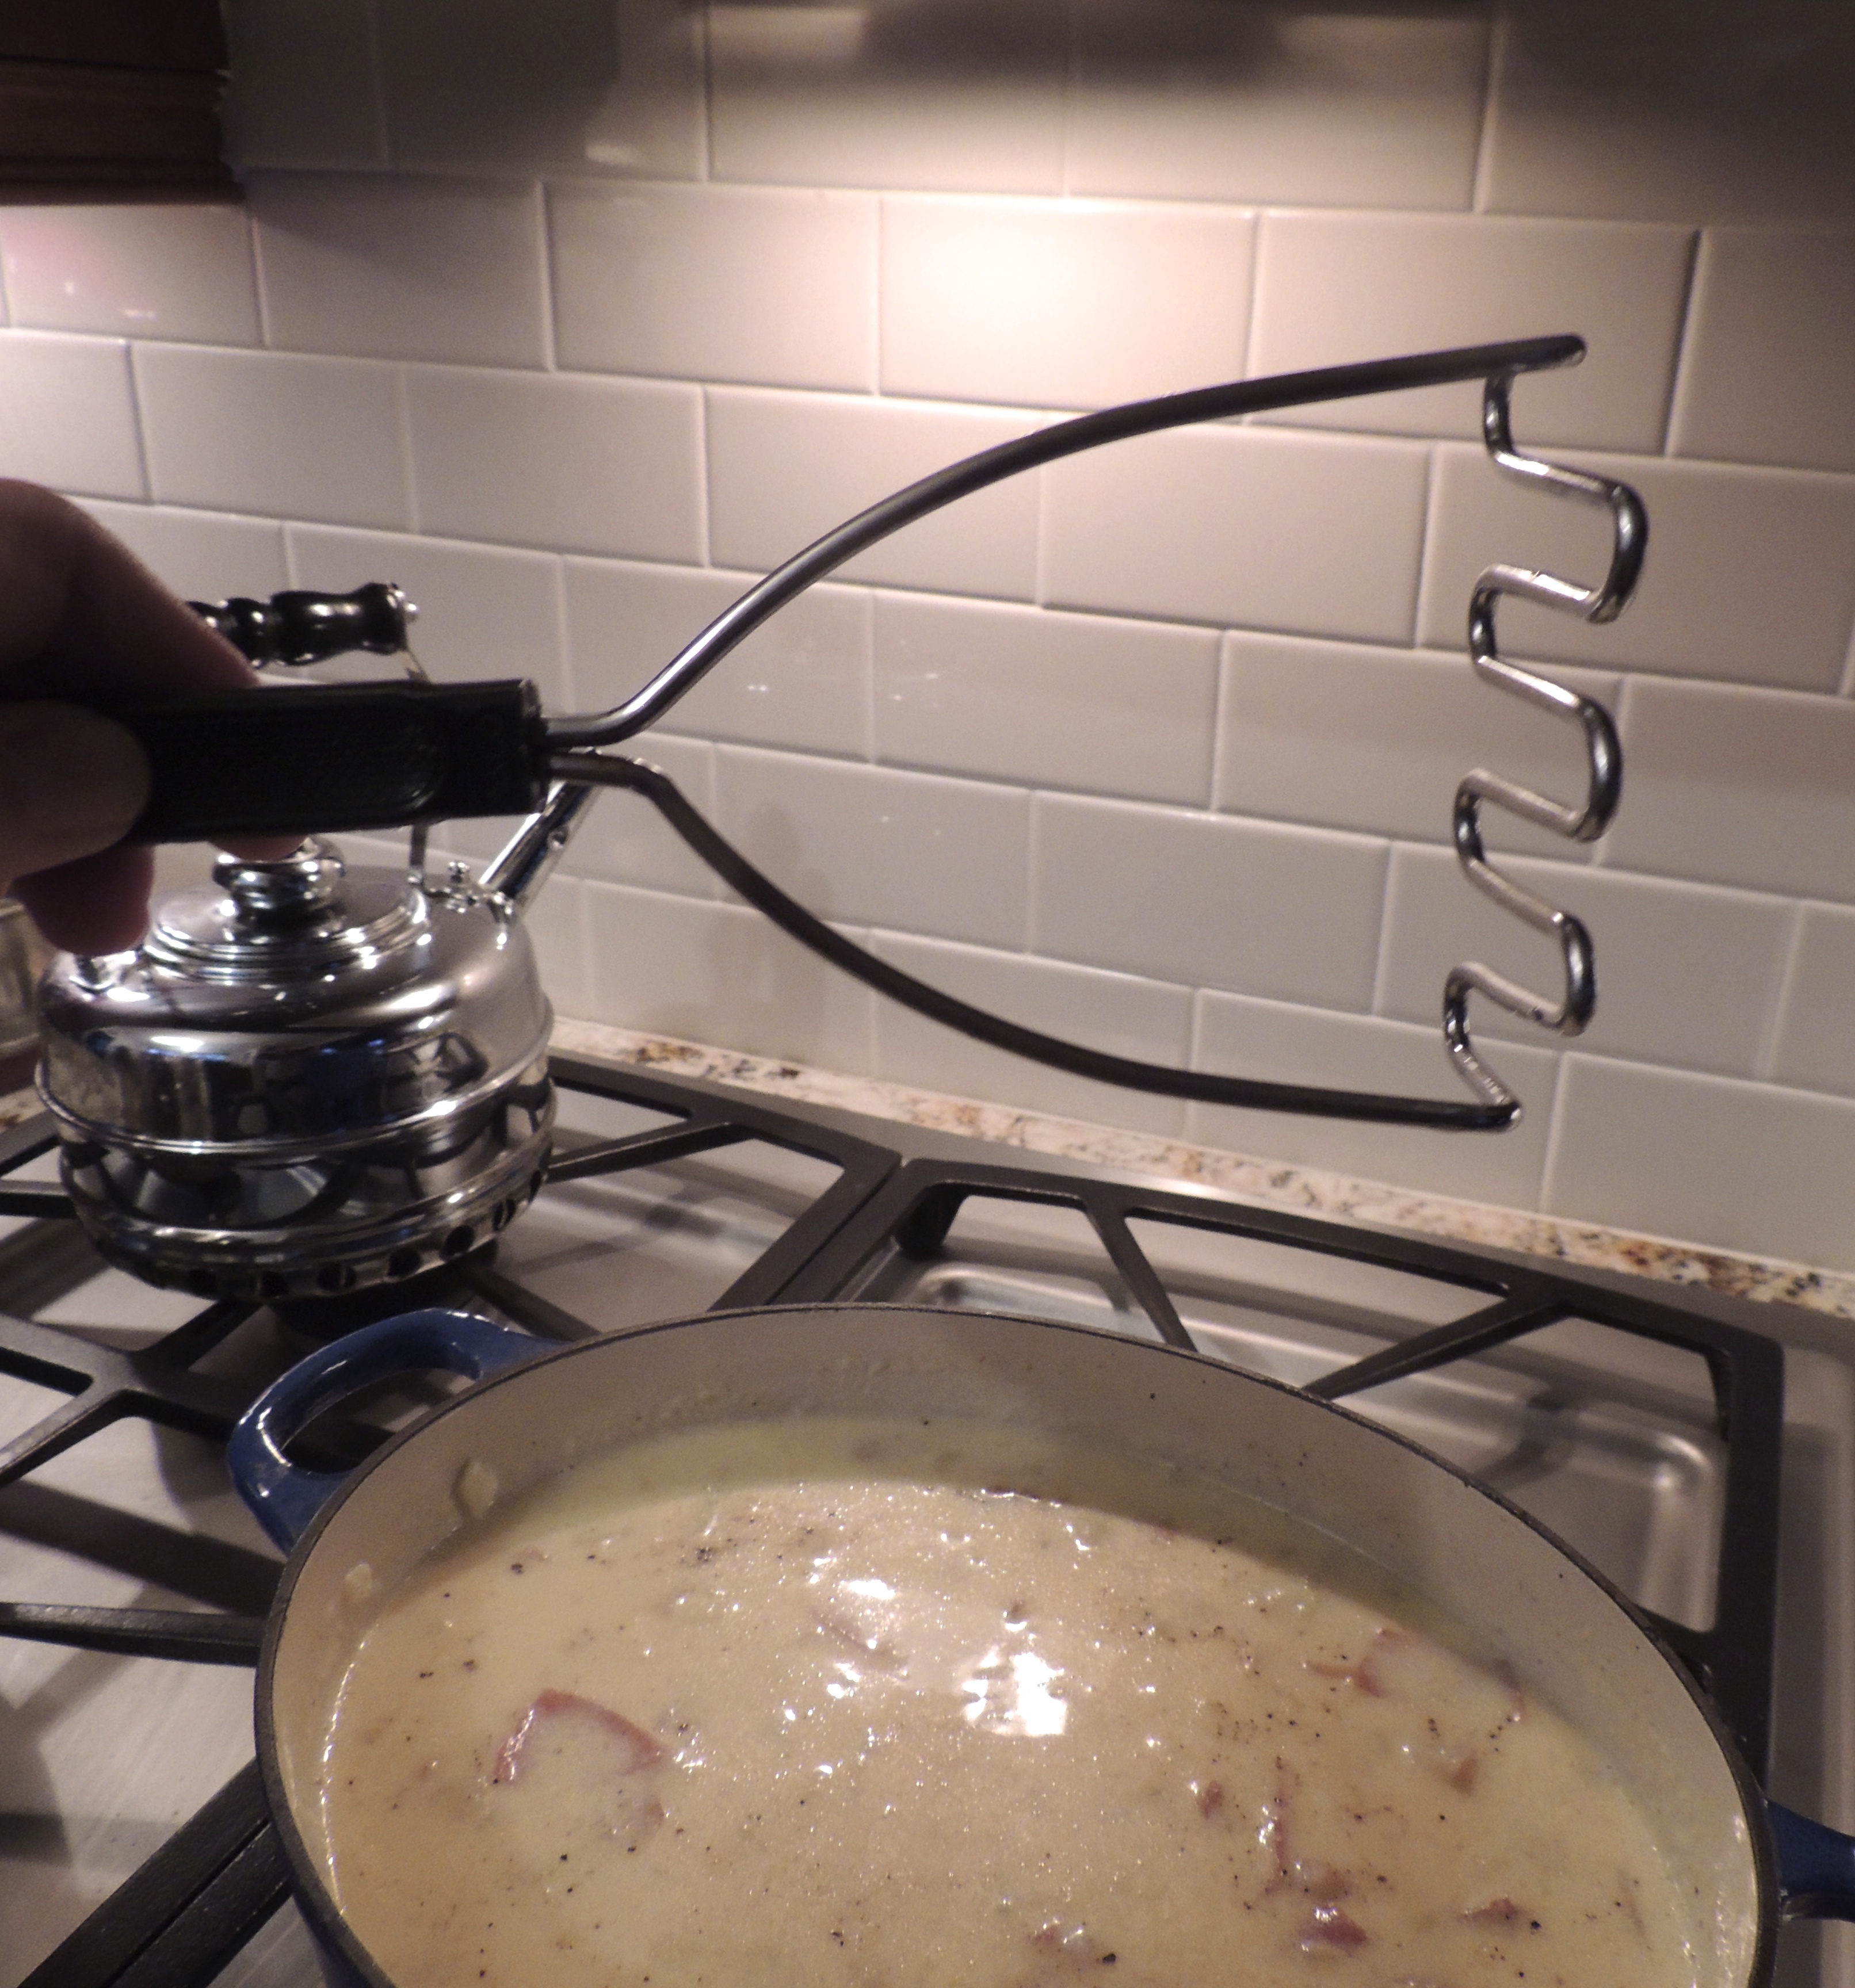
Add 1/2 cup reduced-fat sharp cheddar cheese and ground red pepper (IMPORTANT NOTE: remove from heat as soon as it melts so that it doesn’t curdle); cook 2 minutes or until cheese melts, stirring frequently. Top each serving evenly with 1 1/2 teaspoons chopped green onions.
Note… my secret… I use a potato masher and squish the potatoes a bit… I’m not mashing them per se but breaking down the chunks a bit so they’re smaller… this is tasty soup!
The important note above… removing the pan from the heat as soon as the cheese starts melting. I didn’t see this note at the top of the recipe and didn’t do it. It curdled… tasted great but didn’t look as good as it could have. Next time I think I will just opt to add it to each individual bowl as you can see in the top photo I over sprinkled… For as good as this soup is it’s quite hard to believe that it was this quick and easy! Thanks to Cooking Light for yet another great recipe!
I am not a “the sky is falling, the sky is falling” type of person, so I’m not trying to scare anyone with this post, just educate so you know what to do…
The traditional light bulbs that we grew up with are now a thing of the past. They stopped manufacturing the 100 watt bulbs last year. This year the 40 and 60 watt bulbs are no longer made. I like the nice warm, yellowish light that they give off. It’s warm and cozy and makes me happy. I know that Compact Fluorescent Light bulbs (CFL) bulbs are supposed to last 8 years and save you tons of money, but… I have also read about the dangers of CFL bulbs. All I can say is that I want my old incandescent bulbs back! But the Bush administration signed a law back in 2007 to replace our old traditional (incandescent) bulbs with the squirrely new CFL bulbs. Sigh. While being more efficient sounds great, do you know the dangers of the new bulbs? Or what to do if one breaks? If a CFL breaks, you don’t just pick up the pieces like the old bulbs, AND you don’t just throw it in the regular trash!
Note: This is the only warning on the package…
D A N G E R S
Apparently, some health problems can be made worse by CFL light. These conditions include Migraines, Lupus and Epilepsy. If there is a defect in the bulb (which when a study was conducted and they went store to store there was a defect at every single store) then UV light can leak through causing cancer.
Now, before you read further… I also read about a guy who found a loophole around this CFL requirement, and will still make incandescent bulbs (albeit with a twist) – you can bet I’m going to be checking out the Newcandescent bulbs! (I am not being paid by Newcandescent in any way, shape or form, they have no idea who I am…). Hey, if something doesn’t happen to change this (and I doubt it will), I think I may be back to the old days with candles!
Read about what to do if a CFL bulb is broken… it’s important– (information from www2.epa.gov)
Air out the room for 5-10 minutes by opening a window or door to the outdoor environment.
Shut off the central forced air heating/air-conditioning system, if you have one.
Collect materials needed to clean up broken bulb:
stiff paper or cardboard;
sticky tape;
damp paper towels or disposable wet wipes (for hard surfaces); and
a glass jar with a metal lid or a sealable plastic bag.
During Cleanup
DO NOT VACUUM. Vacuuming is not recommended unless broken glass remains after all other cleanup steps have been taken. Vacuuming could spread mercury-containing powder or mercury vapor.
Be thorough in collecting broken glass and visible powder. Scoop up glass fragments and powder using stiff paper or cardboard. Use sticky tape, such as duct tape, to pick up any remaining small glass fragments and powder. Place the used tape in the glass jar or plastic bag. See the detailed cleanup instructions for more information, and for differences in cleaning up hard surfaces versus carpeting or rugs.
Place cleanup materials in a sealable container.
After Cleanup
Promptly place all bulb debris and cleanup materials, including vacuum cleaner bags, outdoors in a trash container or protected area until materials can be disposed of. Avoid leaving any bulb fragments or cleanup materials indoors.
Next, check with your local government about disposal requirements in your area, because some localities require fluorescent bulbs (broken or unbroken) be taken to a local recycling center. If there is no such requirement in your area, you can dispose of the materials with your household trash.
If practical, continue to air out the room where the bulb was broken and leave the heating/air conditioning system shut off for several hours.
If you have further questions, please call your local poison control center at 1-800-222-1222.
Click HERE to find the nearest place you can recycle your CFL bulb (Home Depot, Lowes in most areas…), just enter CFL in the “what” box, and type in your zip code. It will give you a list of places.
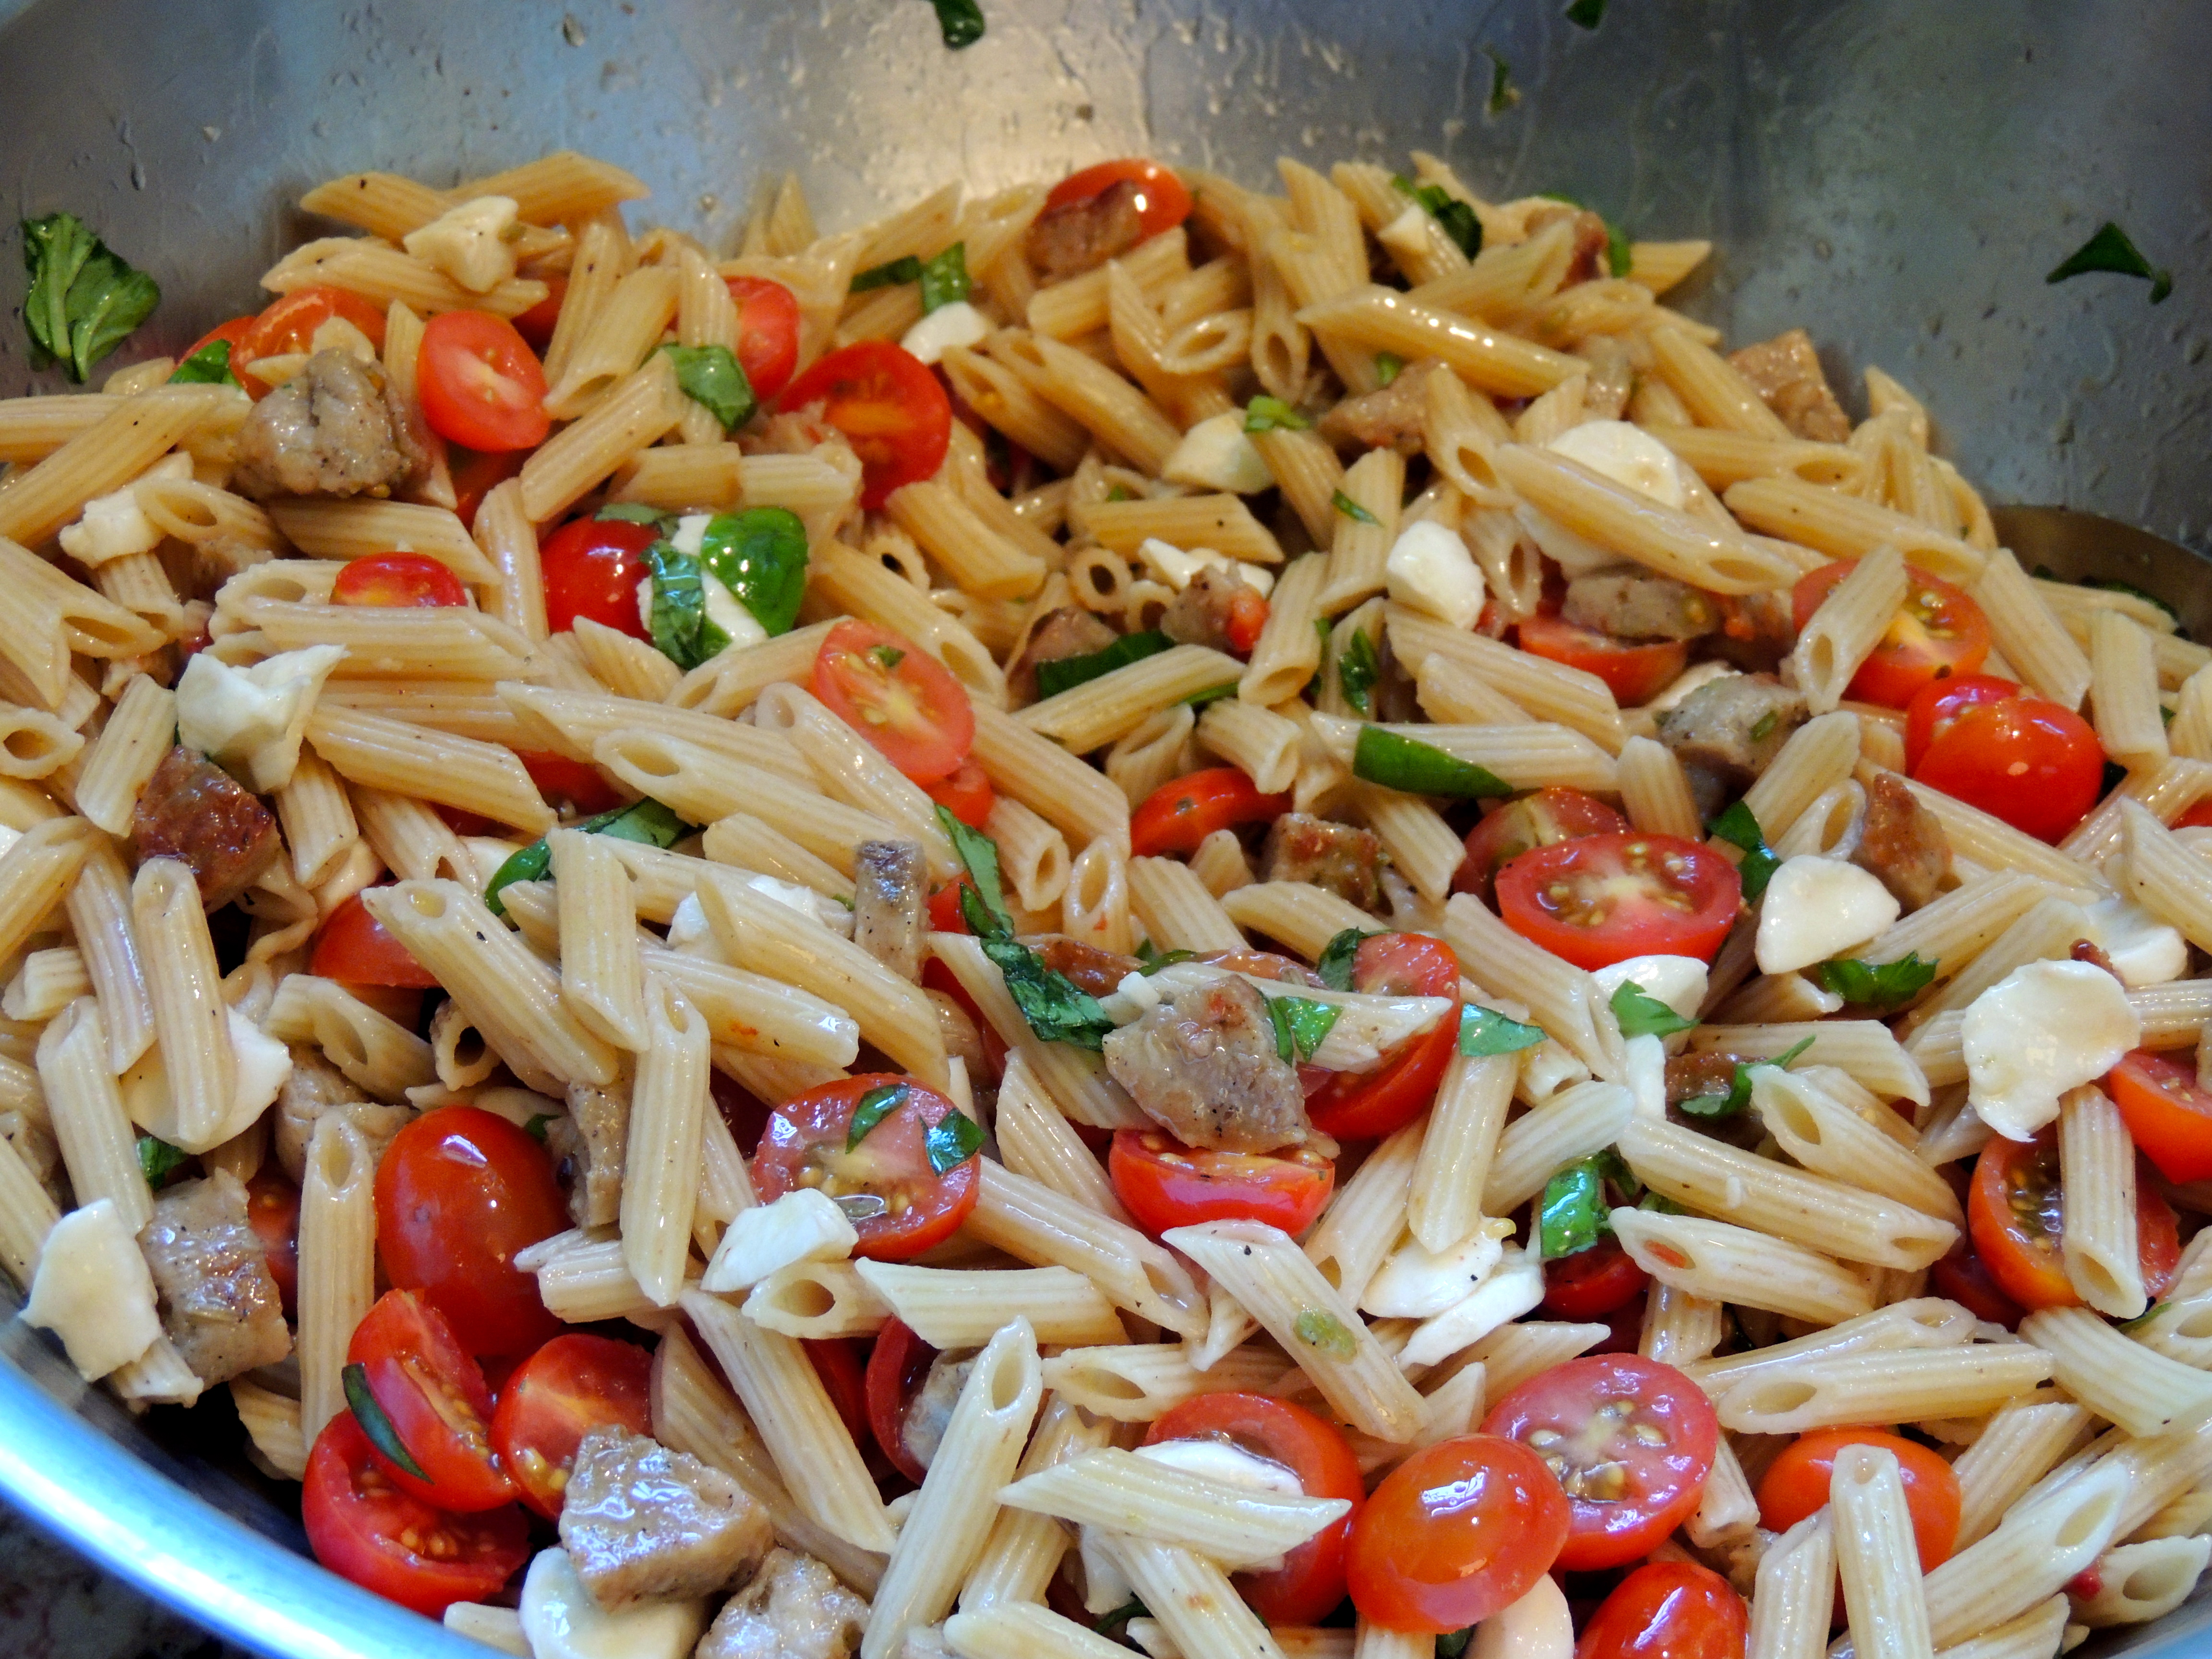
This recipe is too good to be true! A perfect combination of healthy ingredients, chicken sweet Italian sausage, fresh spinach, fresh mozzarella, grape tomatoes, fresh basil and white wheat pasta… these ingredients together with a dressing of olive oil and balsamic vinegar will make you so happy… W A R N I N G : You may crave this after you’ve made it once. Don’t say I didn’t warn ya!
Pasta with Italian Sausage, Tomatoes, Fresh Mozzarella and Basil
1 – 12 oz pkg white wheat pasta (like Barilla)
1 pkg Chicken Sweet Italian Sausage (like Al Fresco), skins removed, cut into small pieces
1 container of FRESH Mozarella, cut into fairly small pieces
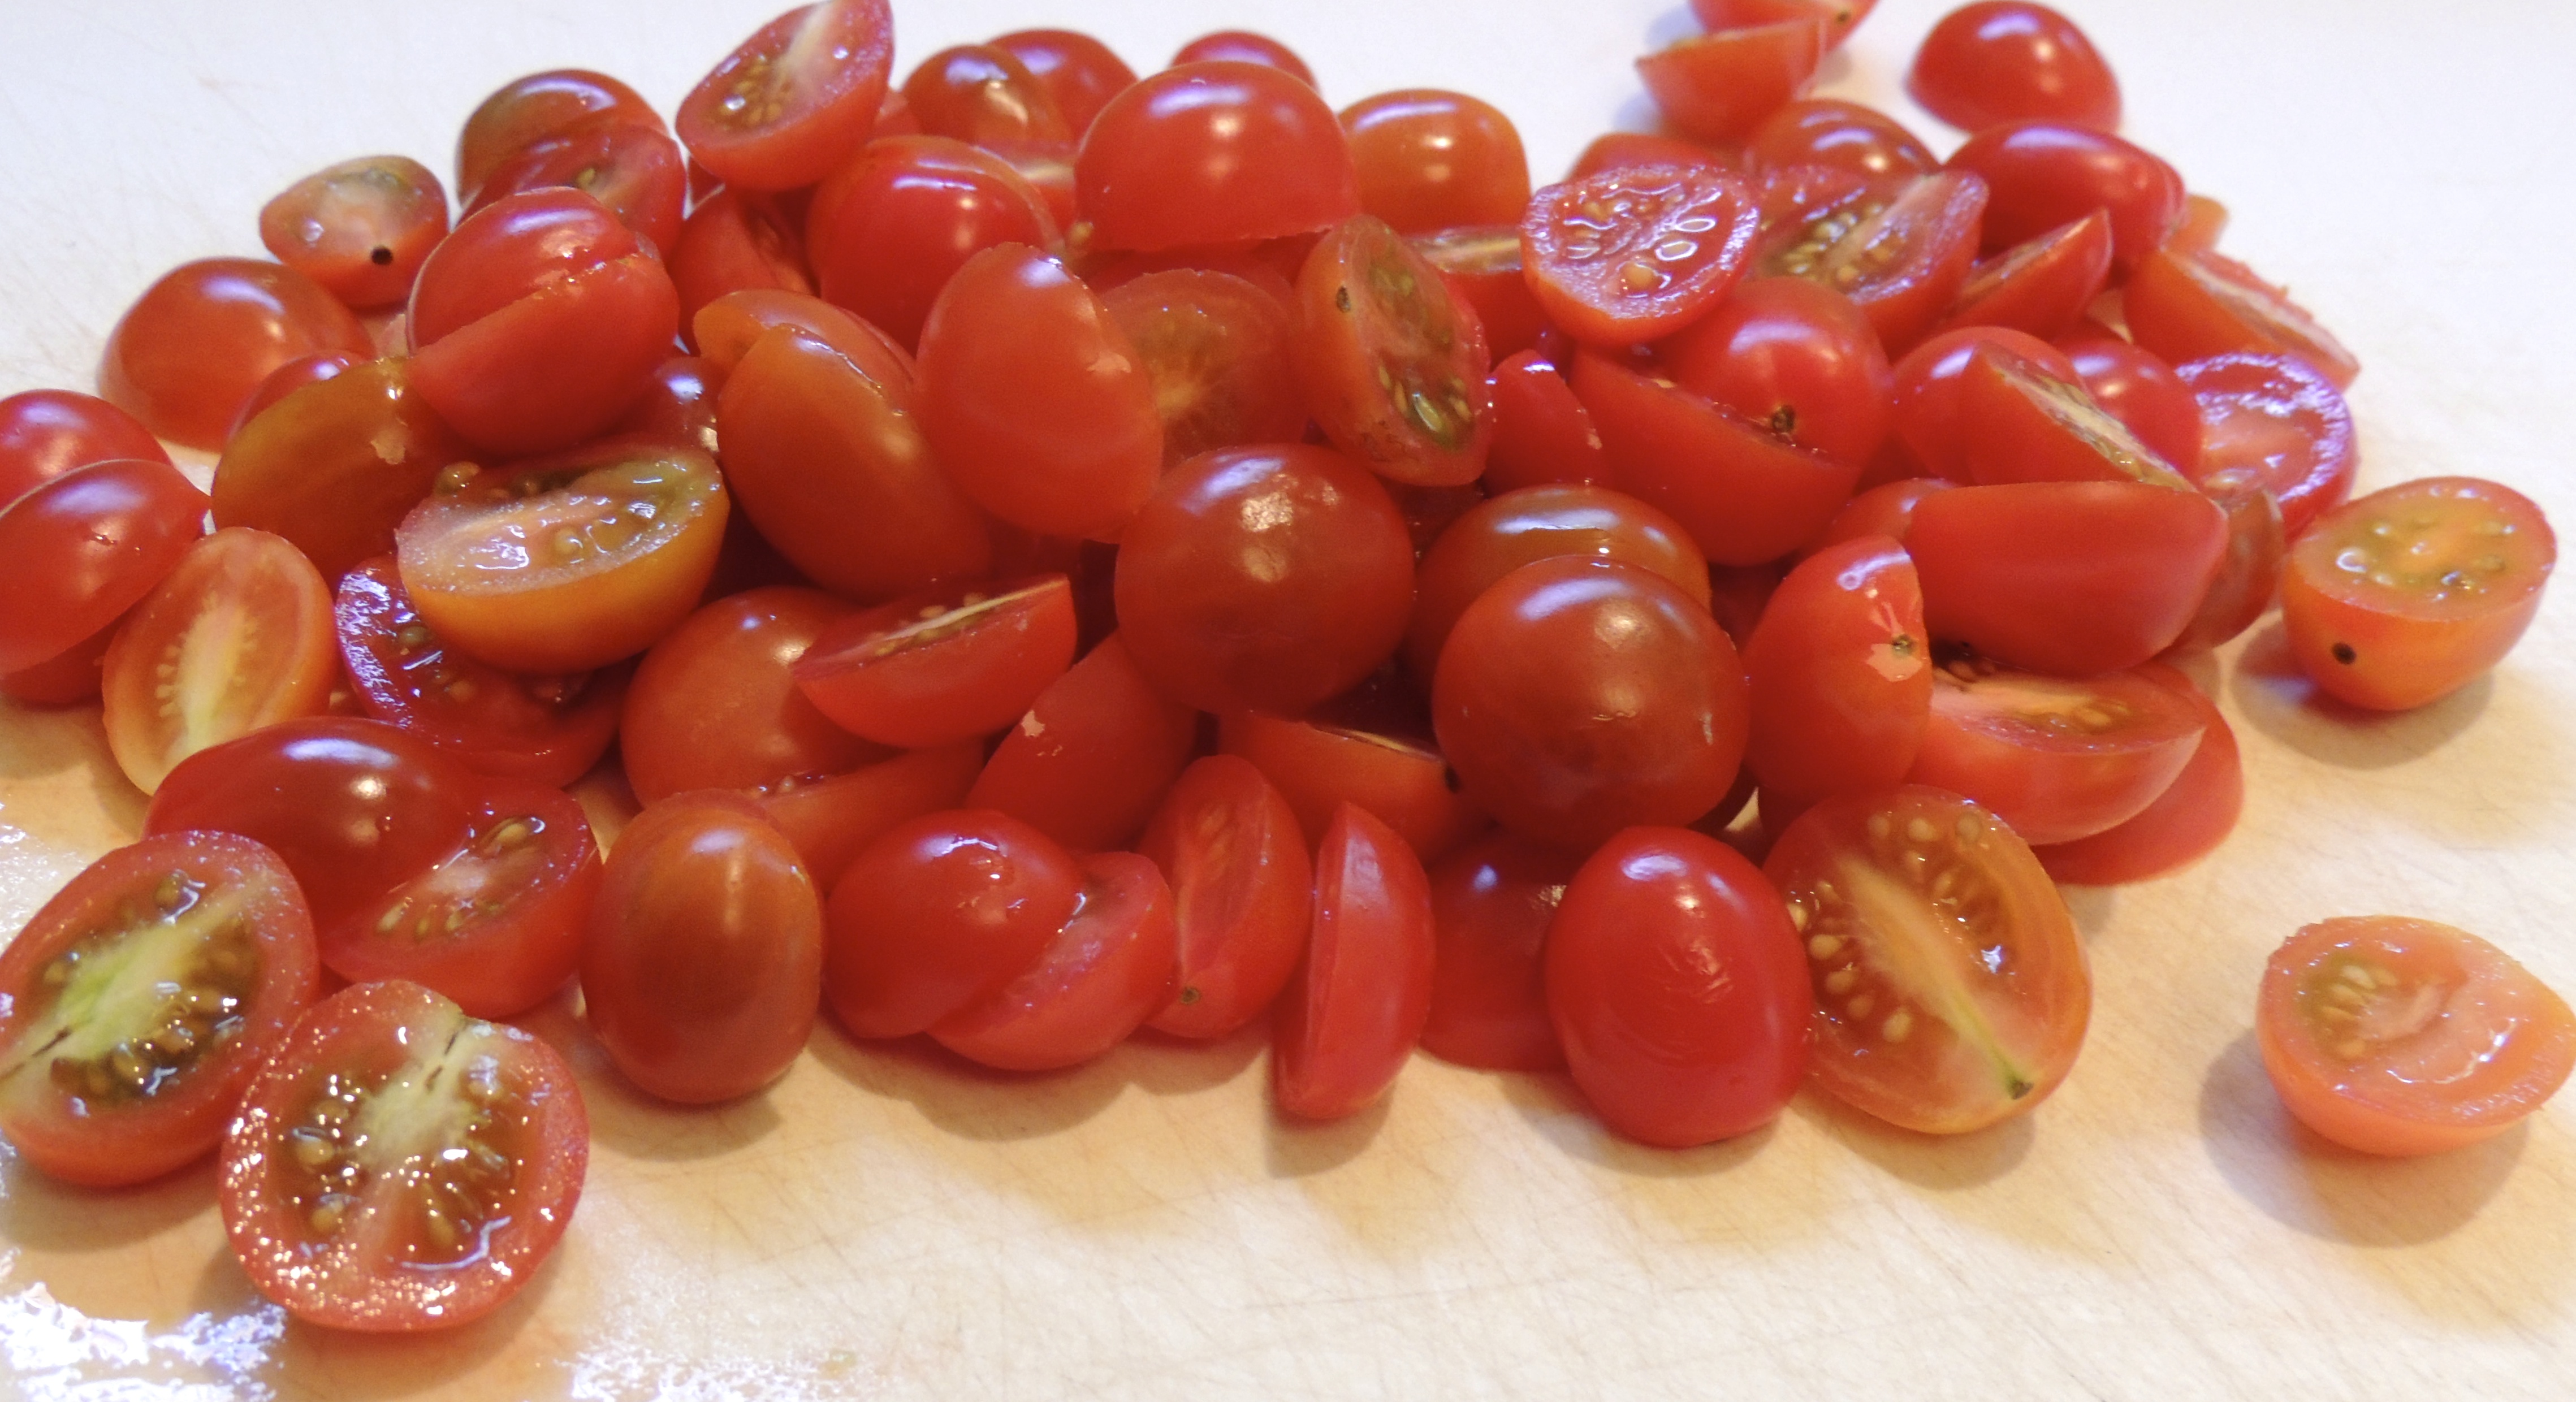
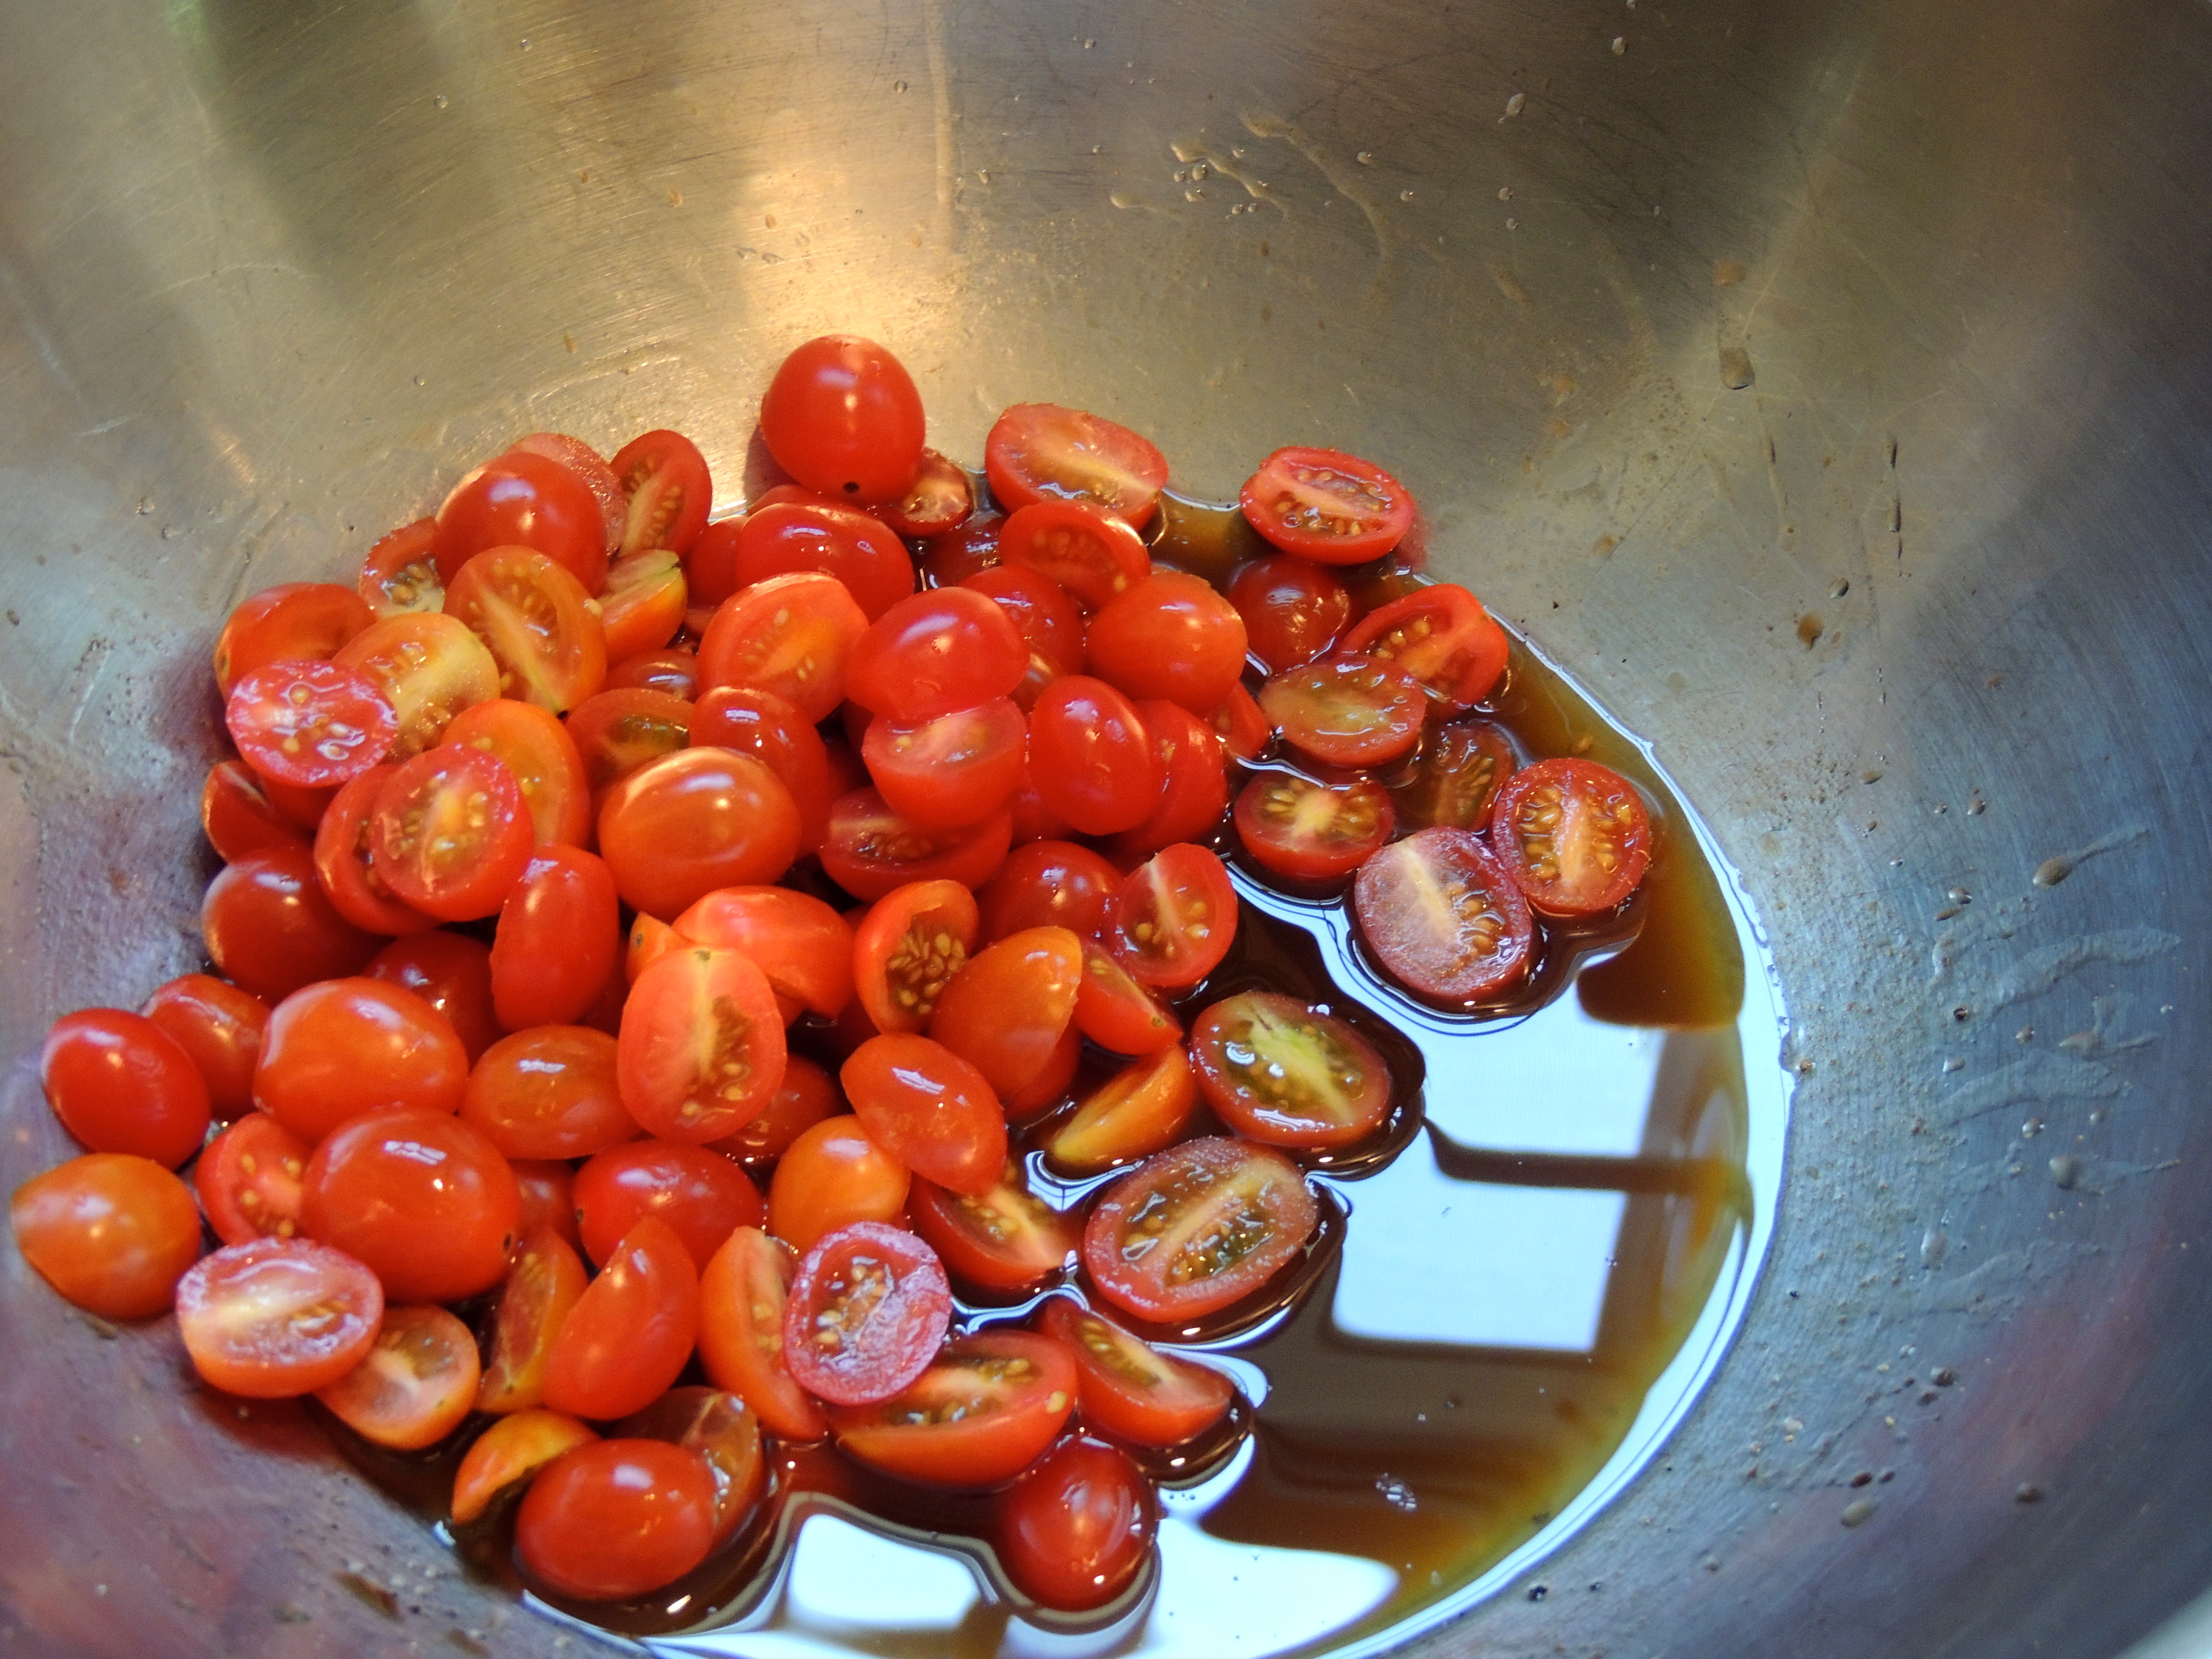
1 large container (or 2 small) Grape Tomatoes, cut in half
Fresh Basil (to taste)
⅓ – ½ cup Olive Oil
⅛ – ¼ cup Balsamic Vinegar
Pepper
Spinach
In a large nonstick frying pan add a small amount of olive oil. Cook cut up sausage until browned. Remove from pan and place on a plate that has a few paper towels on it.
Start a large pot of water to boil the pasta, while you’re waiting for it to boil,…
Cut the grape tomatoes in half, set aside.
Wash the basil and chop it up, set aside.
Cut the mozzarella into small bite sized pieces, set aside.
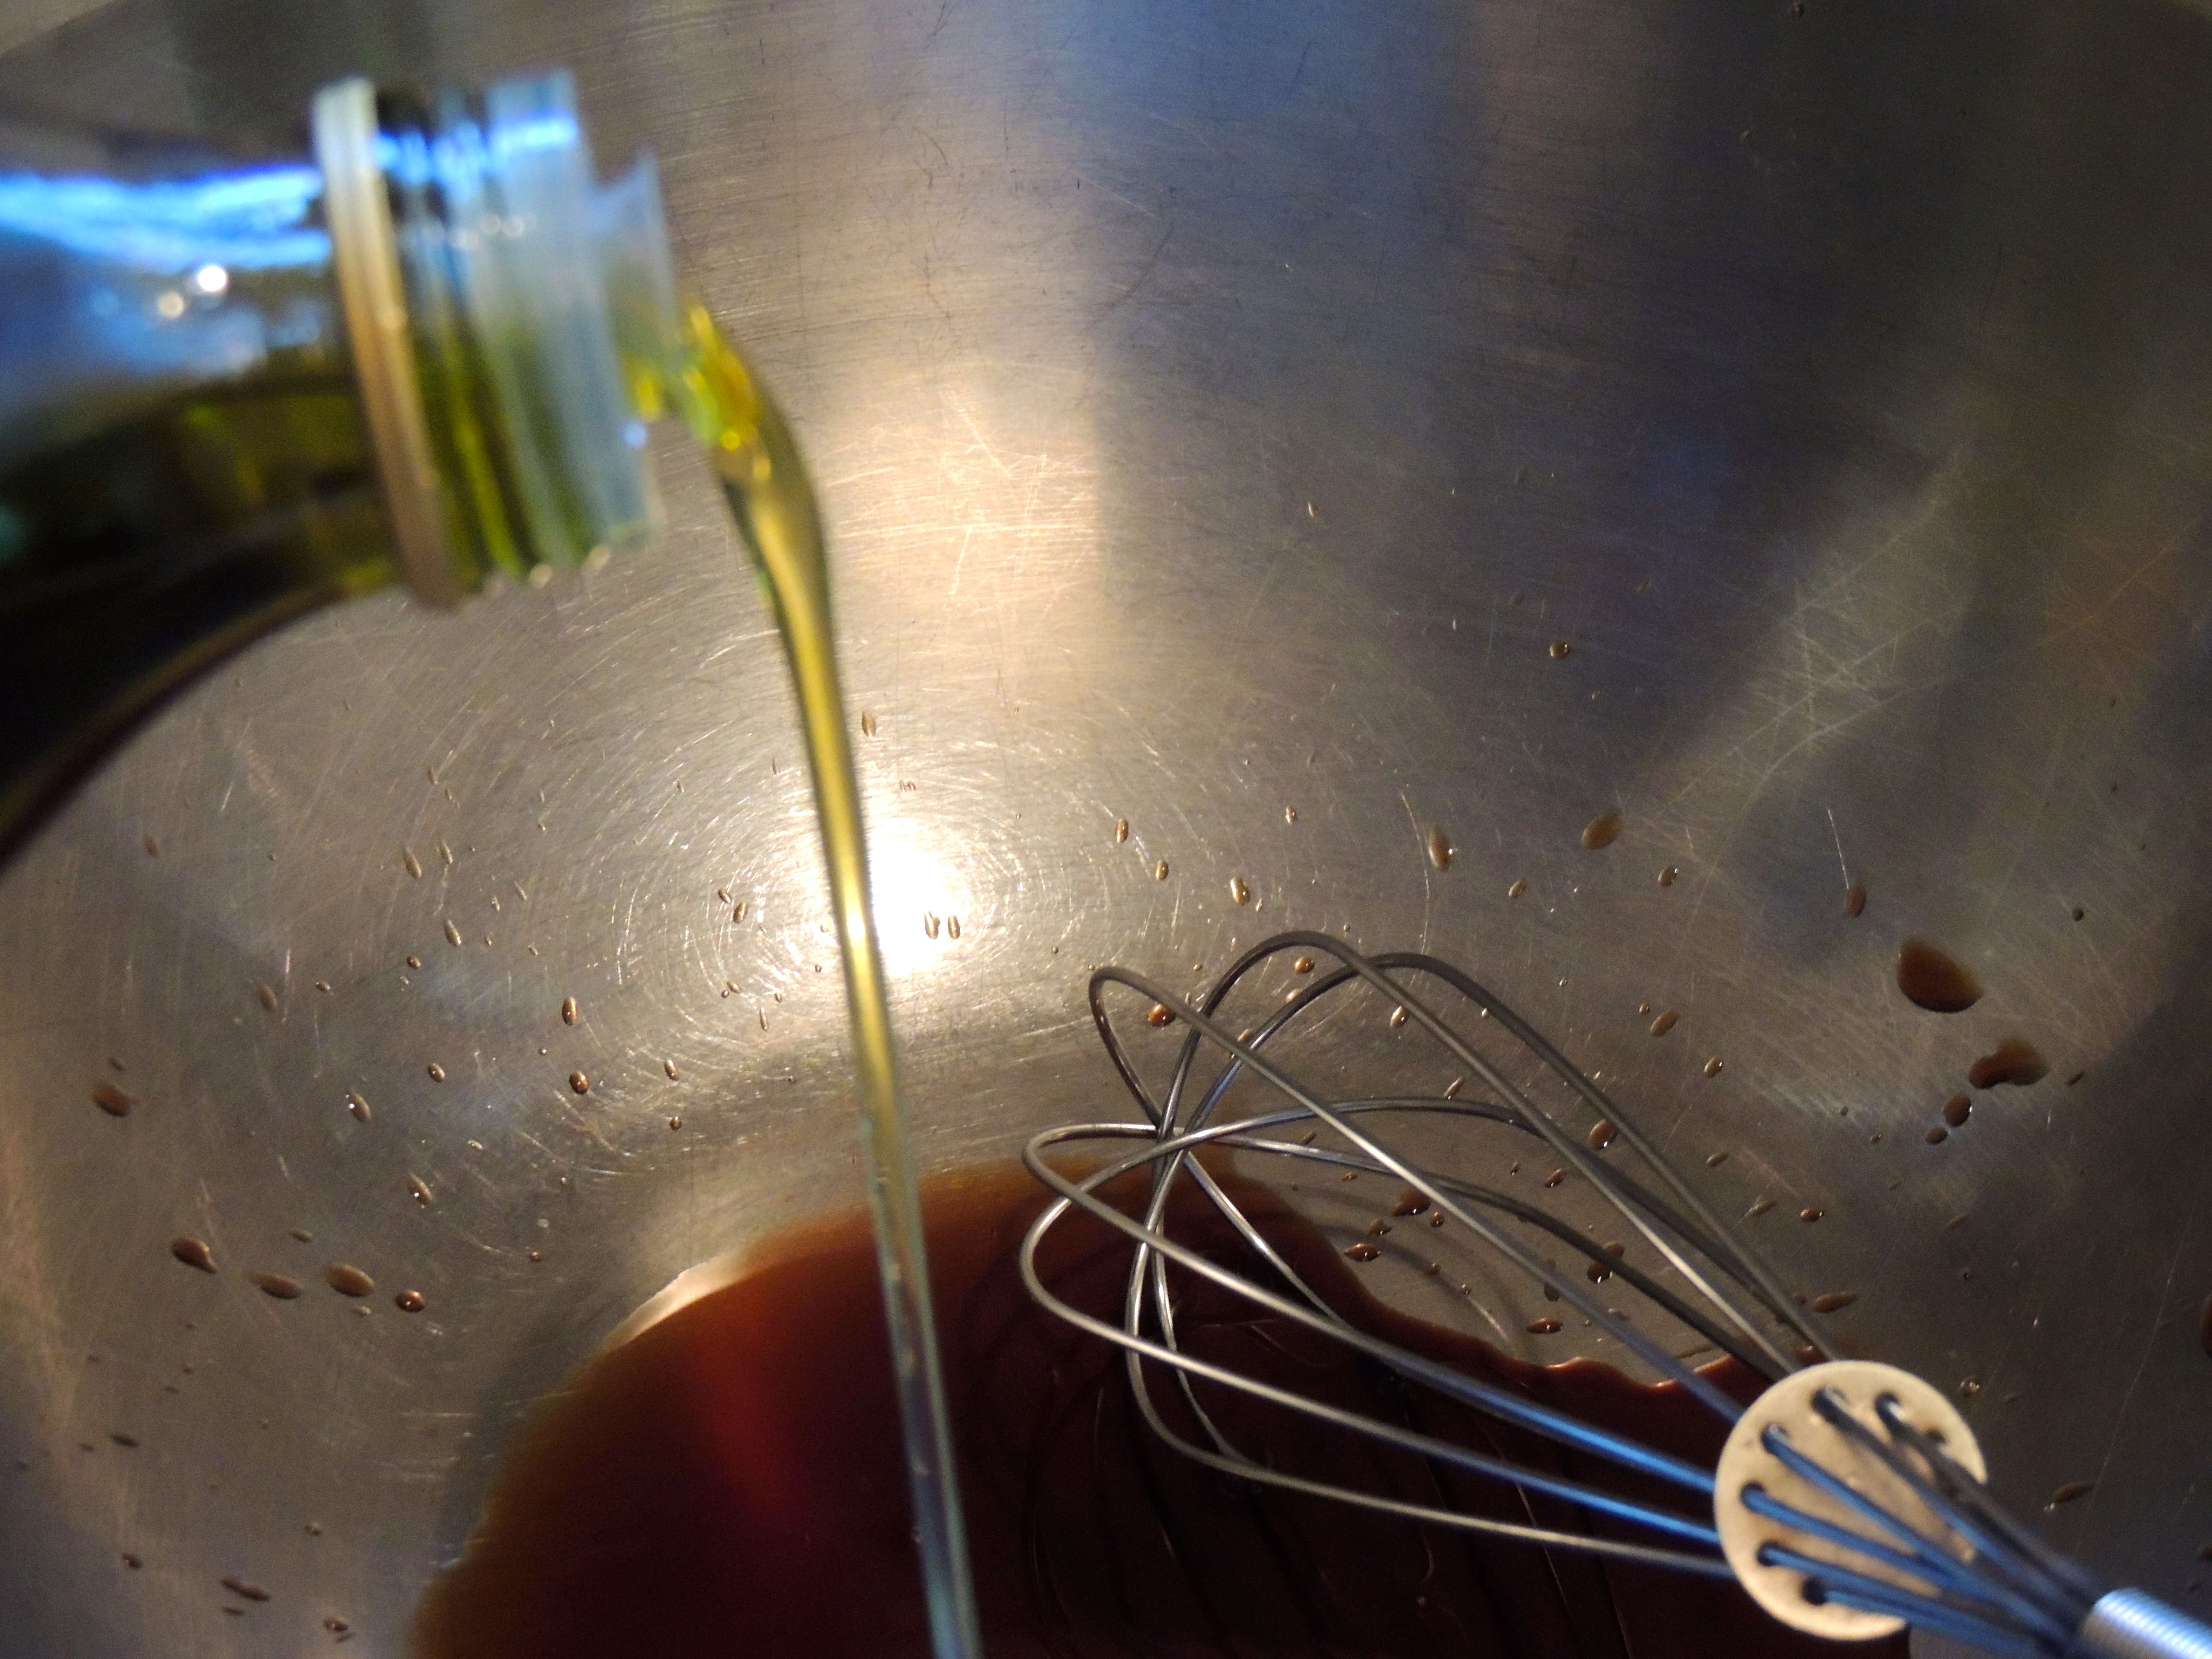
In a large bowl, add the balsamic vinegar. I never measure, I just eyeball it to see what I will need to coat the pasta well, it’s ok if it’s more on the heavy olive oil side, you’re going to put this salad on top of fresh spinach, so you will need it! Slowly whisk in ⅓ – ½ cup of olive oil. If you whisk it slowly it will emulsify (become one where it won’t separate). Add some pepper. Go ahead and toss in your cut up tomatoes into the olive oil/balsamic mixture so they can be absorbing those wonderful flavors!
Once your pasta has finished cooking to the al dente stage (firm to the bite), drain it well, and place it in the large bowl with the oil/vinegar. I give it a quick stir to coat the pasta well and then I cover the grape tomatoes with the hot pasta and let it sit for a few minutes.
After a few minutes add the fresh mozzarella, the cooked sausage and the fresh basil. Stir to coat.
You can eat it like it is, or wait until it’s chilled. I usually will take it out of the fridge for 5-10 minutes so that the olive oil will have a change to un-congeal… Place several large handfuls of fresh spinach and then a few large scoops of pasta salad… it melds together wonderfully! Enjoy!
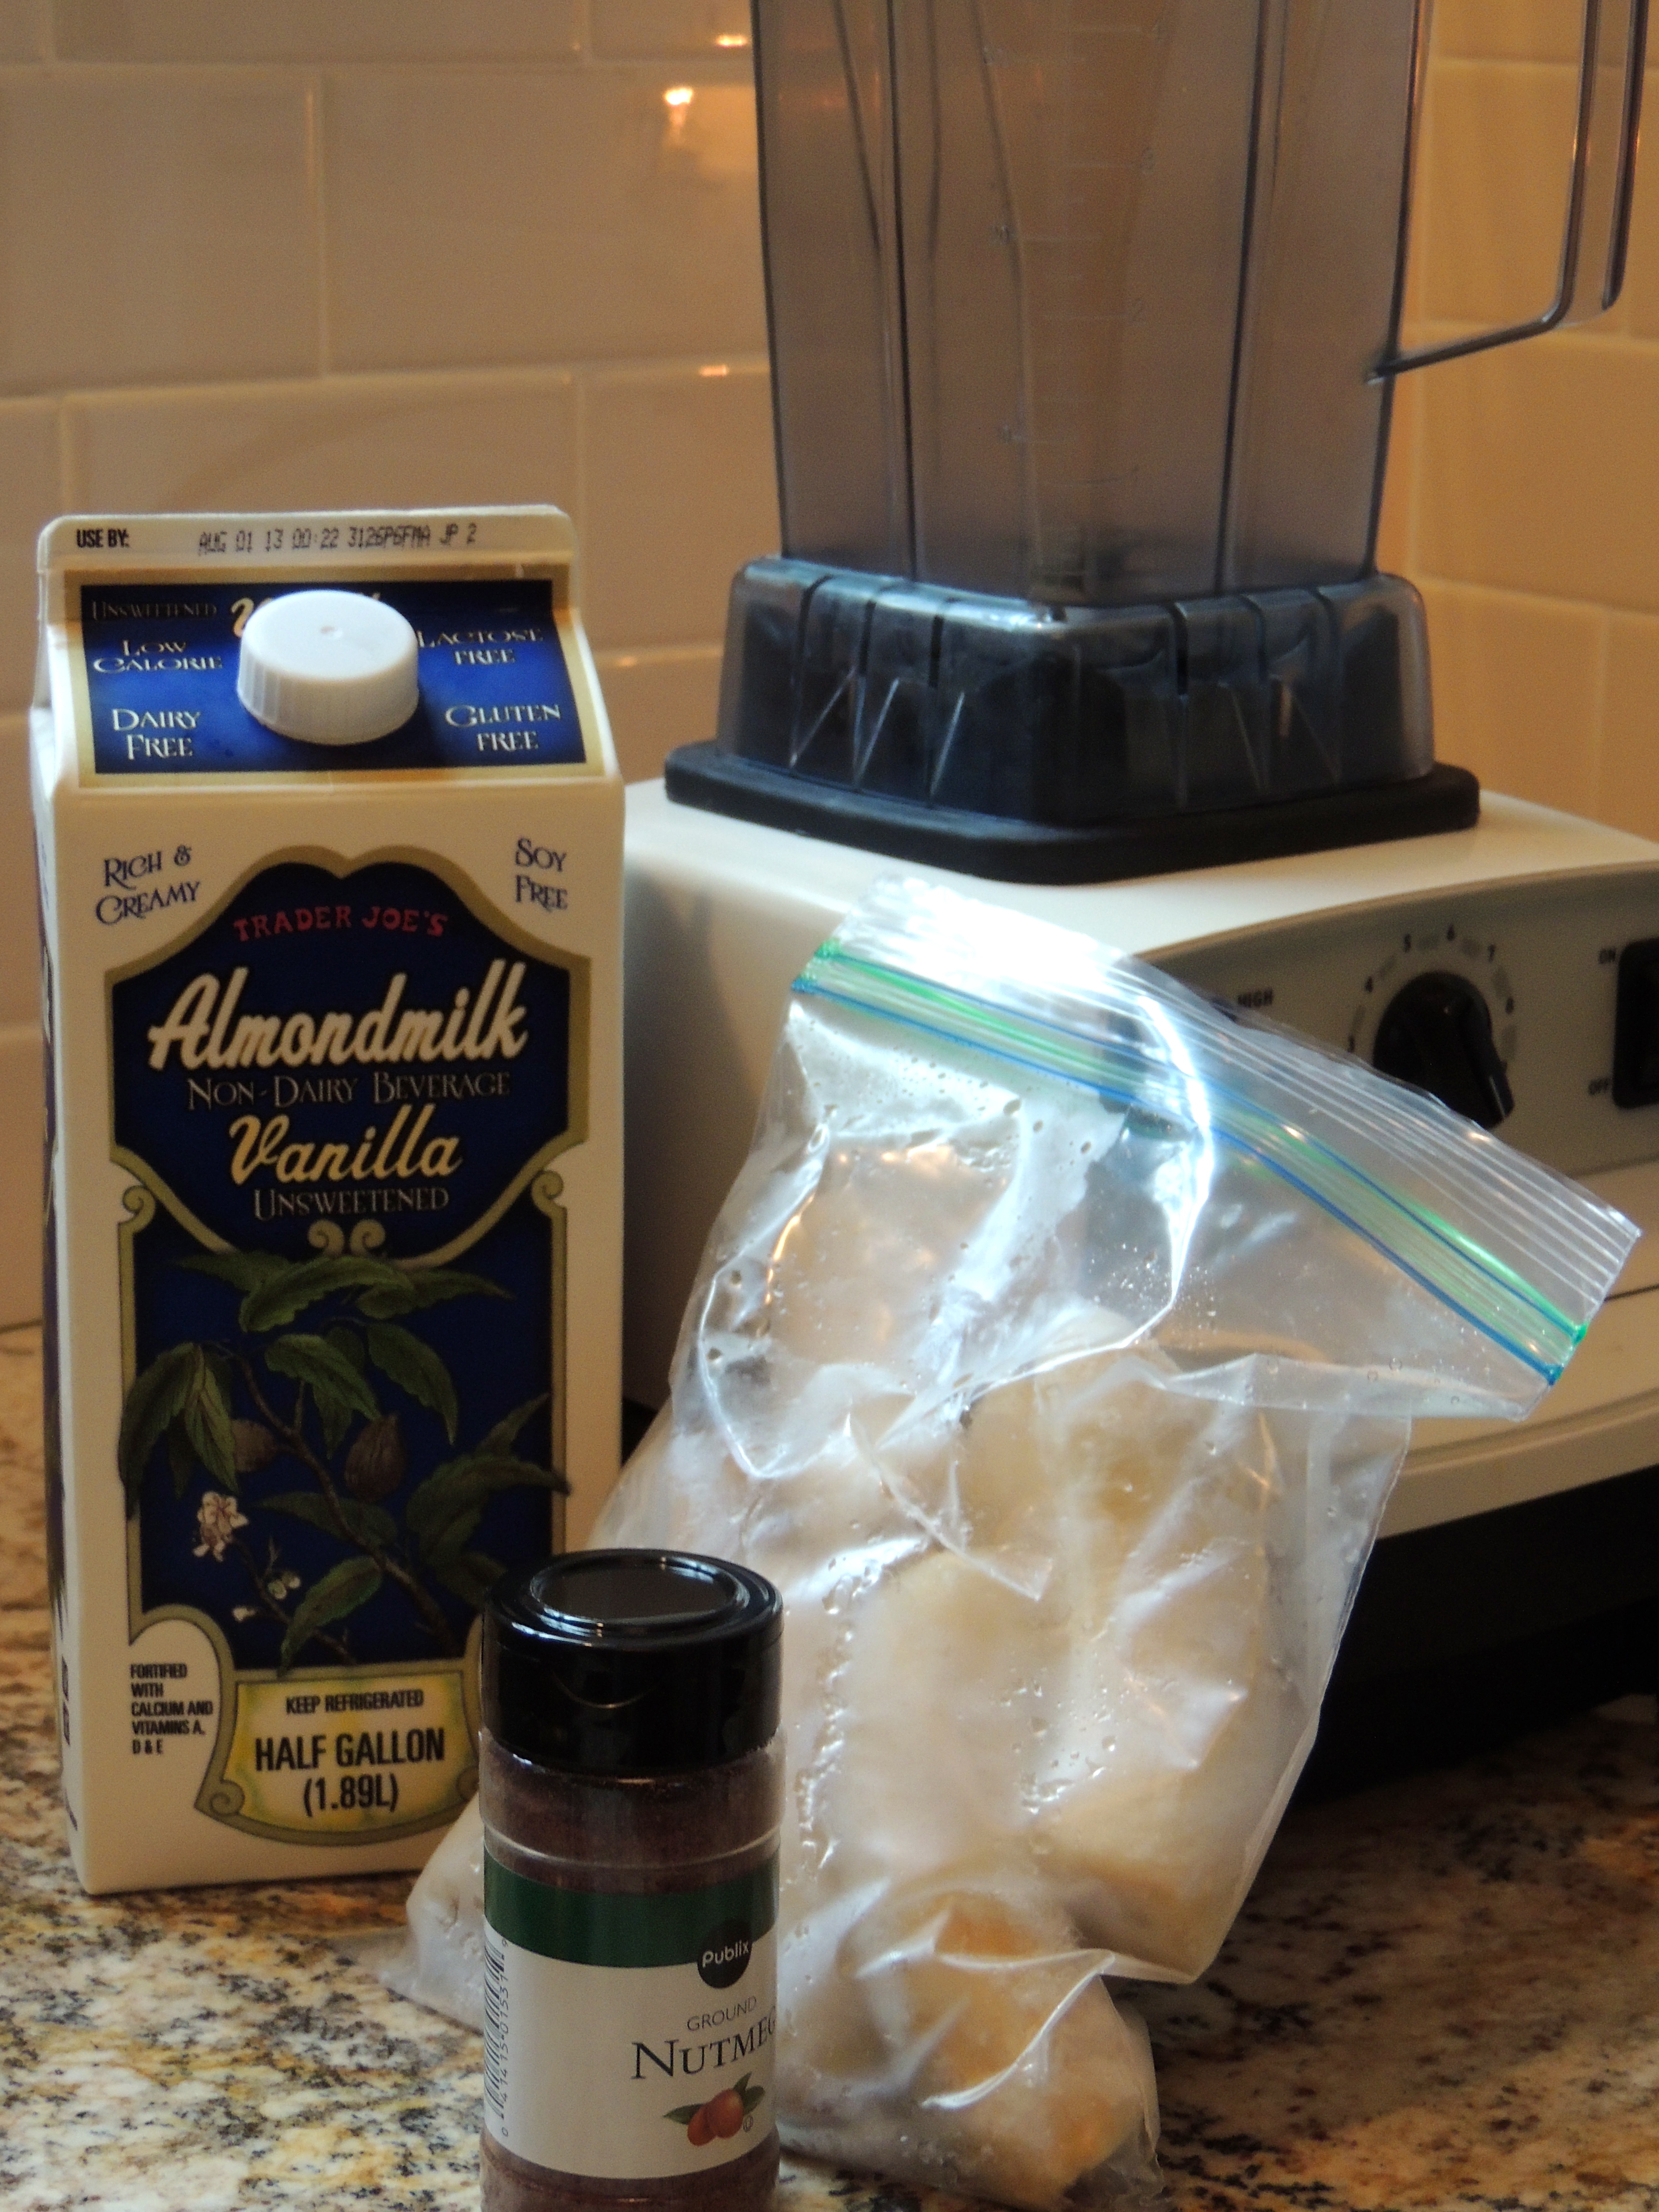
TIS THE SEASON! It’s officially SMOOTHIE weather! When it turns hot and humid, relief is needed. This fabulous smoothie tastes great and cools you off quickly. After we walk, we usually come in and make a smoothie. This is my all time favorite, and when Fred is home he makes one each morning (in the summer). Here’s what he does… See updated (2025) version below…
The All Star Ingredients… (See end for updated notes!)
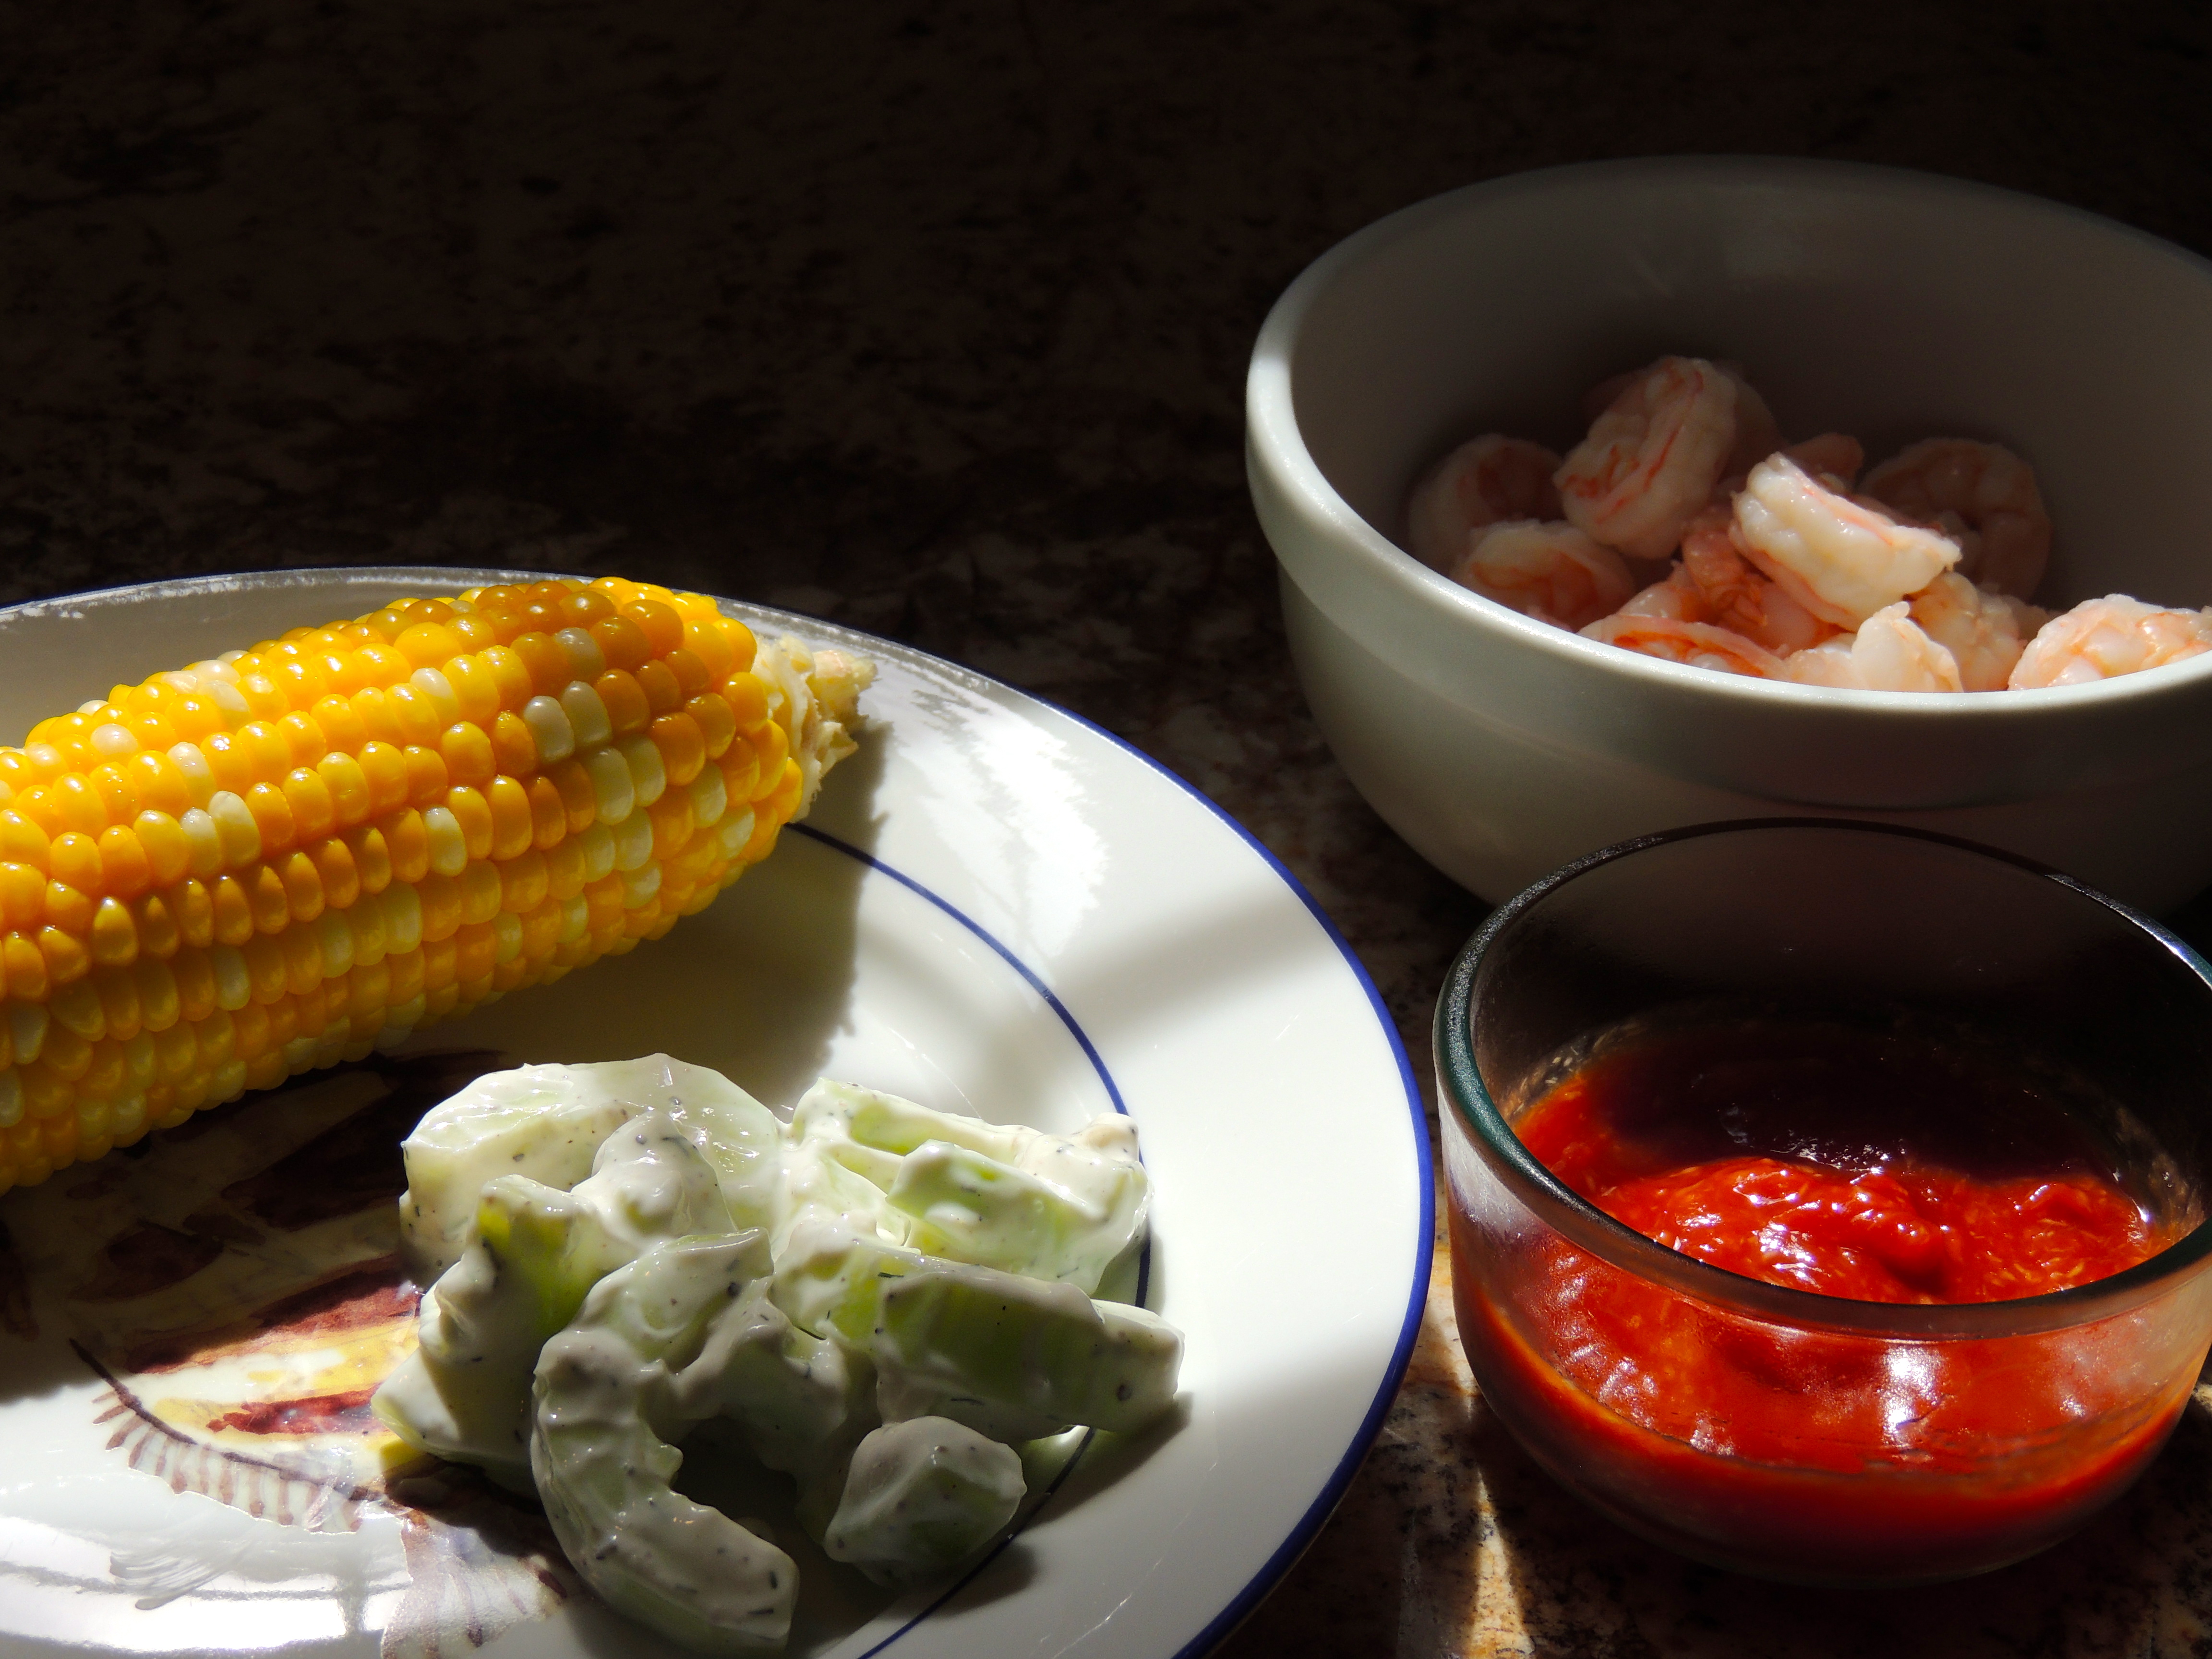
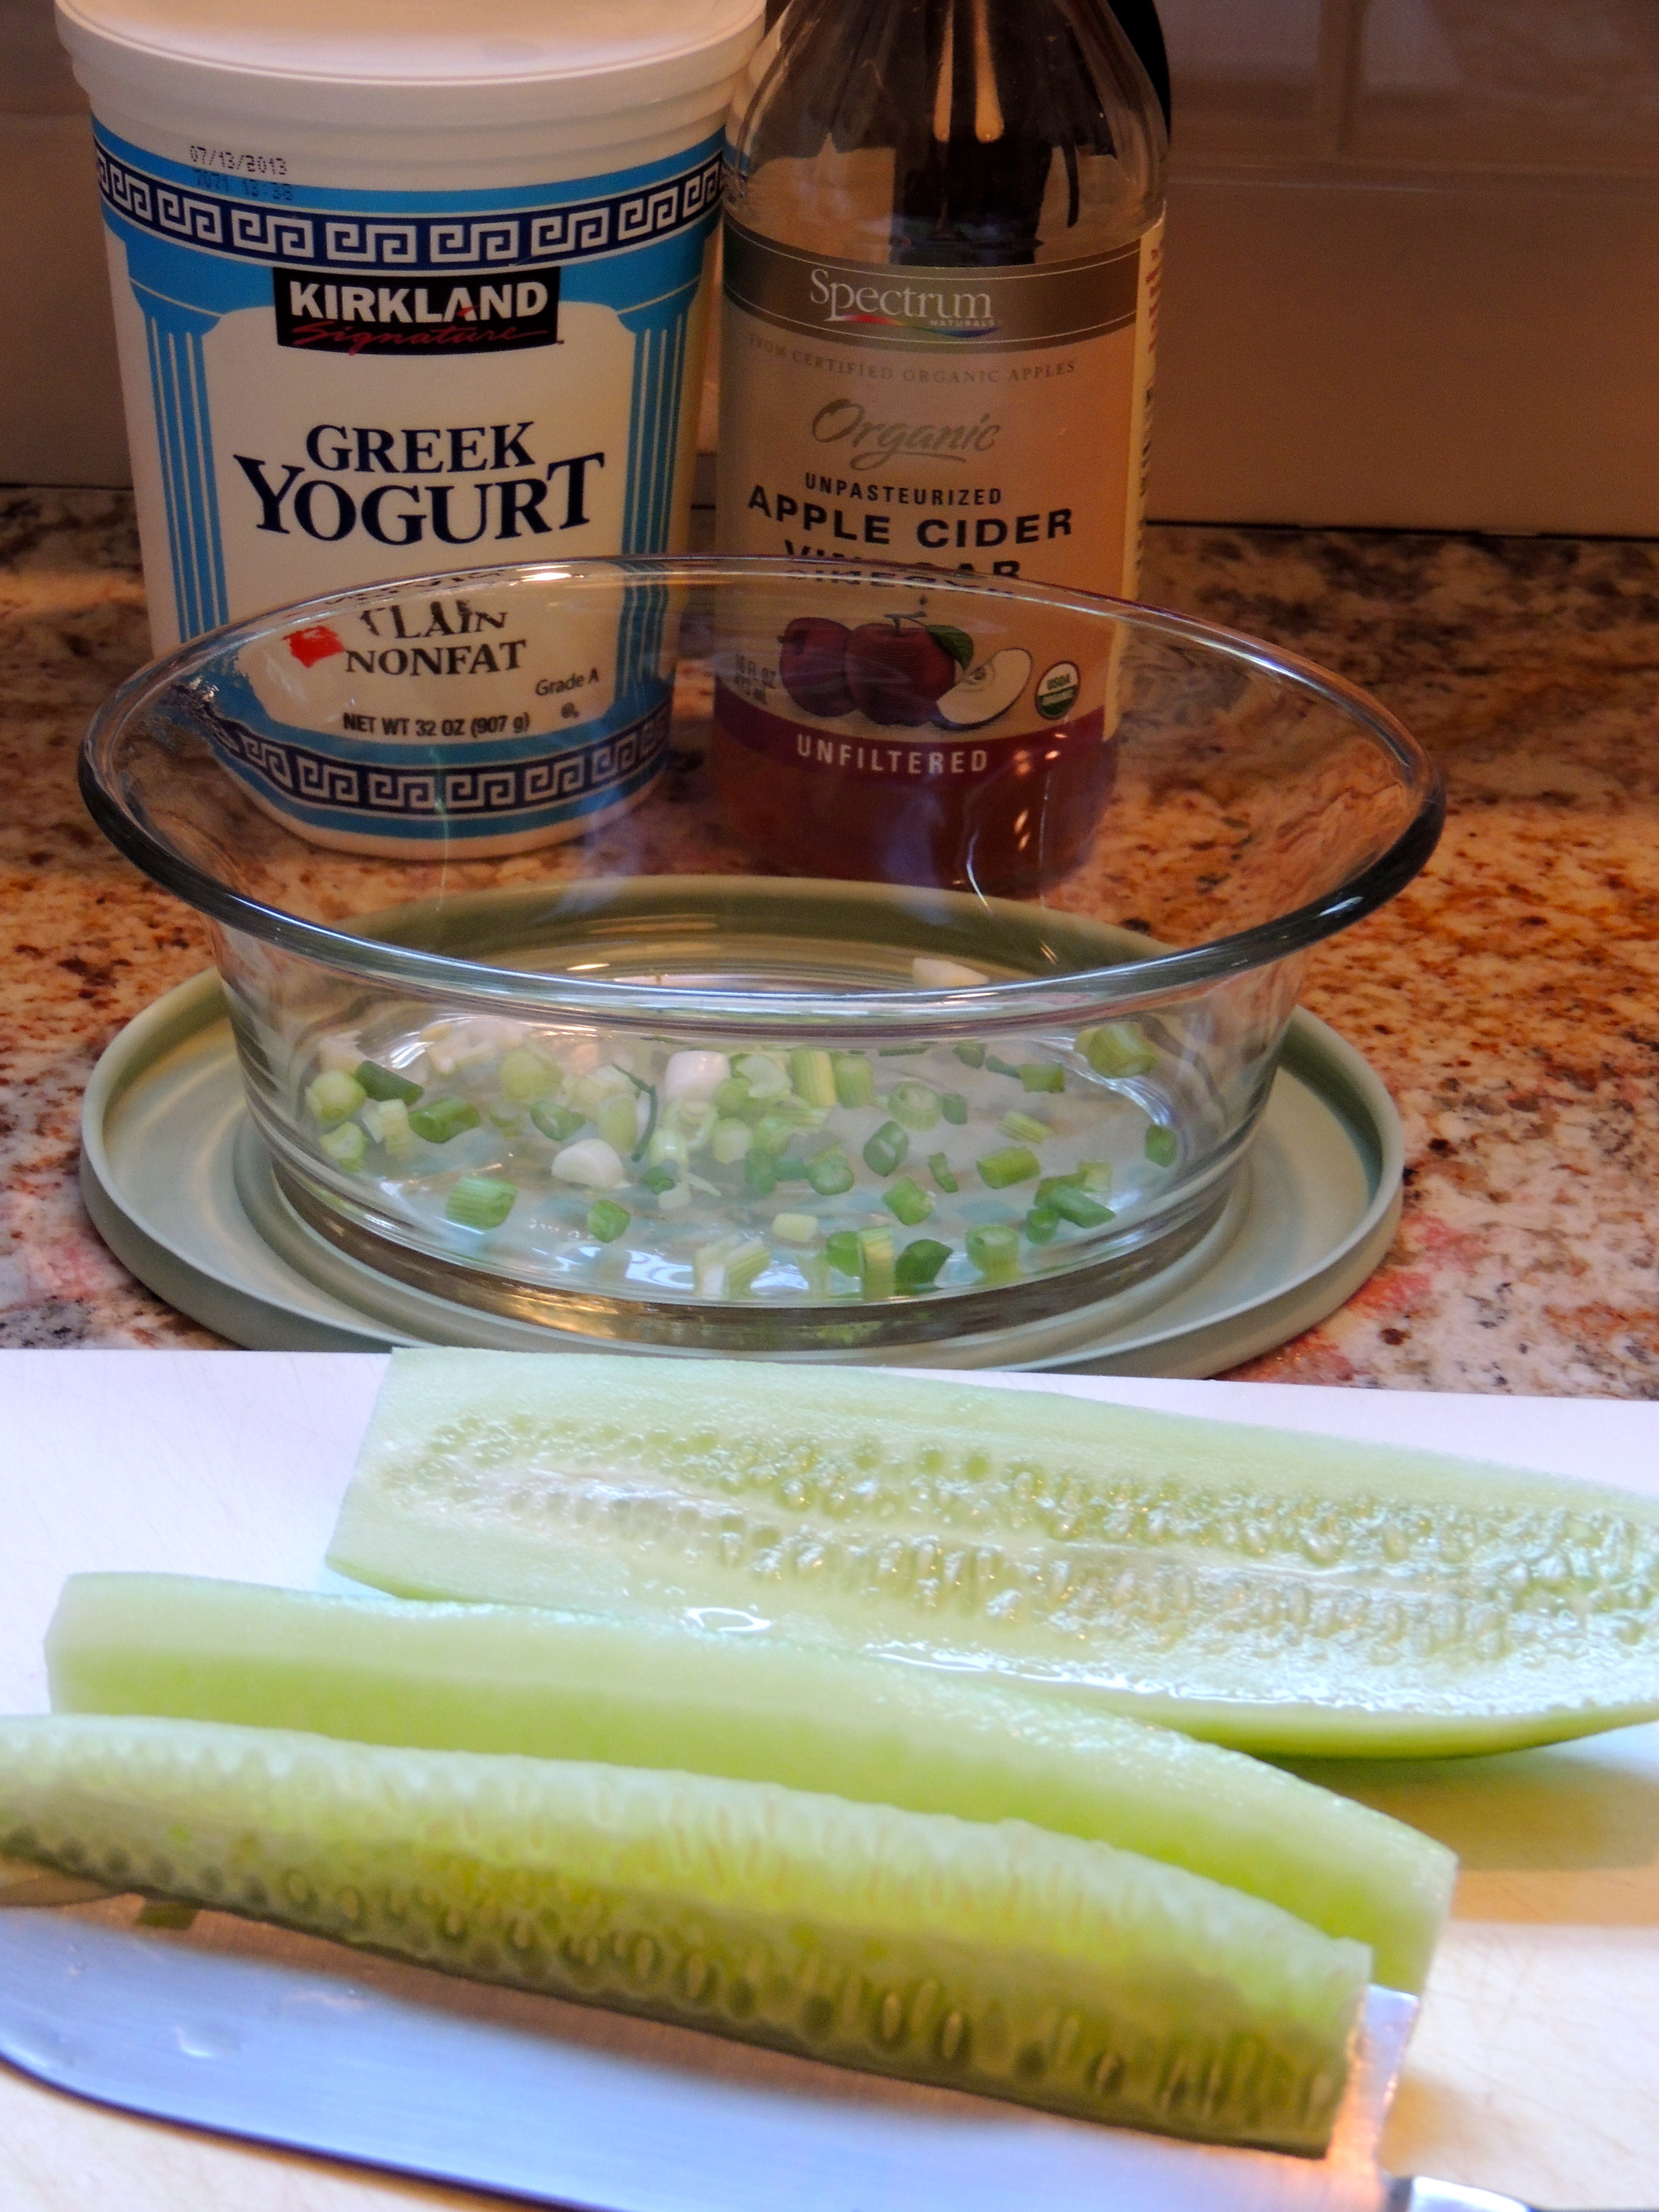
This isn’t as much of a “recipe” as it is an idea… This is my all time favorite when the cucumbers are local and oh so good… summer is when we like a lot of cold salads, boiled shrimp… keeps the house (and us!) cooler! I used to make this with low fat sour cream… then it hit me… USE GREEK YOGURT! We always have it, might as well use it! That way you feel GOOD about eating it! There are no feelings of guilt with this recipe…
Start off by chopping up a green onion (if you like them), or chive, minced onion, whatever makes you say WOOHOO! Then peel and cut the seeds out of a cucumber (this is for two people, for more, just double, triple, etc.).
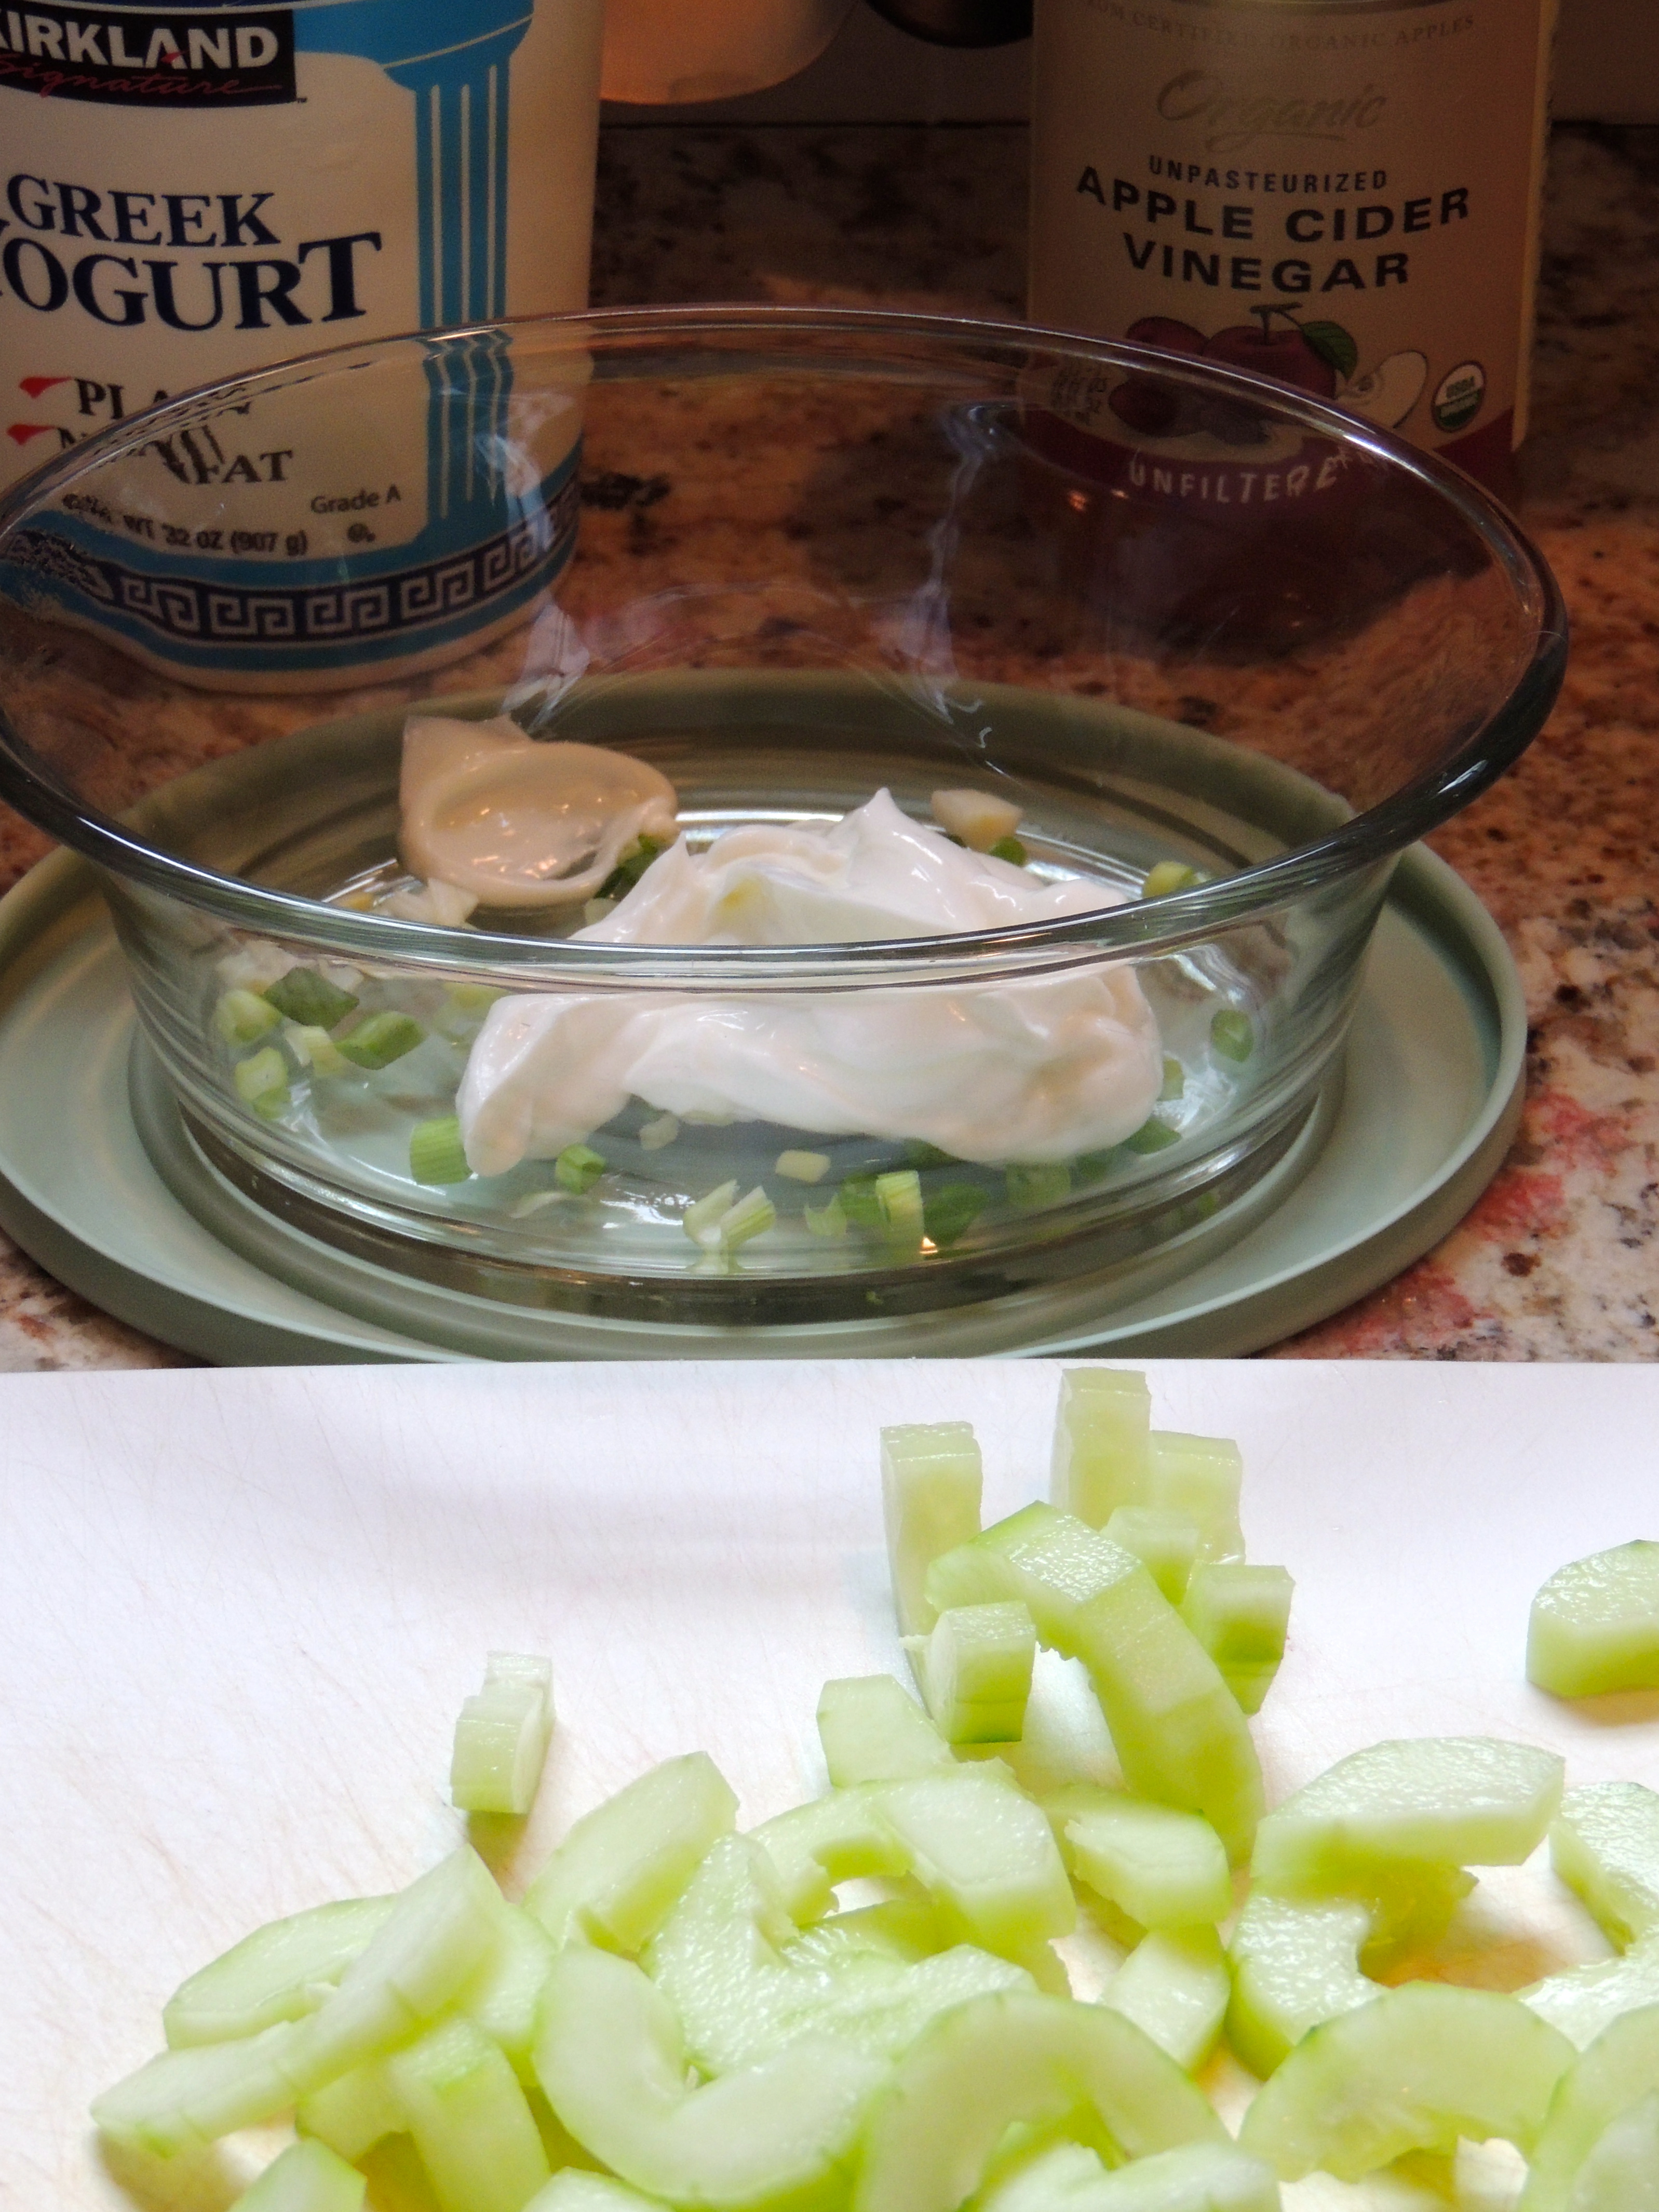
Next… Put a spoonful of Greek yogurt into a serving dish… I scoop one big tablespoon (not measuring spoon)… and slice the cucumbers…
Then… add some cider vinegar (I use unfiltered, it’s supposed to be healthier). If you like vinegar add a big gulp, if you aren’t big on it, put a little gulp, if you can’t stand it then use lemon juice!
Now… stir together the green onion, greek yogurt and apple cider vinegar… lovely!
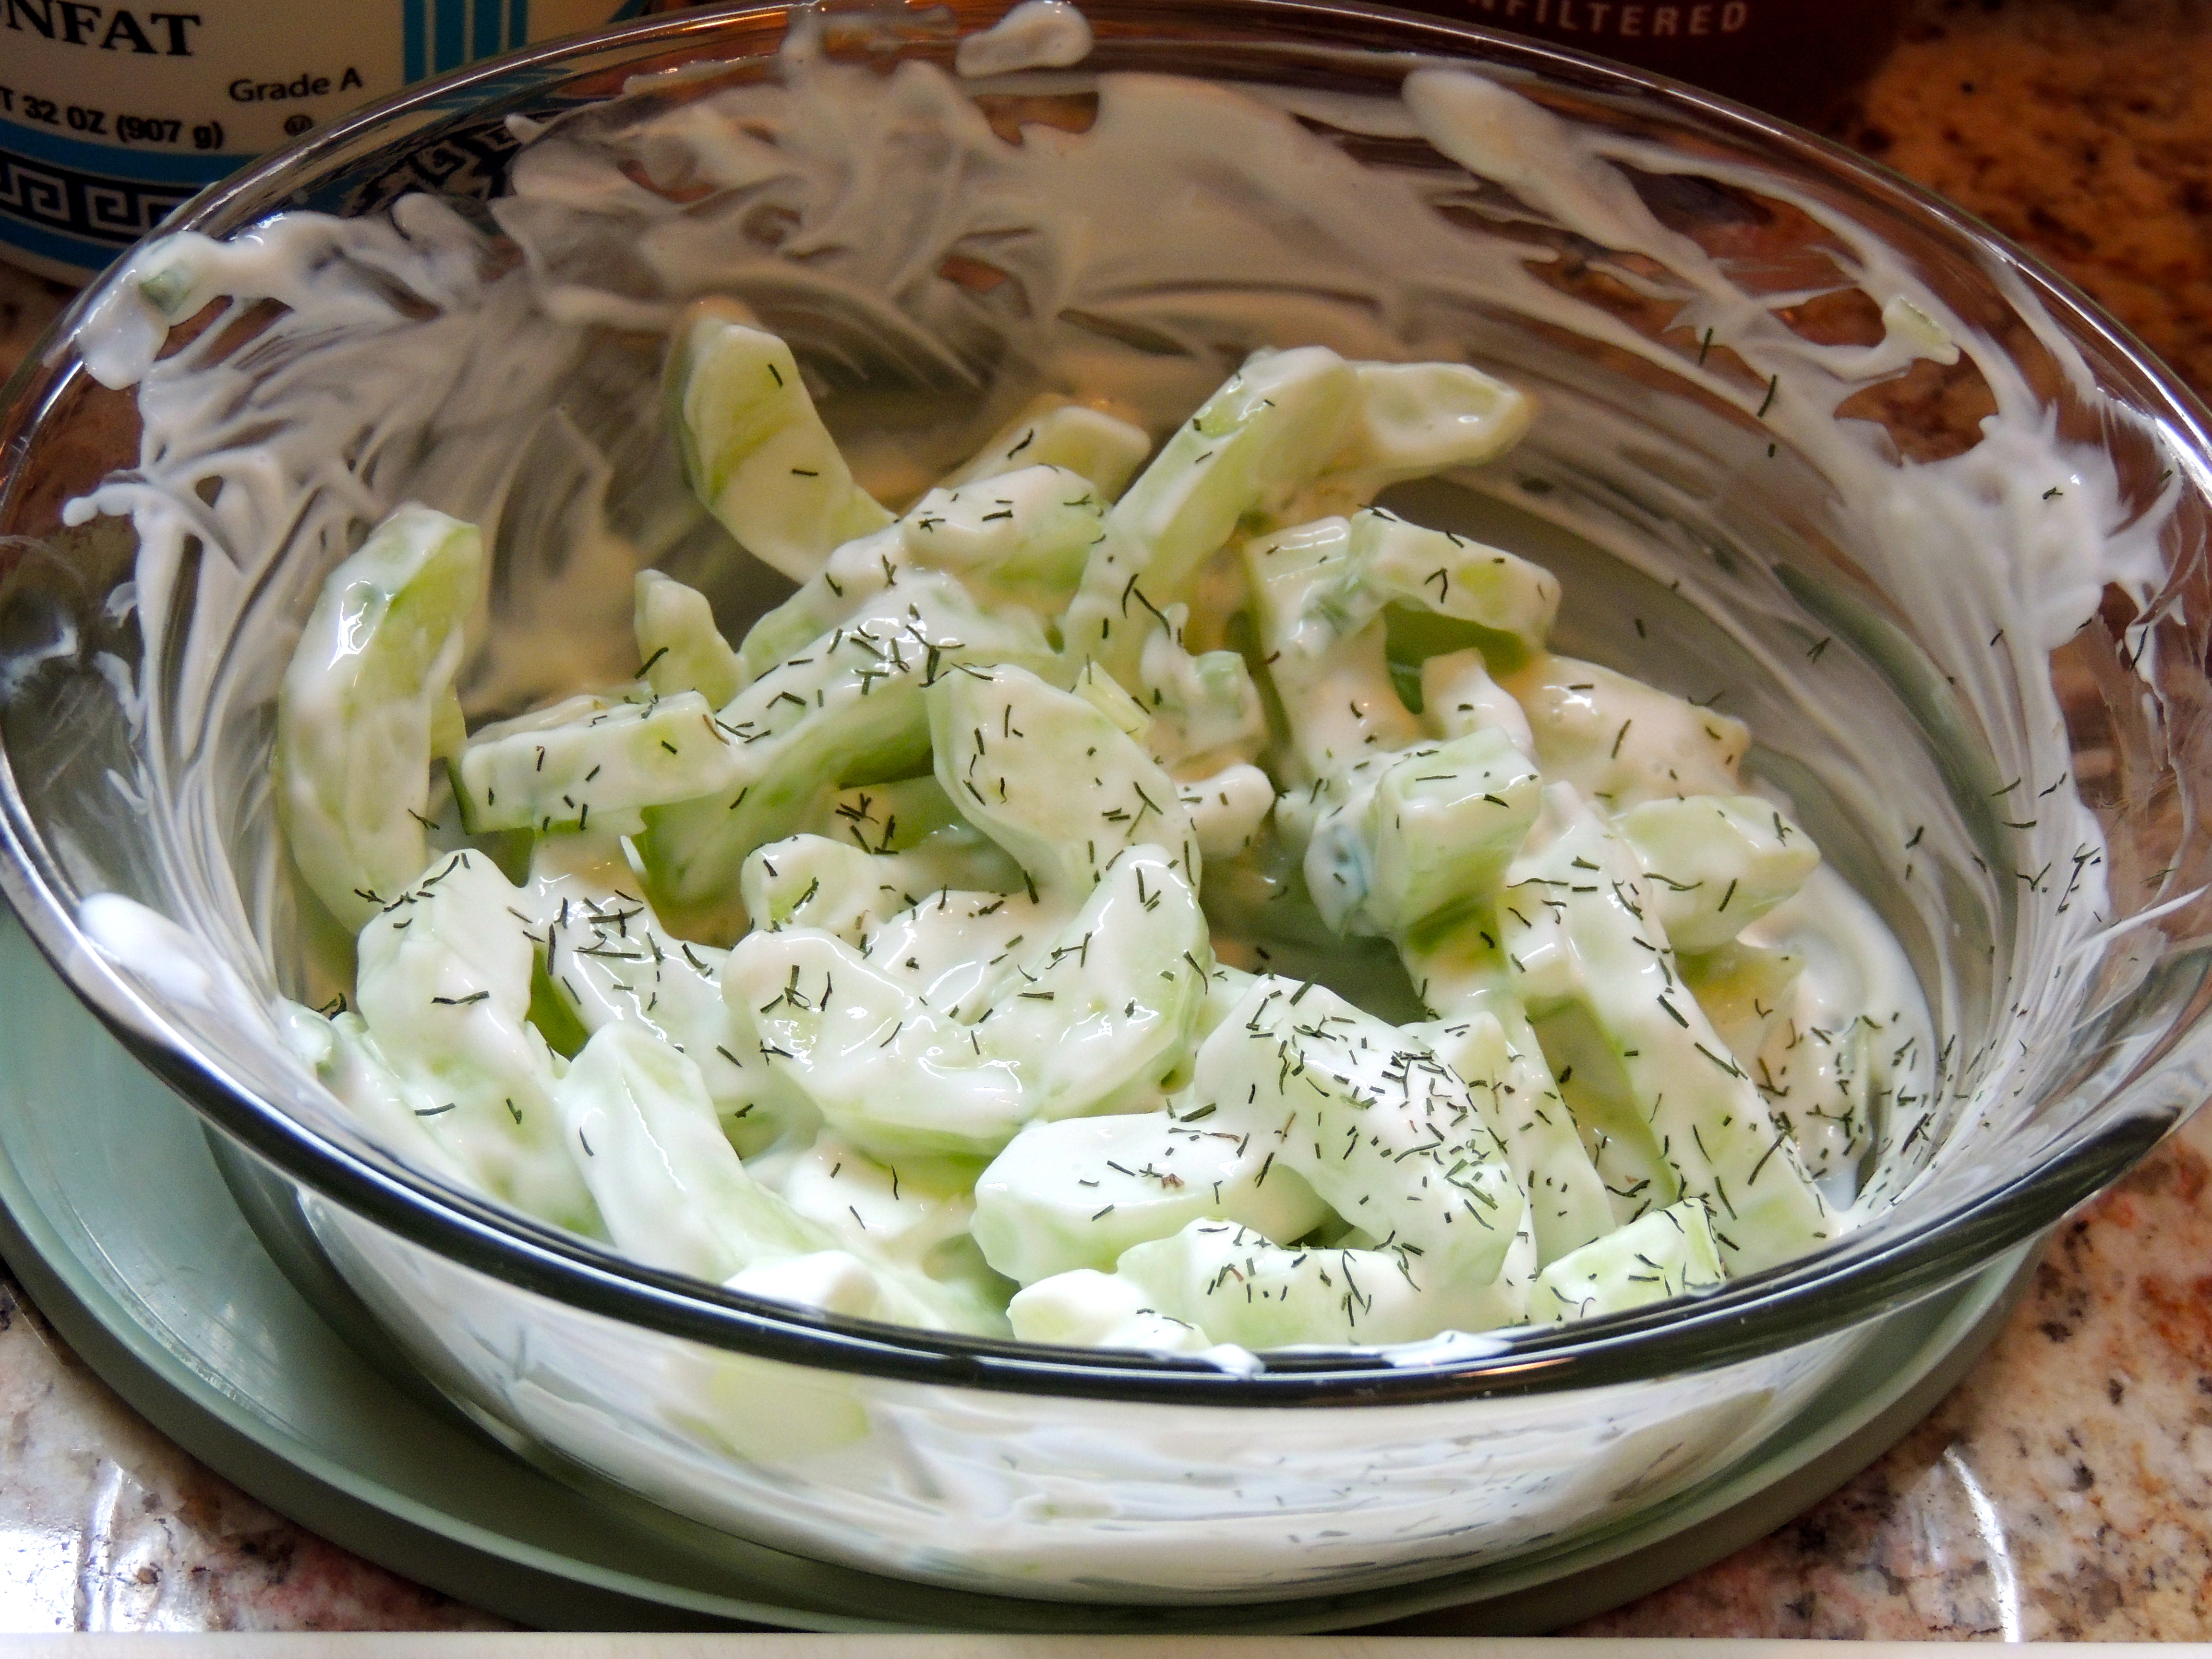
Toss in the slices of cucumber, and stir it gently, coating the cucumber pieces…
Then sprinkle with dill, and pepper if you like. One thing to mention… don’t make this too far ahead of time, it can get watery… I will make it and put it right back in the fridge while I finish dinner so that it stays cold. Take it out of the fridge, stir again and voila…
My basil plant is growing like a weed. It is absolutely gorgeous… I bought an heirloom tomato the other day and it smelled heavenly! My first thought… CAPRESE SALAD! I mean what could be any fresher tasting as well as quick and easy to throw together?
CAPRESE SALAD
Good tomato (or tomatoes)
Fresh mozzarella cheese (it’s in a ball, slice it into nice slices)
Fresh Basil (MUST. BE. FRESH!)
Olive Oil
Salt & Pepper
Find a good tomato (this one was rather large), and slice it (not too thin). You can lay a slice of tomato, then a slice of FRESH mozzarella cheese (if it’s not the softer fresh mozzarella the results will not be the same, I speak from experience!) and a basil leaf, or you can stack several basil leaves together, roll them up and snip them into small pieces (as I did, above). It tastes the same either way. Now drizzle the tomatoes and cheese with olive oil, and a light sprinkle of salt and pepper.
Note: I made this recipe ahead one day… popped it in the fridge… took it out when dinner was ready and the olive oil had congealed (eek), so if you make it ahead, just take it out of the fridge a few minutes before serving so the olive oil has a chance to come alive!
The other night we had boiled shrimp, corn on the cob, and this caprese salad… too good!
This is also fabulous on a good bakery baguette… nothing fresher, we used to get this at Dean & Deluca – oh, what memories!
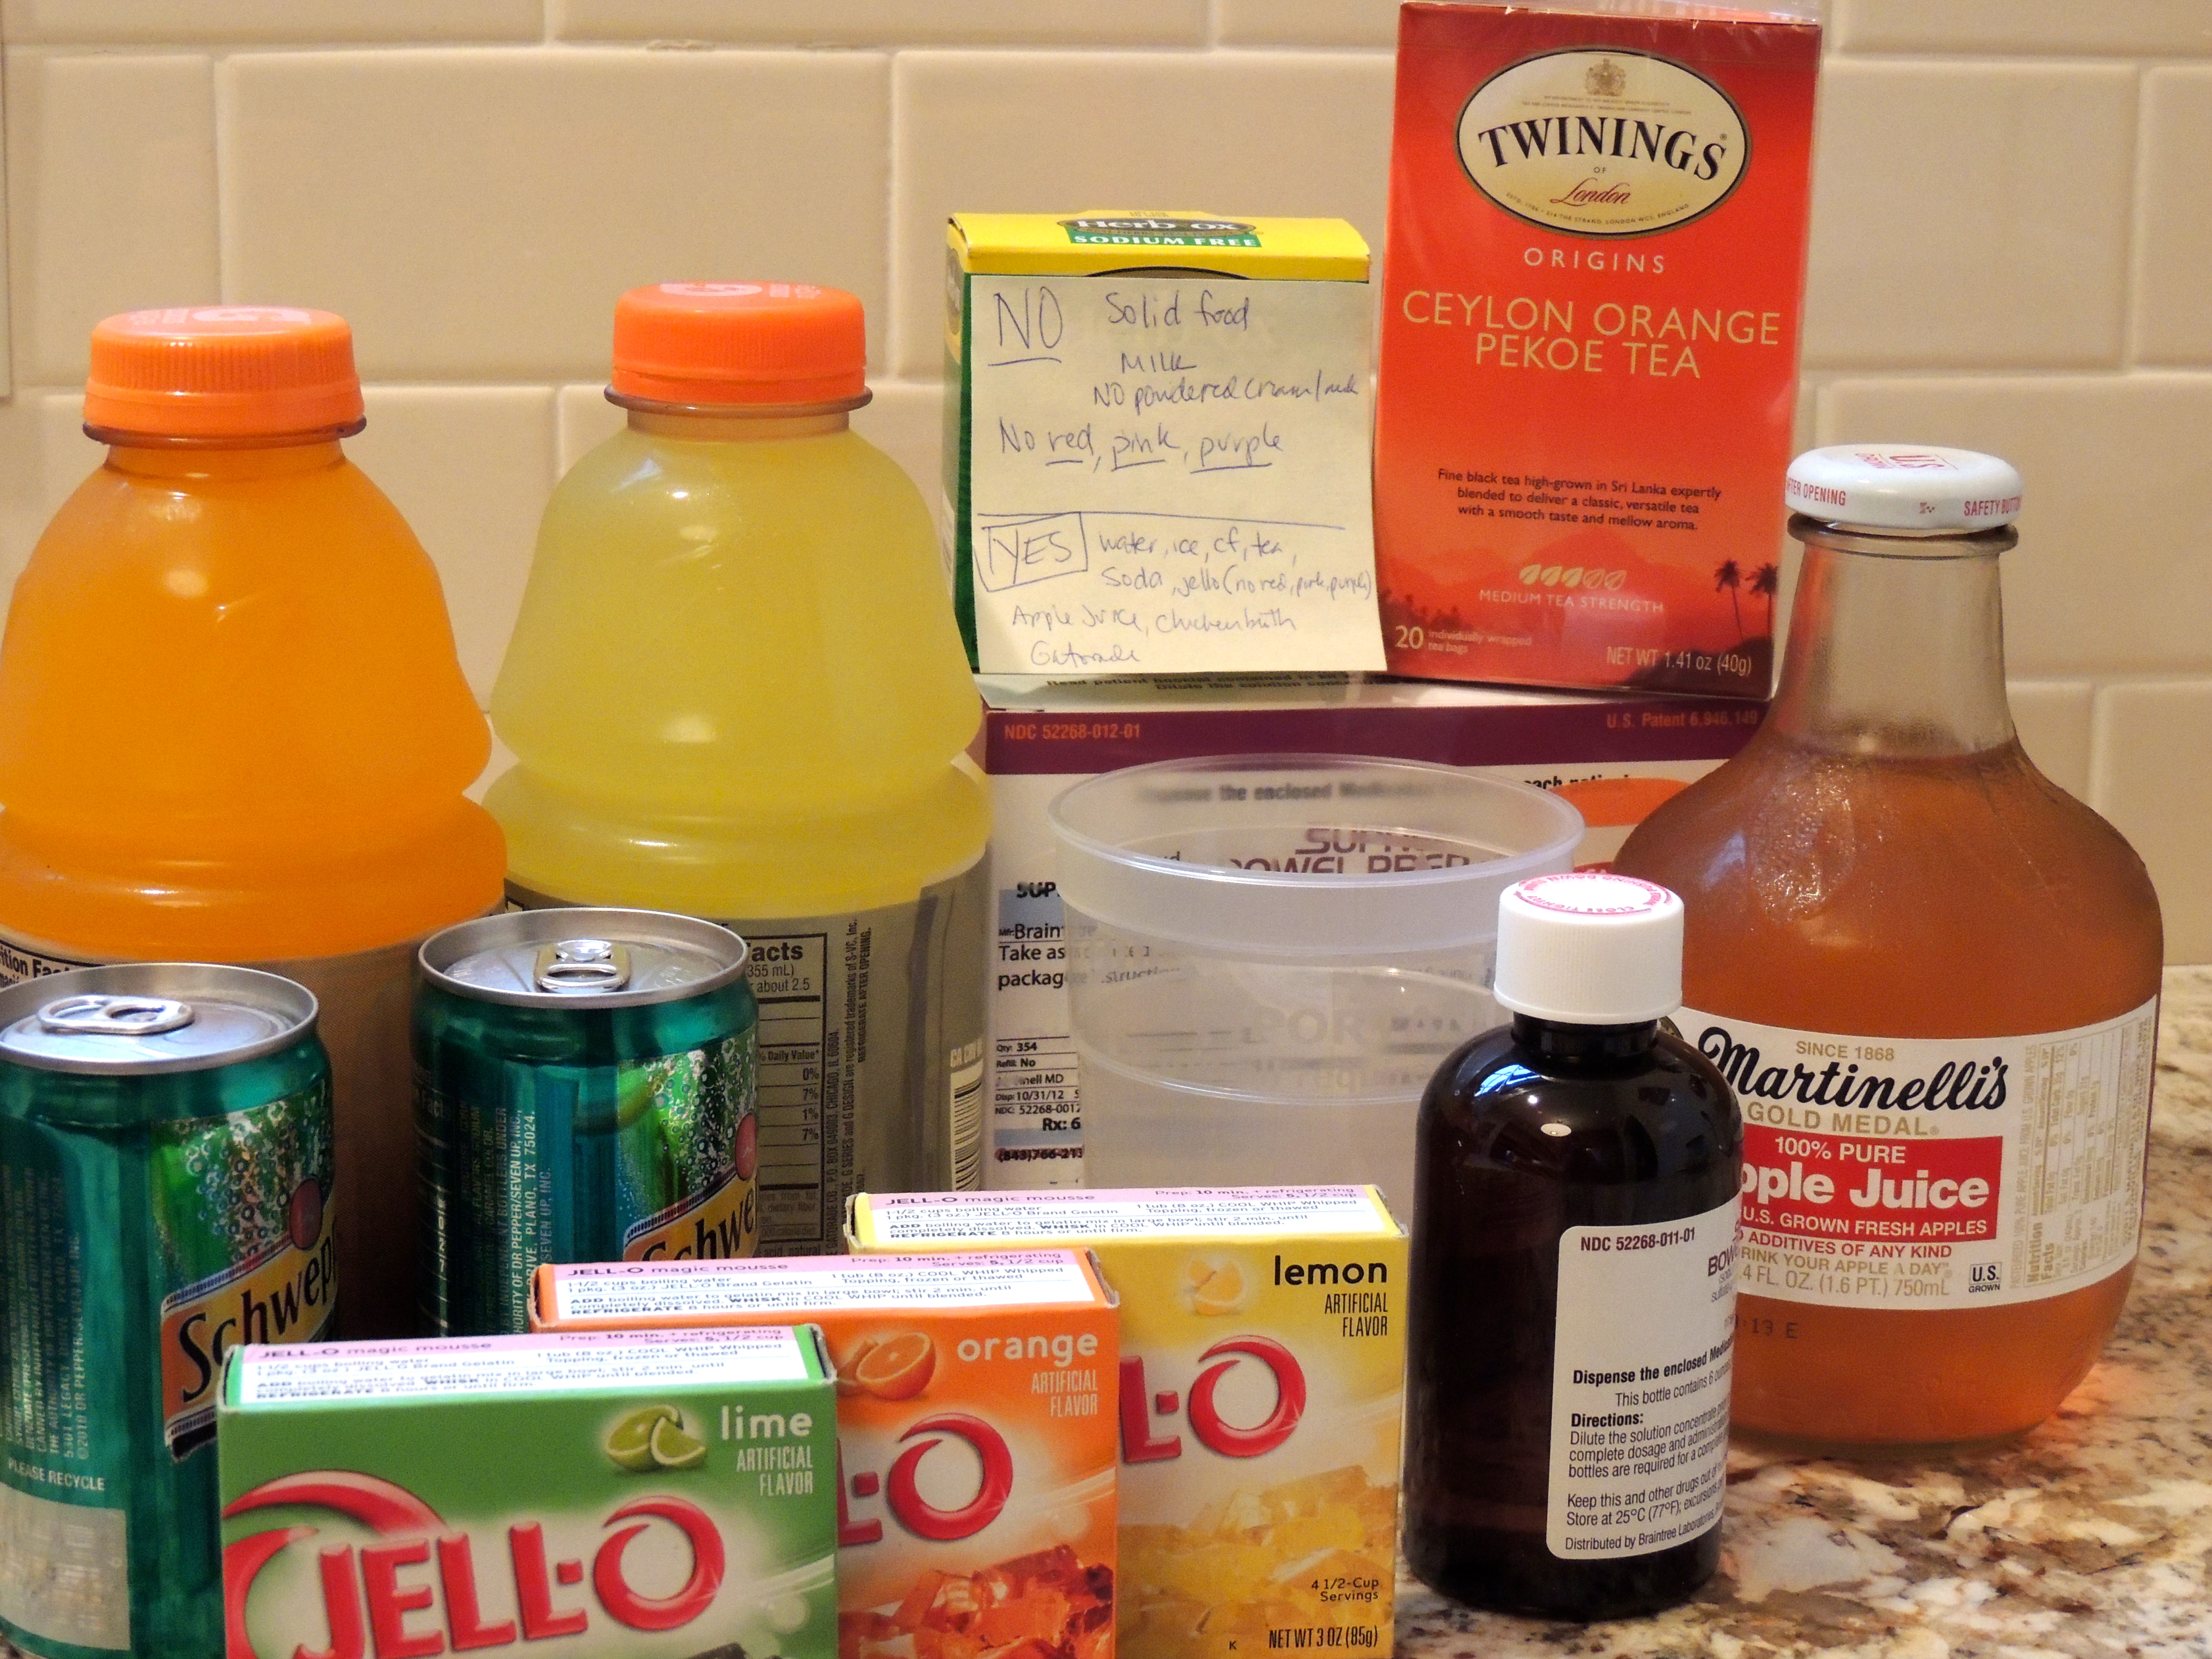
Update 2022:Since this was written years ago – the directions I received said NO RED, NO ORANGE. Other articles I read said NO RED, NO ORANGE, NO BLUE, NO PURPLE. So nix the above orange Gatorade and stick with lemon/lime. Also Jell-O – lemon or lime… I couldn’t find popsicles without all the colors you’re not supposed to eat, but I did find lemon Italian Ice. That’ll work! Not sure what the future holds – just follow the directions from your physician – each prep is a little bit different.
March is Colorectal Cancer Awareness month. As the CDC says below… if everyone who is 50 years old or older were screened regularly, as many as 60% of deaths from this cancer could be avoided.
Getting a colonoscopy really isn’t a big deal. You have an appointmet and talk to the doctor that will be performing the procedure. He will ask if you’re taking medication (vitamins/supplements included, tell them everything you take) and assorted other questions, then they will schedule an appointment, tell you what you can drink/eat. What your prep will be (there are many variations), what time you can no longer have liquids or anything else… then it’s a quick procedure. Mine was twilight, meaning I wasn’t put all the way under, which is nice because you wake up fast. It’s the best 15 minute sleep of your life! You don’t feel any different, you have no idea you even had it done.
I know. Fun fun. This past year Fred and I both turned 50, we celebrated (woohoo) by getting colonoscopies. Now we’re set for another 10 years. Thank God. For me, the actual prep part of it wasn’t so bad (the part you drink that “makes things happen”) it was NO FOOD the day before. Holy cow. No real solid food. No cheese. No cream in coffee? We work hard to not eat much sugar, we don’t drink soda, so to go from a pretty un-sweet existence to a sugar loaded day creeped me out. BUT, if I bought the diet stuff, no calories and I could fall over from starvation. Believe me, this was a serious concern, ha ha… Basically, you’re on a liquid diet the day before (check with a doctor, I’m not one, I do not perform colonoscopies or have above average knowledge about them… check. check. check. This post is about what I did (what I was told to do)… and I’m happy to say I’m alive to talk about it!
I basically had jello (made three different kinds… breakfast, lunch and dinner, ugh), Gatorade (or other sports drink) which to me is loaded with sugar and other “stuff”, but it’s important to stay hydrated. If you don’t you get dehydrated which leaves to horrible side affects. So DRINK. DRINK. DRINK. (And not alcohol…). Clear, non pulp juices like white grape and apple are also options, for soda I opted for ginger ale in case I got nauseous from no food (I think that’s what I drank towards the end of the day). Hot tea (or coffee, but with no cream, no powdered cream, etc.). Chicken Boullion, but NOT the brand I bought here. I didn’t drink it, but when it came time for Fred’s colonoscopy prep day, he had to work, had a big meeting. Fun times. So I packed him his lunch (oh, how I felt for him that day), he called me and asked if it was OK if there were “green things” in the bouillon… AHHH, NO GREEN THINGS! While we’re on the topic of color NO RED, NO PINK, NO PURPLE of any kind in any form… it shows up like somethings wrong in your colon, and you don’t want to repeat this for at least 10 years. Popsicles were another thing you could eat, but NOT FRUIT POPS (pulp). So you have to eat the sugar laden ones, but none with RED, PINK or PURPLE! I was getting worried that mixing my Jello (lemon, lime, and orange would some how mix together, kind of like mixing paint, and turn red/pink/purple, ha… I was fine).
Fred’s lunch… heavy sigh… Again… NOT THIS BRAND OF BOULLION… it has “green stuff” (flavoring) in it. I was quite happy how I packed his Jello, hee…
March Is National Colorectal Cancer Awareness Month
Colorectal cancer screening saves lives. If everyone who is 50 years old or older were screened regularly, as many as 60% of deaths from this cancer could be avoided.
Among cancers that affect both men and women, colorectal cancer (cancer of the colon or rectum) is the second leading cause of cancer deaths in the United States. Every year, about 140,000 Americans are diagnosed with colorectal cancer, and more than 50,000 people die from it.
How Can You Reduce Your Risk?
The risk of getting colorectal cancer increases with age. More than 90% of cases occur in people who are 50 years old or older. Colorectal cancer screening saves lives, but many people are not being screened according to national guidelines.
If you’re 50 years old or older, getting a screening test for colorectal cancer could save your life. Here’s how—
Colorectal cancer screening tests can find precancerous polyps so they can be removed before they turn into cancer. In this way, colorectal cancer is prevented.
Screening tests also can find colorectal cancer early, when treatment often leads to a cure.
What Are the Symptoms of Colorectal Cancer?
Precancerous polyps and colorectal cancer don’t always cause symptoms, especially at first. You could have polyps or colorectal cancer and not know it. That is why having a screening test is so important. Symptoms for colorectal cancer may include—
Blood in or on the stool (bowel movement).
Stomach pain, aches, or cramps that do not go away.
Losing weight and you don’t know why.
These symptoms may be caused by something other than cancer. If you’re having any of these symptoms, the only way to know what is causing them is to see your doctor.
When Should You Begin to Get Screened?
You should begin screening for colorectal cancer soon after turning 50, then keep getting screened regularly until the age of 75. Ask your doctor if you should be screened if you’re older than 75.
Some people are at a higher risk than others for developing colorectal cancer. Having any of these things may increase your risk—
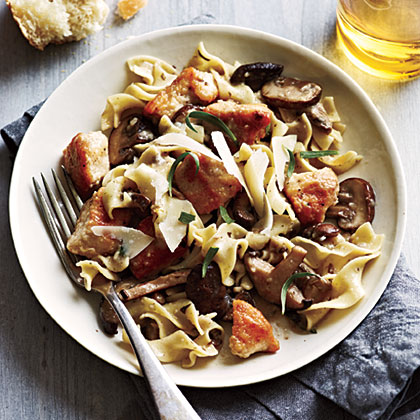
Chicken and Mushrooms in Garlic White Wine Sauce by Cooking Light(Image and Recipe)
Yet another fabulous recipe from Cooking Light magazine! This one will blow you away! I saw this in the magazine and quickly tore that page out and set it on my desk… MUST. GET. MUSHROOMS. I had everything else… We had this last night and oh, were we ever happy!
Put this Chicken and Mushrooms in Garlic White Wine Sauce recipe together in less than 25 minutes, probably without a trip to the store. It’s adaptable to your pantry–if you don’t have egg noodles, use another kind of pasta, and if you’re out of tarragon, try basil, oregano, or thyme.
Cooking Light NOVEMBER 2012
Yield: 4 servings
Ingredients
4 ounces uncooked medium egg noodles
1 pound skinless, boneless chicken breast halves
2 tablespoons all-purpose flour, divided
1/2 teaspoon salt, divided
1/4 teaspoon freshly ground black pepper, divided
2 tablespoons olive oil, divided
1 tablespoon minced fresh garlic
1 (8-ounce) package presliced exotic mushroom blend (such as shiitake, cremini, and oyster)
1/2 cup dry white wine
1/2 cup fat-free, less-sodium chicken broth
1 teaspoon chopped fresh tarragon
1/4 cup shaved Parmesan cheese
Preparation
Cook noodles according to package directions, omitting salt and fat. Drain and keep warm.
Cut chicken into 1-inch pieces. Place chicken breast halves in a shallow dish. Combine 1 tablespoon flour, 1/4 teaspoon salt, and 1/8 teaspoon pepper, stirring well with a whisk. Sprinkle flour mixture over chicken; toss to coat.
Heat 1 tablespoon oil in a large nonstick skillet over medium-high heat. Add chicken to pan; sauté 4 minutes or until browned. Remove chicken from pan. Add remaining 1 tablespoon oil to pan. Add garlic, tarragon, and mushrooms to pan; sauté for 3 minutes or until liquid evaporates and mushrooms darken. Add white wine to pan; cook 1 minute. Stir in remaining 1 tablespoon flour; cook 1 minute, stirring constantly. Stir in broth, remaining 1/4 teaspoon salt, and remaining 1/8 teaspoon pepper; cook 1 minute or until slightly thick, stirring frequently.
Return chicken to the pan. Cover and simmer 2 minutes. Uncover; cook 1 minute or until chicken is done. Stir in noodles; cook 1 minute or until thoroughly heated. Place about 1 1/2 cups chicken mixture on each of 4 plates; top each serving with 1 tablespoon cheese.
Note:This recipe originally ran in Cooking Light November, 2006 and was updated for the November, 2012 25th anniversary issue.
I had taken step by step photos of this recipe, but since this recipe is so self explanatory I don’t think they were necessary. DO take time to read through this recipe a few times ANDhave all your ingredients ready to go (chicken dusted with flour, oil in pan, garlic minced (I used microplane), mushrooms sliced if you didn’t buy pre-sliced (I didn’t), wine measured, chicken broth measured, 1T flour measured, salt and pepper set out, tarragon chopped and ready. Oh, and water boiling for pasta… parmesan on counter so you don’t forget ;) My recipe that was in the magazine says SUPER FAST 20-minute cooking. To that I say… No. Way. Unless you’re Cat Cora I don’t see how you’re going to pull that off… then again, I was taking photos of each and every step… and I bought cremini mushrooms that I had to clean and slice… I didn’t have chicken broth so I made a cup of chicken bouillon and only used half). So maybe it’s possible… next time I will see! Also, I didn’t have a chunk of parmesan, I only had grated which tasted great and worked fine but… the shaved parmesan pieces would have added a nice elegance. Next time, maybe even more mushroom, they were wonderful!
I normally feature an artist today, BUT since this is a pretty important subject, I think Mark Rothko’s “Orange Red Orange” ties in quite nicely with the WEAR RED FOR WOMEN theme, don’t you? I love his work!
Today is National Wear Red day to help raise awareness of heart disease in women. Did you know that heart disease was the #1 killer of women? Do you know the signs? There’s a great little video, reminds me of the show Modern Family in a way… it’s funny, but so true at the same time, shows you the signs of “Just a Little Heart Attack“! Symptoms in women are different than they are in men, so it’s worth knowing what to do!
Uncomfortable pressure, squeezing, fullness or pain in the center of your chest that lasts more than a few minutes, or goes away and comes back.
Pain or discomfort in one or both arms, the back, neck, jaw or stomach.
Shortness of breath, with or without chest discomfort.
Other signs such as breaking out in a cold sweat, nausea or lightheadedness.
As with men, the most common heart attack symptom in women is chest pain or discomfort. But it’s important to note that women are more likely to experience the other common symptoms, particularly shortness of breath, nausea/vomiting and back or jaw pain.
What to do during a heart attack
If you experience any of these signs or symptoms:
Do not wait to call for help. Dial 9-1-1, make sure to follow the operator’s instructions and get to a hospital right away.
Do not drive yourself or have someone drive you to the hospital unless you have no other choice.
Try to stay as calm as possible and take deep, slow breaths while you wait for the emergency responders.
All too often we don’t want to “bother” emergency folks with our aches and pains, but time is of the essence… you have a good outcome you have got to react quickly. So read up on it, be aware, and if you’re body is telling you something is wrong… listen!
Remember, if you have symptoms CALL 9-1-1 FIRST. Then if they tell you to take an aspirin, do so, it can be of great benefit (if no aspirin allergy, etc.), they will tell you whether or not to take one. I’ve heard from Dr. Oz that you should CHEW it so it gets into your bloodstream quickly. Also, unlock your door (after you call 9-1-1)… so they can get in to help you!
If you see someone having a heart attack and they need CPR, this is a great little blip from the goredforwomen.org website:
Research shows that Hands-Only CPR (without mouth-to-mouth breaths) performed by a bystander is just as effective in the first few minutes of sudden cardiac arrest in an out-of-hospital setting. Here’s how to do it.
“Stayin’ Alive” in two easy steps
No matter where you are, if you witness a teen or an adult suddenly collapse, you need to act fast – a delay of just a few minutes could be the difference between life and death. So check out this video from The American Heart Association, and remember these two easy steps:
Call 9-1-1, or have someone else call immediately
Push down hard and fast in the center of the chest to the beat of the Bee Gees’ disco hit “Stayin’ Alive”
Hopefully, you’ll never have to use Hands-Only CPR, but in the event of an emergency, your preparedness could save a life. Learn more about Hands-Only CPR and read these true survivor stories for inspiration.
Mmmm, pork tenderloin… nice and lean and when pear and red onions are added and a honey balsamic is drizzled over the top this turns into an absolute masterpiece. Some friends of ours had us over for dinner and this is what we had. What a treat! I couldn’t believe how wonderful this was, how the flavors were perfectly combined. This is quite possibly the best recipe you will ever make. It’s a 5 star recipe from Williams-Sonoma and it is… TO. DIE. FOR. It’s like something you would get in a very, very nice restaurant. It’s healthy and it only takes minutes to prepare… are you ready?!
Scroll to the bottom for the printable recipe… Note: I put my sweet potatoes in the oven 30 minutes prior to starting the pork tenderloin… then pulled them out of the oven after the pork had a chance to rest a few minutes… hope you enjoy…
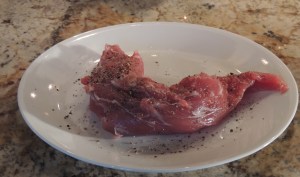
Season the pork tenderloin
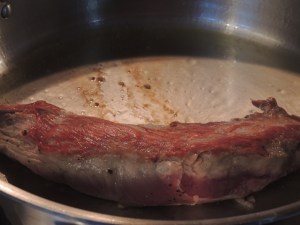
Sauté in an oven proof sauté pan until brown
Transfer to a plate
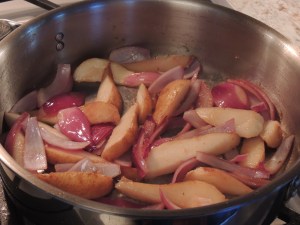
Saute onions and pears
Return pork to pan and drizzle with honey and balsamic vinegar mixture, scatter thyme leaves
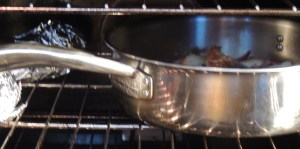
Put pan in oven and bake until juices run clear
Remove from oven, place pork tenderloin on a plate and cover with foil. Allow it to rest 5 minutes… it’s worked hard… it deserves a rest!
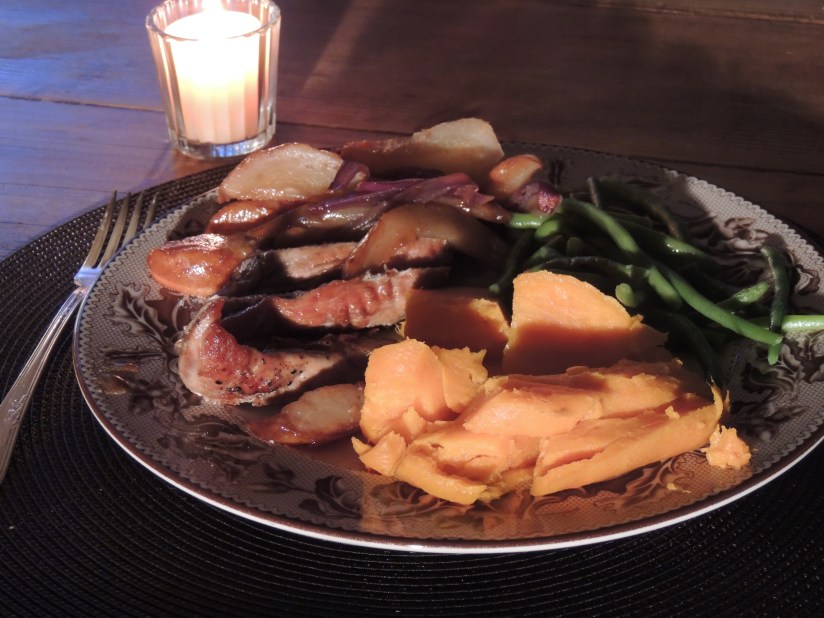
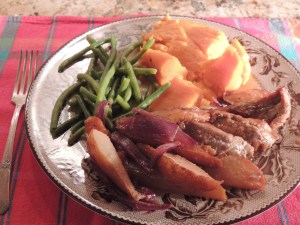
After the pork has had a little siesta, cut it into slices, place slices on a plate and top with the onion and pear mixture… spoon a little of the honey balsamic vinegar mixture from the pan…
I served with a baked sweet potato and green beans.
Combining juicy pork tenderloin with fresh pear slices and red onion, this simple dish is perfect for an autumn evening. Honey and balsamic vinegar form an appealing glaze on the meat.
Ingredients:
1 pork tenderloin, about 1 lb., trimmed of excess fat
Salt and freshly ground pepper, to taste
1 Tbs. extra-virgin olive oil
1 red onion, cut into 1/8-inch wedges
4 Forelle or Bosc pears, cored and each cut into 8 wedges
2 Tbs. honey
1 Tbs. balsamic vinegar
Leaves from 12 fresh thyme sprigs
Directions:
Preheat an oven to 400°F.
Season the pork tenderloin well with salt and pepper. In an ovenproof sauté pan over medium-high heat, warm the olive oil until shimmering. Sear the pork, turning occasionally, until well browned, 6 to 8 minutes total. Transfer to a plate.
Add the onion and pears to the pan and sauté for 1 minute. Return the pork to the pan and drizzle with the honey and vinegar. Scatter the thyme leaves in the pan. Transfer to the oven and roast until the juices run clear when the pork is pierced with a knife, 15 to 20 minutes.
Transfer the pork to a cutting board, cover loosely with aluminum foil and let rest for 5 minutes. Cut into slices 1/2 inch thick. Divide the pork, pears and onion wedges among 4 individual plates, drizzle with the glaze from the pan and serve immediately. Serves 4.
Adapted from Williams-Sonoma Cooking for Friends, by Alison Attenborough and Jamie Kimm (Oxmoor House, 2008).
You know what they say… eat breakfast like a KING, lunch like a PRINCE and dinner like a PAUPER… meaning, eat your biggest meal early and scale back from there. Hard to do in modern society, but if you’re home and have the option it’s worth giving it a whirl. Dr. Oz (and others) stress how important it is to get protein into your body within 30 minutes of waking up. Not easy for all of us. I just like coffee. Period. Coffee, newspaper, iPad, and peace and quiet, ha ha… then I usually hop up, drink a protein shake, head out for a walk and the day begins… This omelet is a good choice for breakfast, lunch OR dinner!
Add what you like, the more veggies the better!
I use a nonstick skillet, add a small drizzle of olive oil…. beat two eggs. Get the pan hot, add the eggs *sizzle*, I added a few grape tomatoes that I sliced up, and big handful of kale, and a small amount of shredded white cheddar cheese… cook it low and slow… then slide it out of the pan and enjoy! Catch you back here tomorrow!
This soup is amazing. When it’s cold outside it will warm you. With all the beans it will fill you up and keep you full for a long time. I used a ham bone from Honey Baked Ham and it had a good bit of ham on it. There was the perfect amount, so I didn’t need to buy extra. This soup is outstanding! This is a collaboration of several recipes. Note: I DID NOT USE THE SEASONING PACKET…
Why didn’t you use the seasoning packet you ask? Well, because there isn’t anything that even remotely resembles “ham” and if there was, how would they get it in that tiny little packet? This is what’s in the seasoning “HAM” packet: Hydrolyzed Soy Protein(omg, click orange link to read what it is!), maltodextrin, salt, artificial flavorings (including artificial smoke flavor), silicon dioxide. Ok, what in that list appeals to you? One rule to becoming healthier… don’t eat stuff you can’t pronounce, don’t know where it comes from or ISN’T REAL! Soy protein for ham flavoring? Creeps. Me. Out. All you have to do is add a few spices and this recipe goes from being CREEPY to being a true delight! AND it only takes a minute to add a few spices. Here’s how I made the soup (click HERE to print recipe only):
15 (or 16 or whatever beans you’ve got!) BEAN SOUP
INGREDIENTS
1 pkg of 15 Bean Soup (dried beans only) – approximately a pound, give or take
1 ham bone – whatever size will fit in your pot (mine came from Honey Baked Ham, they sell their ham bones and they have quite a bit of ham, if you don’t have a ham place near you, you can use 1 pound of ham, ham hocks or smoked sausage).
1 large onion, chopped.
1 14.5 oz petite diced tomatoes
3 quarts water
Juice of 1/2 lemon
2 cloves garlic, minced
4 ribs celery, chopped
1/2 teaspoon cumin
1 bay leaf
Pepper (I didn’t use salt because of the salt in the ham/bone, it didn’t need a speck!)
DIRECTIONS
Wash the beans and then soak in a large pot of water overnight (or for at least eight hours). Or you can use the Quick Cook Method (which is what I did because I decided to make the soup that day) – to do this rinse the beans then put them in a large pot with 3 quarts of water and bring to a rapid boil. Reduce the heat, cover and continue on a slow boil for 60-70 minutes, and then drain the beans and rinse one last time.
In a large dutch oven, heat about a tablespoon of olive oil. Add the onion and celery and saute until translucent. Add minced garlic, saute 1 minute or until fragrant.
Add spices, beans, tomatoes and ham bone.
Cover with about 3 quarts of water, or enough to either cover the bone or fill your pot.
Bring to a boil, then turn the heat down and simmer about 1.5 hours.
Remove the ham bone, let cool a few minutes and cut the ham off the bone into small pieces.
Remove the bay leaf and add the diced ham back to the pot.
Serve… I served with an olive baguette from Trader Joe’s that I heated in the oven, then dipped in olive oil.
TOO GOOD, and it makes a large pot, so there is enough to eat, have lunches, and freeze!
I’ve made so many different chicken noodle soup recipes. Most were good, a few weren’t great… None were the WOW recipe I had been searching for. Then one day as I sniffled, sneezed and coughed with the crud that’s going around, an email appeared in my Inbox… Tyler Florence’s Chicken Noodle Soup. JUST WHA T THE DOCTOR ORDERED! What could I lose? I mean chicken noodle soup has been proven to help make you feel better when you’re sick… so off I went to hunt and gather my ingredients and I threw together a perfectly wonderful soup. It was fabulous… I deviated from the recipe slightly… using only chicken breasts (they were GIGANTIC) instead of a whole chicken, which I don’t have a pot large enough to stuff one into… See my notes at the end… Thank you Tyler!
Everyone hates to hear those dreaded words… Alzheimer’s Disease. UGH. You would make a few changes in your life to help prevent it, wouldn’t you? Well, the infamous Doctor Oz has a five step plan that certainly can’t hurt!
I will give you a quick summary, but you WILL want to read the entire article, it’s not too long, and explanations help you understand HOW important these five steps truly are!
STEP 1: DHA 600MG: Studies show that 600mg of DHA (an Omega-3) for 6 months boosts your brain so much that it functions as though it were 3 years younger! So, if you are taking fish oil, read the back of your supplement, see the DHA amount listed? You want to get 600mg a day!
STEP 2: Brain Boosting Switch ups: The older we get the more we do things the same. We eat, write, dial, hold a coffee cup, all with the same hand. If right handed start using your left hand for periods of time (and if you’re left handed use your right hand), you will be amazed how your brain actually needs to process what you’re doing… it’s not as quick and easy as with your dominant hand! Write words backwards, that’s another challenge!
STEP 3: BREATH! The 7-7-7-Stress Busting Breath: Stress is deadly for your brain… it’s like poison for the part of your brain responsible for memory. Stress can lead to high cortisol levels which can cause brain cell dysfunction, kill brain cells and make the brain actually shrink. Don’t roll your eyes dad… everyone should do this, whether you feel stress or not, spend some time each day doing the 7-7-7 breathing… Stress is like poison for your hippocampus – the part of brain responsible for memory – as it leads to chronically high levels of the hormone cortisol. High cortisol levels can cause brain cell dysfunction, kill brain cells, and cause atrophy of the brain.
STEP 4: Tease your memory: Did you realize you have the ability to memorize 20-30 items on a list? Start making a list and try to memorize…
STEP 5: Brain push ups: 7 push ups a day will help stimulate blood flow to your brain and generate new brain cells. 7 PUSHUPS A DAY. I say you hop up and give me 7! Hee…
Read the entire article it’s short and to the point, THANK YOU DOCTOR OZ!
I would like to thank Bobbie Stroud for forwarding me this Dr. Oz email… you are now a contributing editor, hee hee… Catch you back here tomorrow!