WOOT! WOOT! Confetti falls from the sky, the music is blaring… this is my 1,000th post on this blog! A daily post for nearly three years… I can’t believe I’ve made it this far! A big thank you to all of you who read it!
This was a thrilling find on FINECOOKING.COM! I like a sure thing… a recipe where the cooking time is fairly consistent… this has worked for EVERY pork tenderloin that we have grilled this summer. I guess if you had a large one or a tiny one, the results might vary a bit, but use a meat thermometer if you have one, and you’ll be fine!

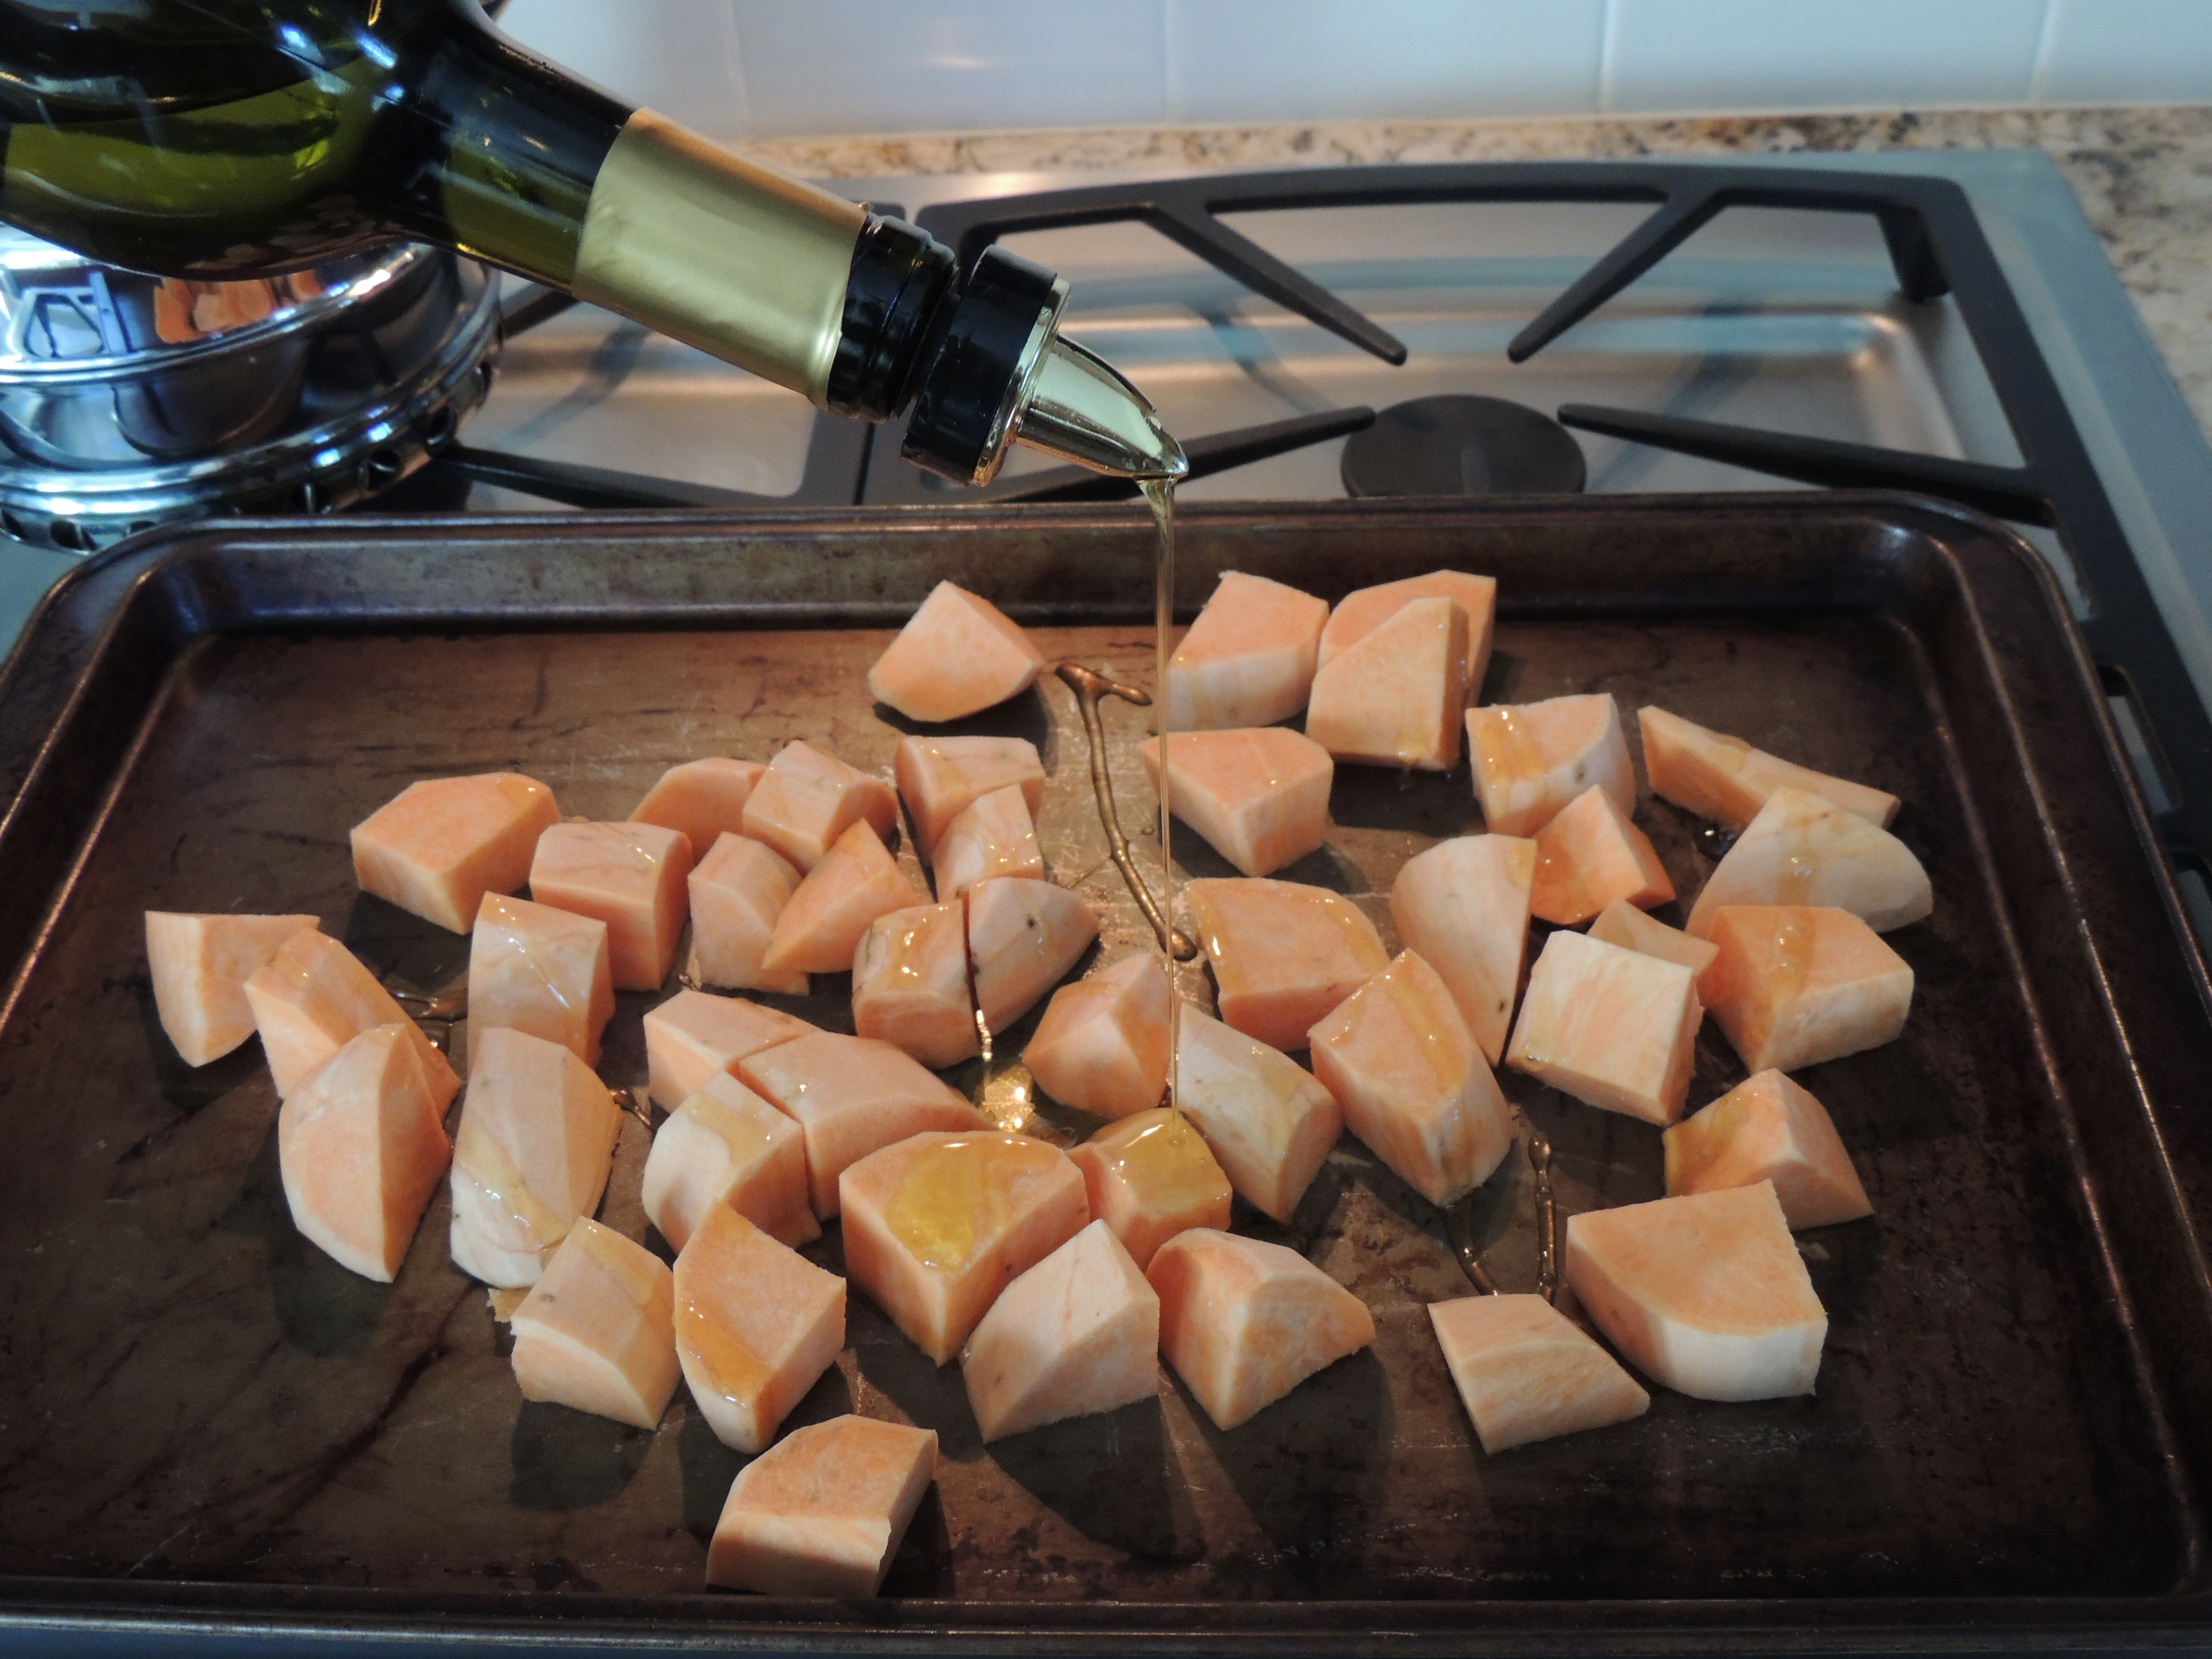
I didn’t brine our pork tenderloin, I took a ziplock and micro planed a few cloves of garlic (or mince), poured in some olive oil (enough to coat the pork) and some pepper… mush it around and add the pork tenderloin. Seal the bag, move it around to get it nice and coated. [Note: something you might not know about me… I’m weird about meat… 1) it can only go on the bottom shelf in the fridge per dr. oz… so no meat drips (*GASP*) to prevent contamination of any other food 2) I put the sealed bag inside another bag (told ya… weird) 3) I put that bag inside a plastic container (see… weird! when that container comes out of the fridge it goes directly to the dishwasher… it does not pass GO, it does not collect $200… straight to the DW!)… I drive Fred crazy… enough said…]
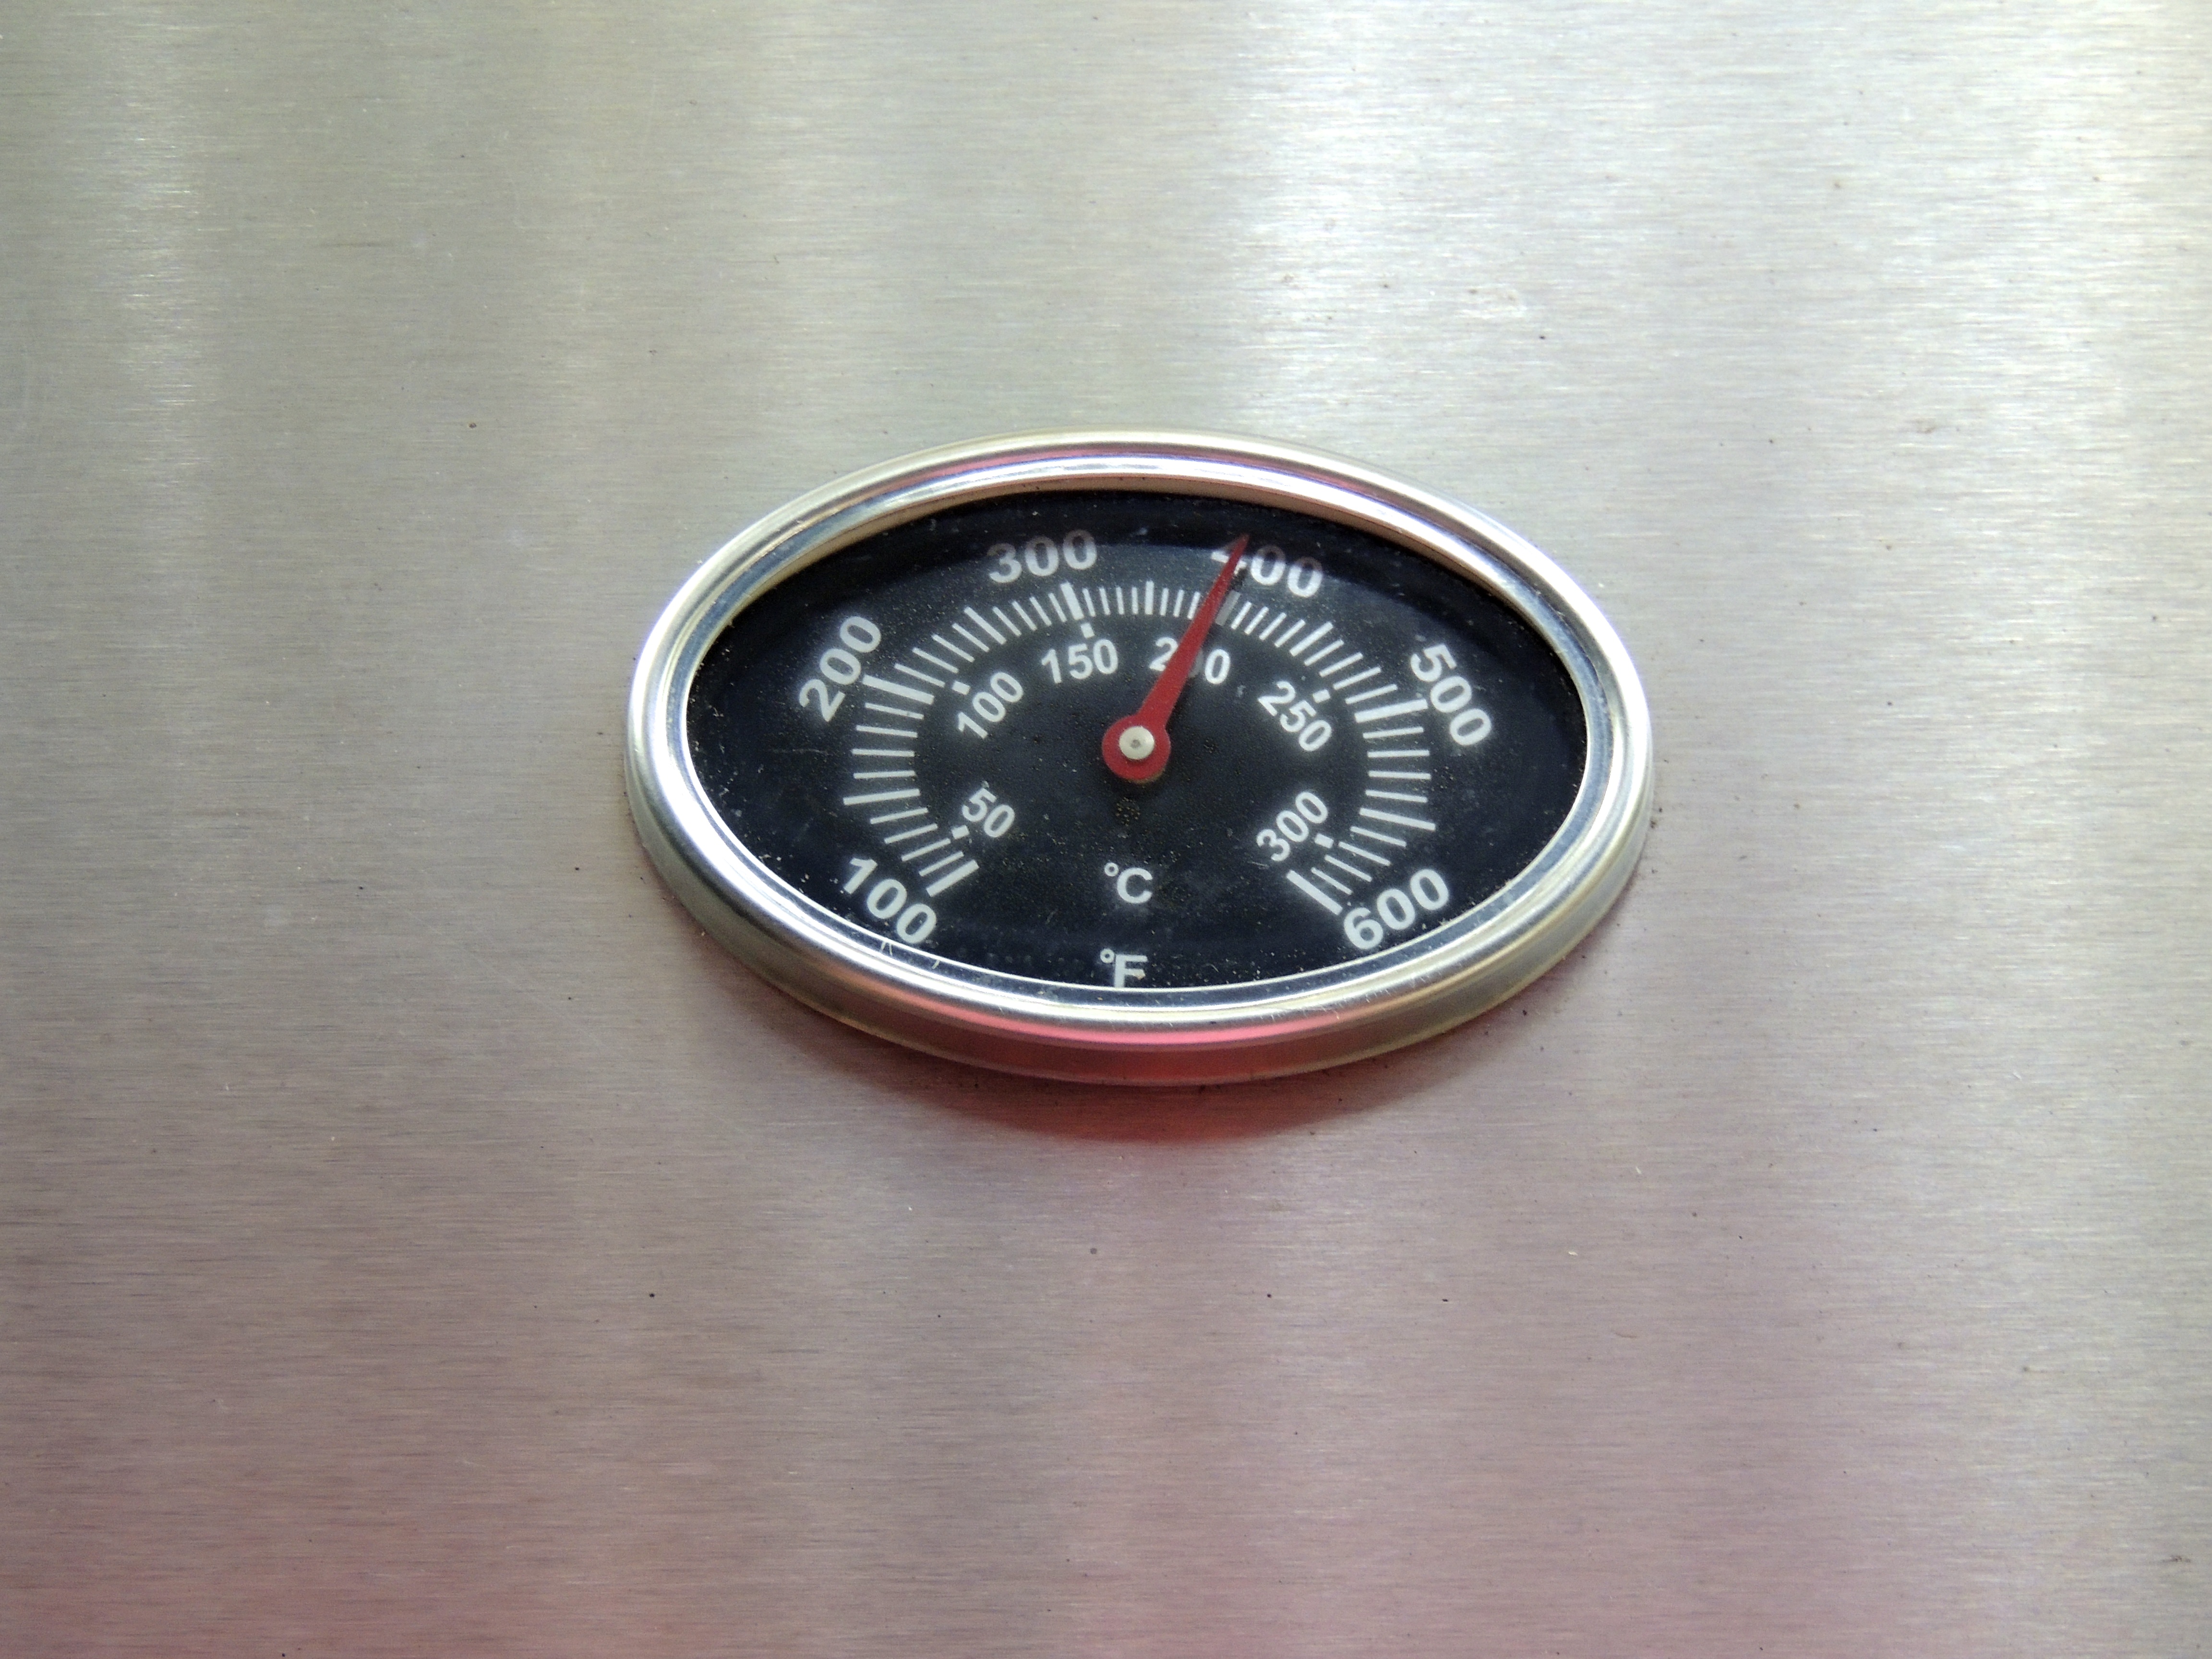
Grill burners all on high… Fred puts the pork on at 400 degrees… temp continues to rise… or you can wait until it reaches a higher temp… either way yields great results!
Place the oiled pork tenderloin onto a hot grill and CLOSE THE LID. NO PEEKING!
Set timer for 7 MINUTES… yep, use a timer for each step, you don’t want to forget… because if you’re like me, you’ll have good intentions, you’ll keep your eye on the grill for 6 minutes and 50 seconds and then something will capture your attention and off you go… then you think to yourself… what’s burning?? Ugh, that would be dinner… that scenario hasn’t happened yet because I use a timer, but I guarantee you that it would… if I didn’t…
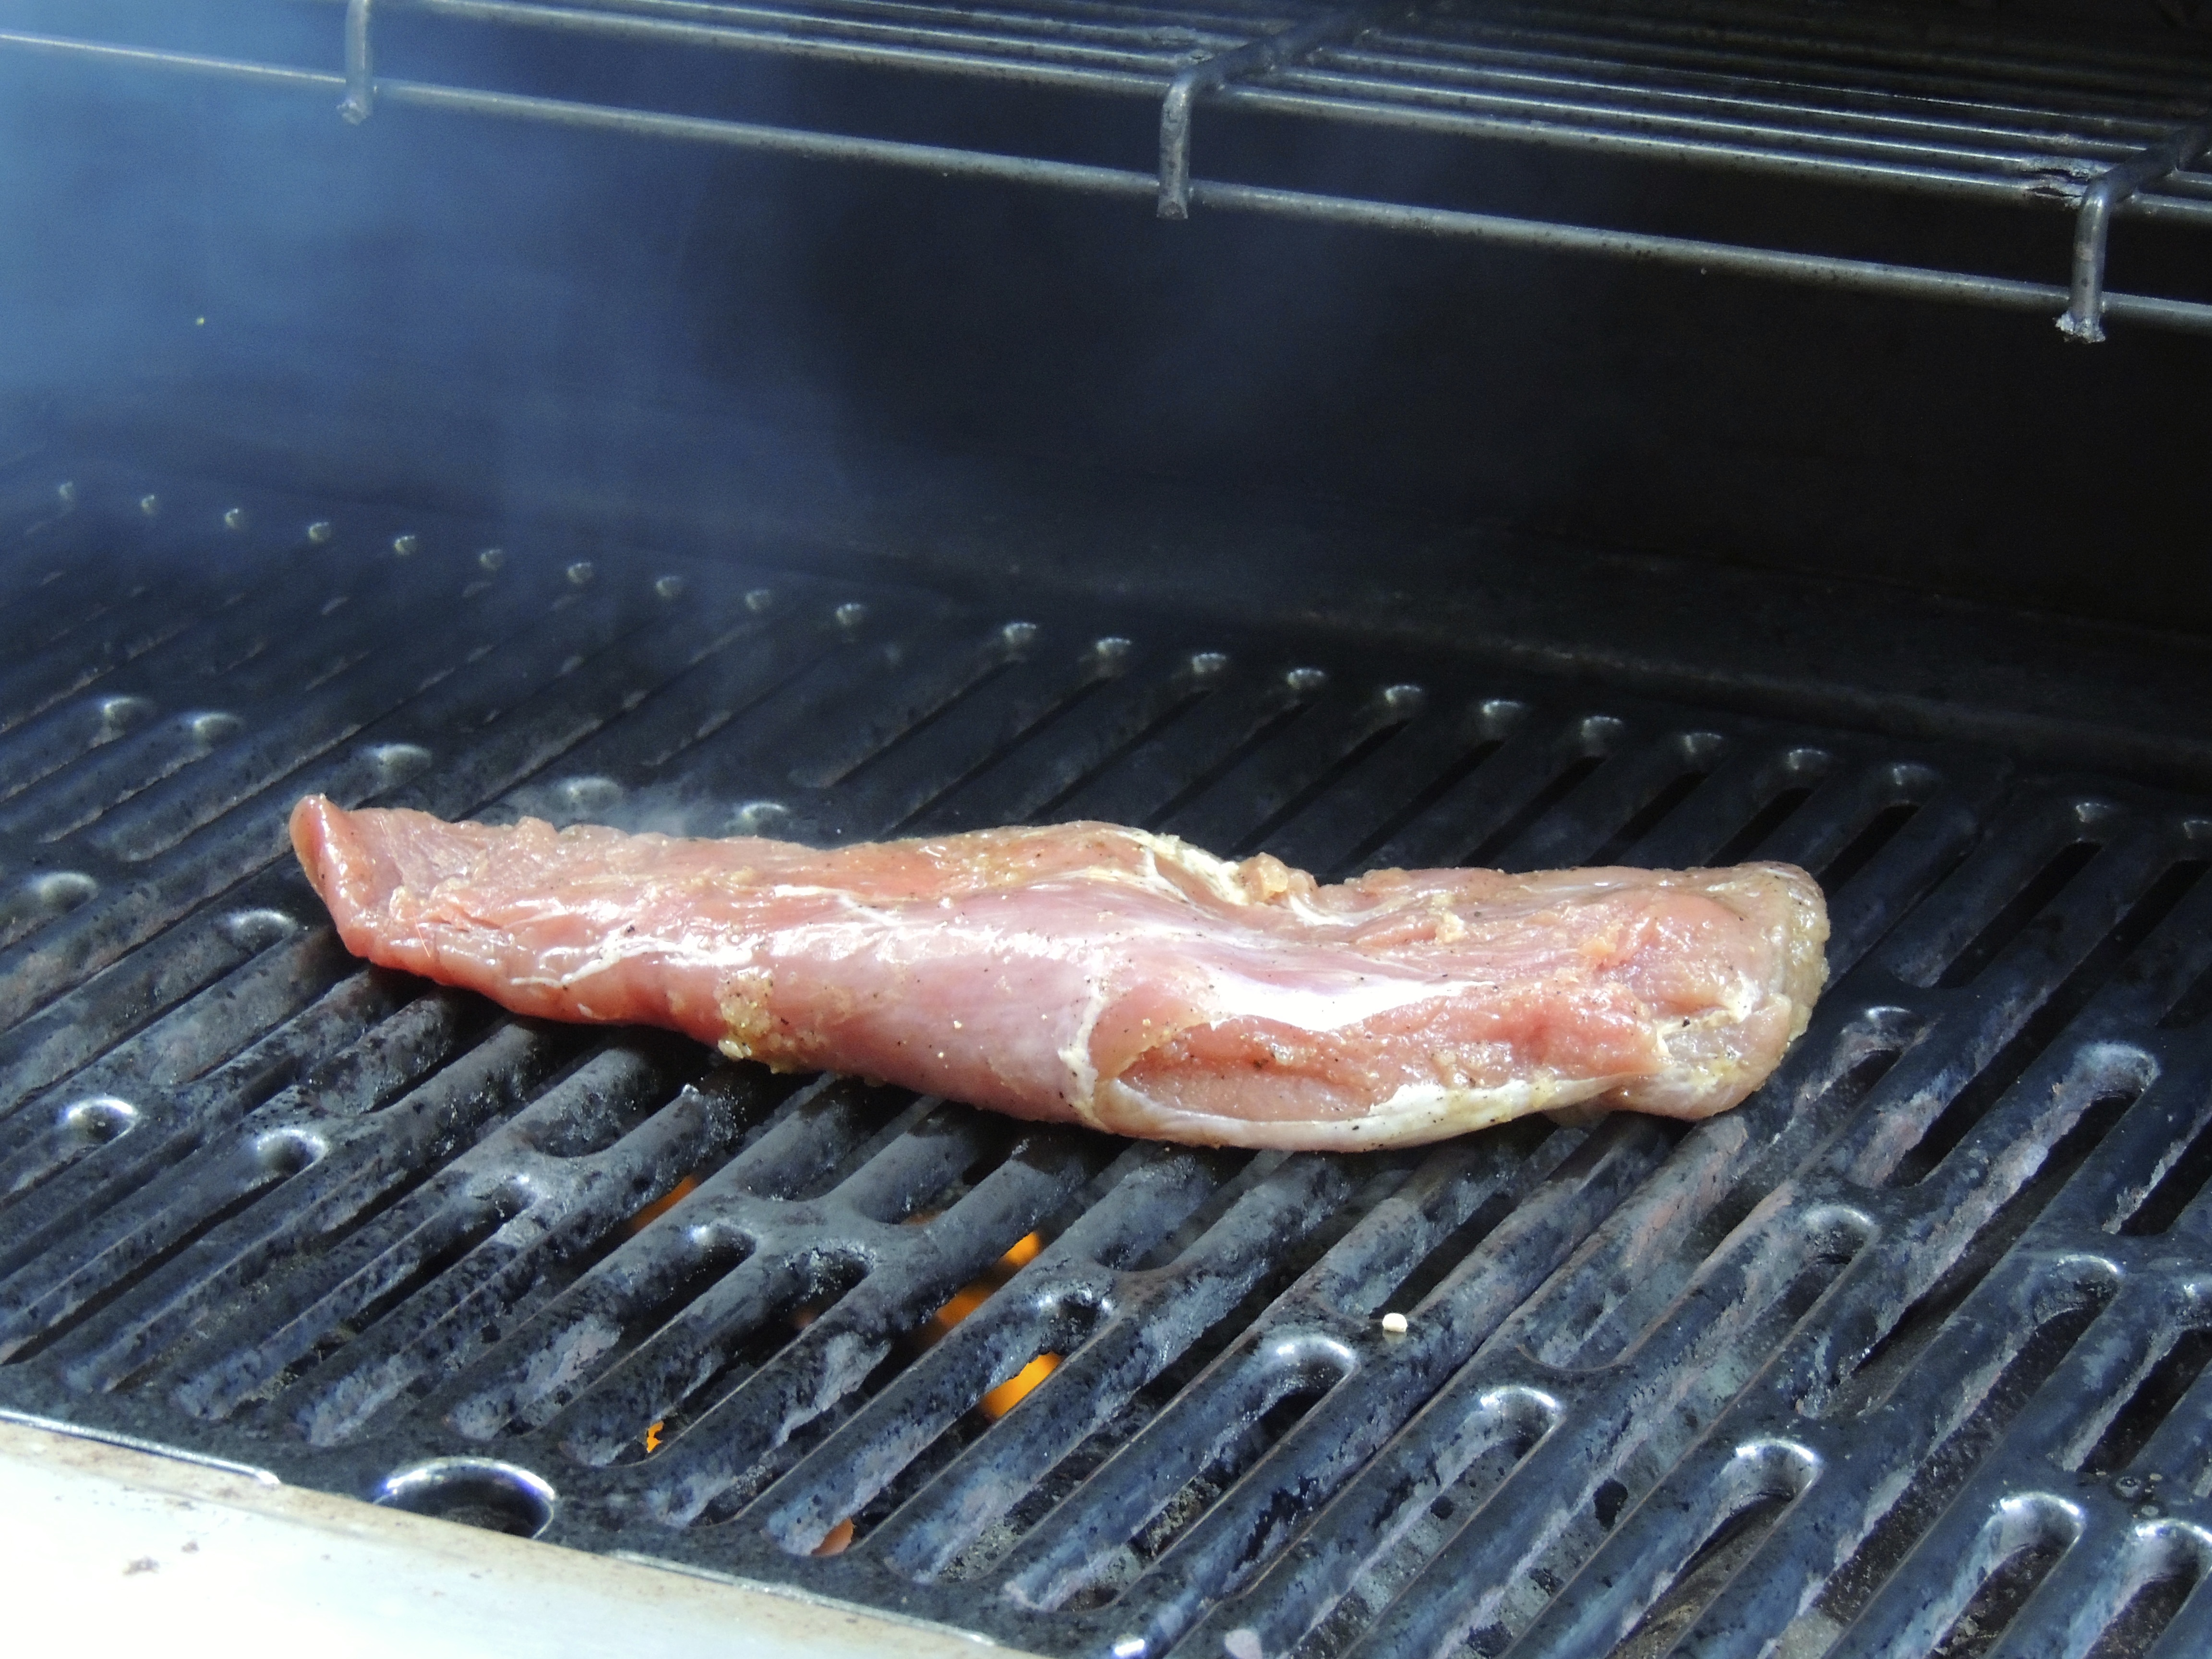
When timer goes off, FLIP the pork tenderloin… (note the action shot, thankyouverymuch!)… CLOSE THE LID! NO PEEKING.
Set the timer for 6 minutes! (Did I say no peeking?) – it’s really important that the grill is closed… so I wonder why I didn’t take a photo of that? Hmmm…


When the timer goes off… TURN THE GRILL OFF… DO NOT OPEN THE LID!!!
Set the timer for 5 minutes!

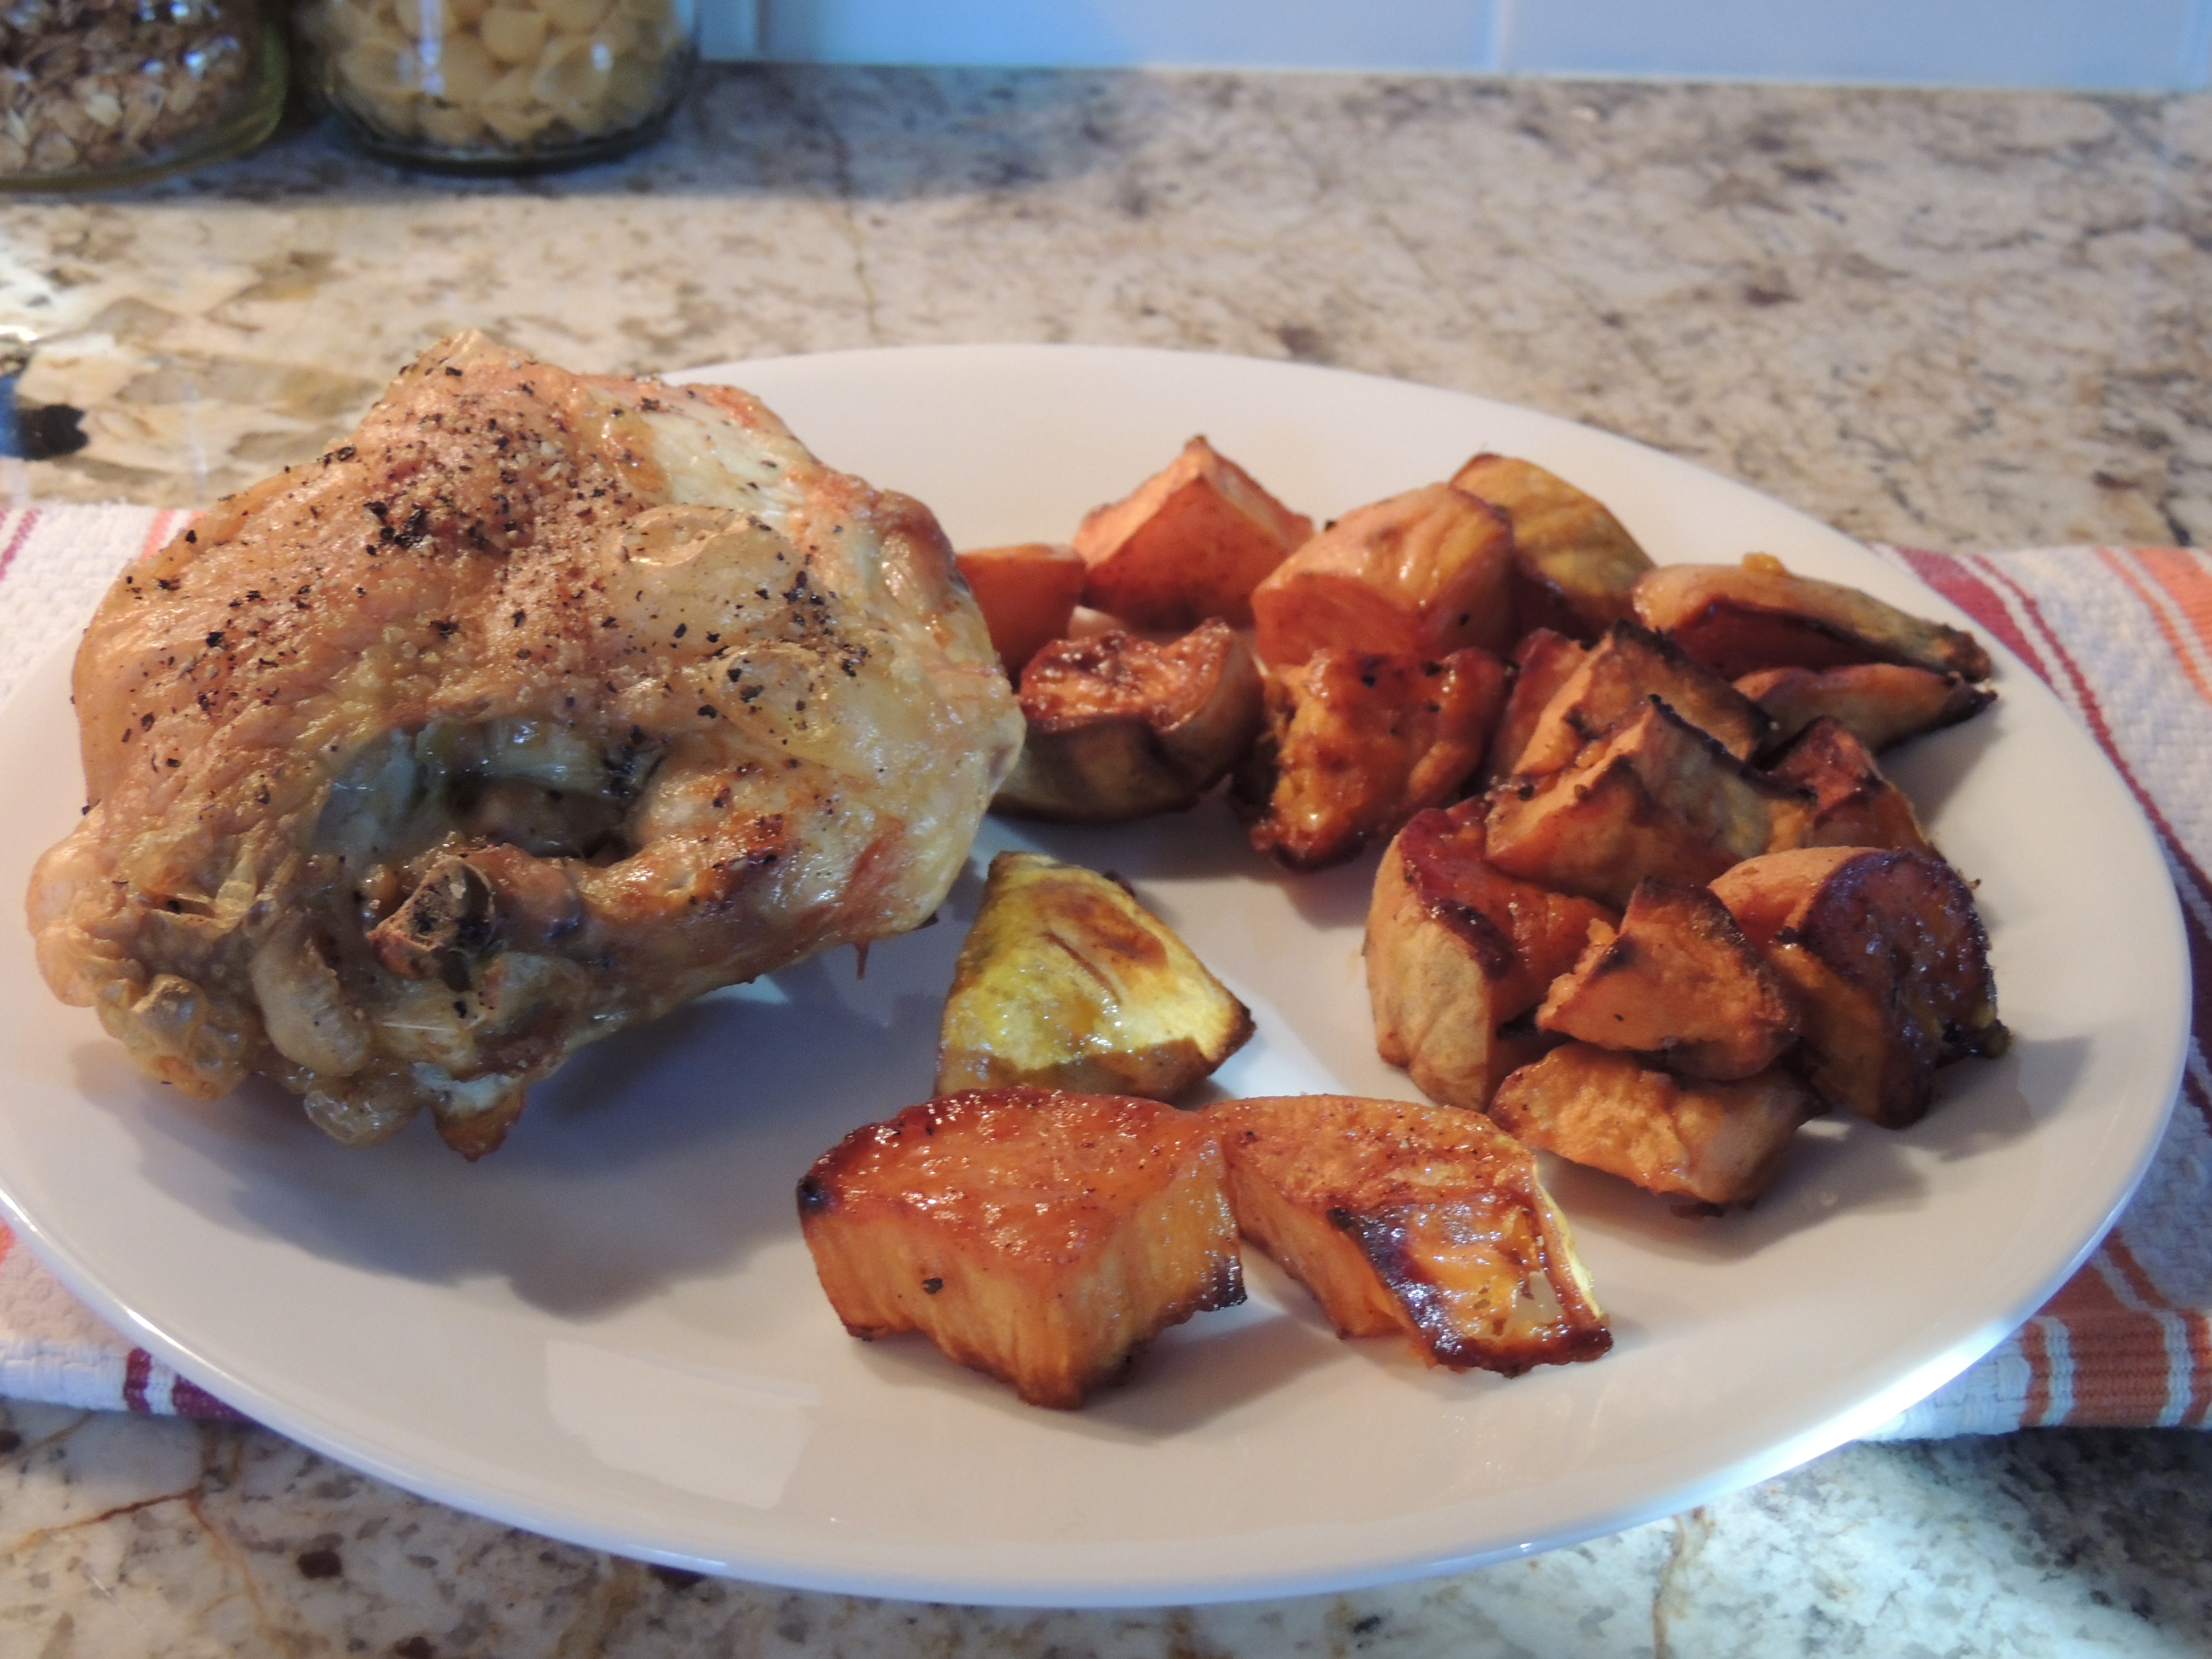
Then… just to be sure it’s done, insert an instant read thermometer (thickest part of the meat), it should read 145-150 degrees. If it doesn’t just close the lid and check on it in a few more minutes. Ours always has registered perfectly!

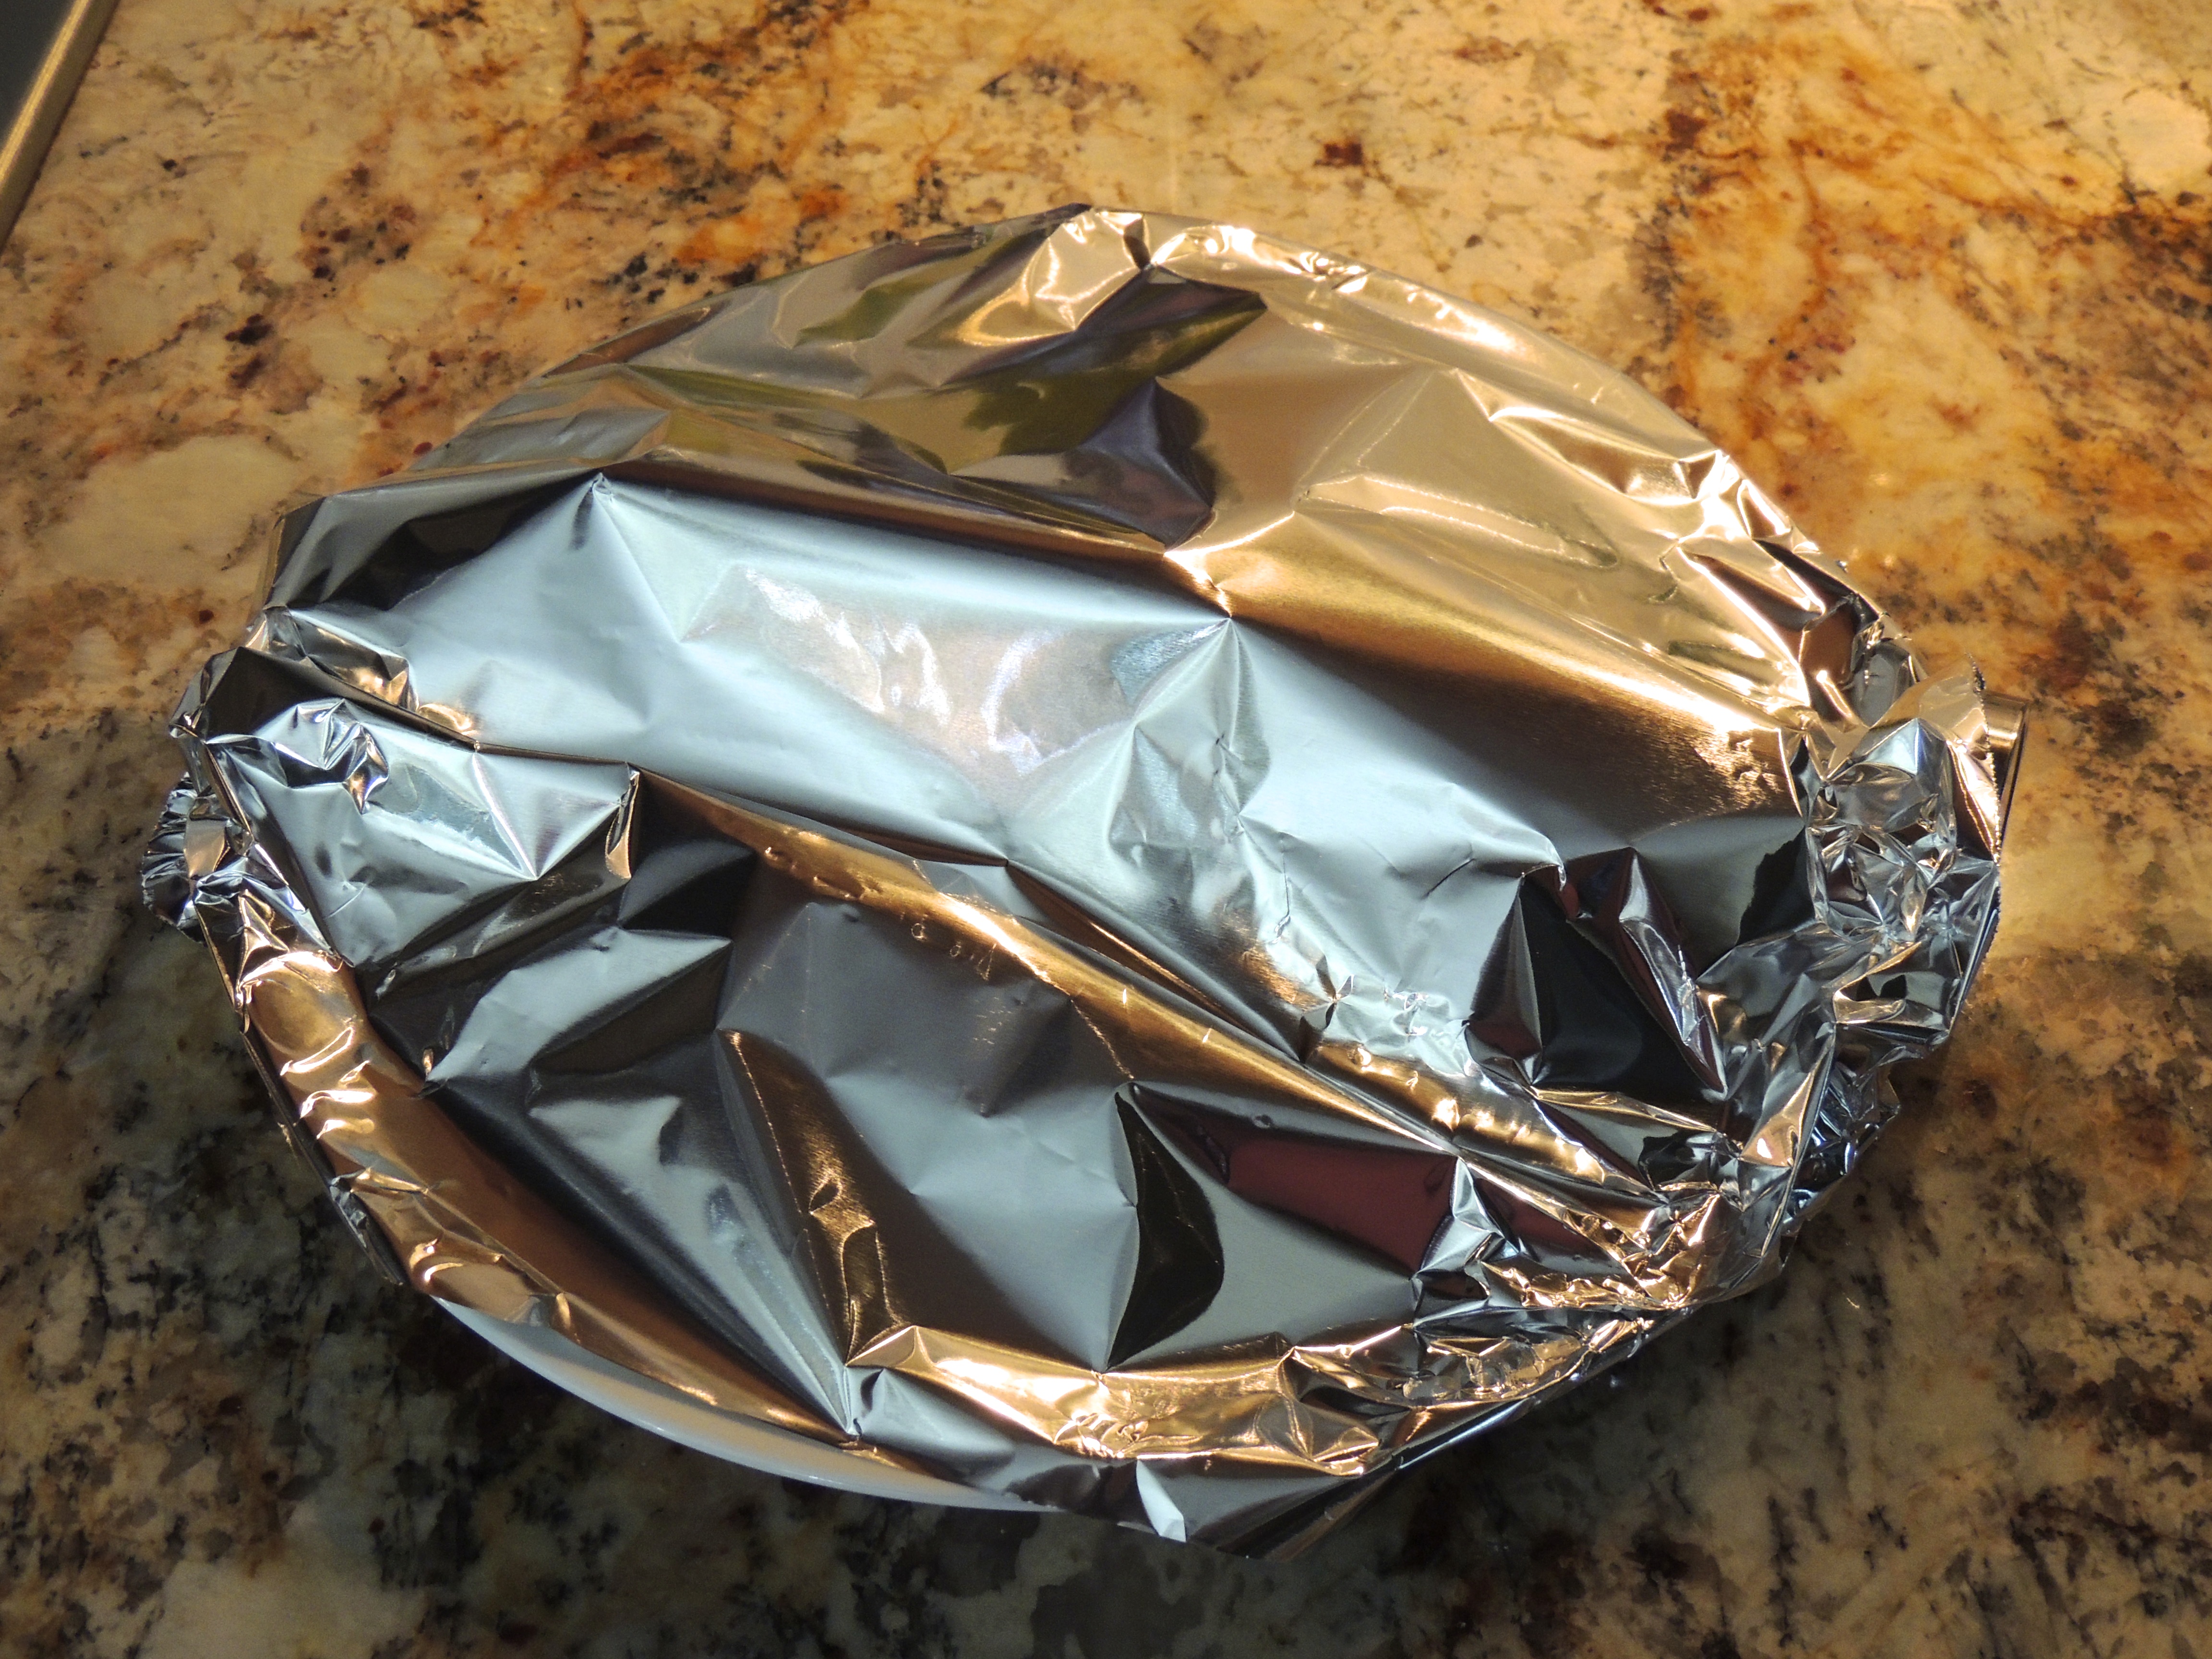
Then remove the pork from the grill, place a piece of foil over the top and let it rest for 5 minutes… it’s worked hard, it needs a break!
To recap this 7-6-5 method: Grill on high, place oiled pork tenderloin on grill, close lid – 7 minutes.
Flip to other side, close lid… 6 minutes
Turn grill off… (keep lid closed) 5 minutes
Take temp… let rest 5 minutes if it’s reached 145-150
From FineCooking.com (Use this link to see their entire recipe, I did not brine my, however, they show you how… I need to try it some time! This link also gives details for charcoal grills)
Season and grill
Rub the brined tenderloins all over with the glaze and then season with the pepper. Or, season to taste with another flavoring of your choice.
Heat a gas grill, turning all the burners to high until the grill is fully heated, 10 to 15 minutes.
Put the pork on the hot grill grate. Close the lid and grill for 7 minutes.
Turn the pork over, close the lid, and grill for another 6 minutes.
Turn off the heat (keep the lid closed) and continue to cook the pork for another 5 minutes. At this point, an instant-read thermometer inserted into the middle of the thickest end of the tenderloin should read 145° to 150°F. (If not, close the lid and let the pork continue to roast in the residual grill heat.)
Remove the pork from the grill and let rest for 5 minutes before carving. Cut across the grain into 1/2-inch slices and serve immediately, with the sauce of your choice.
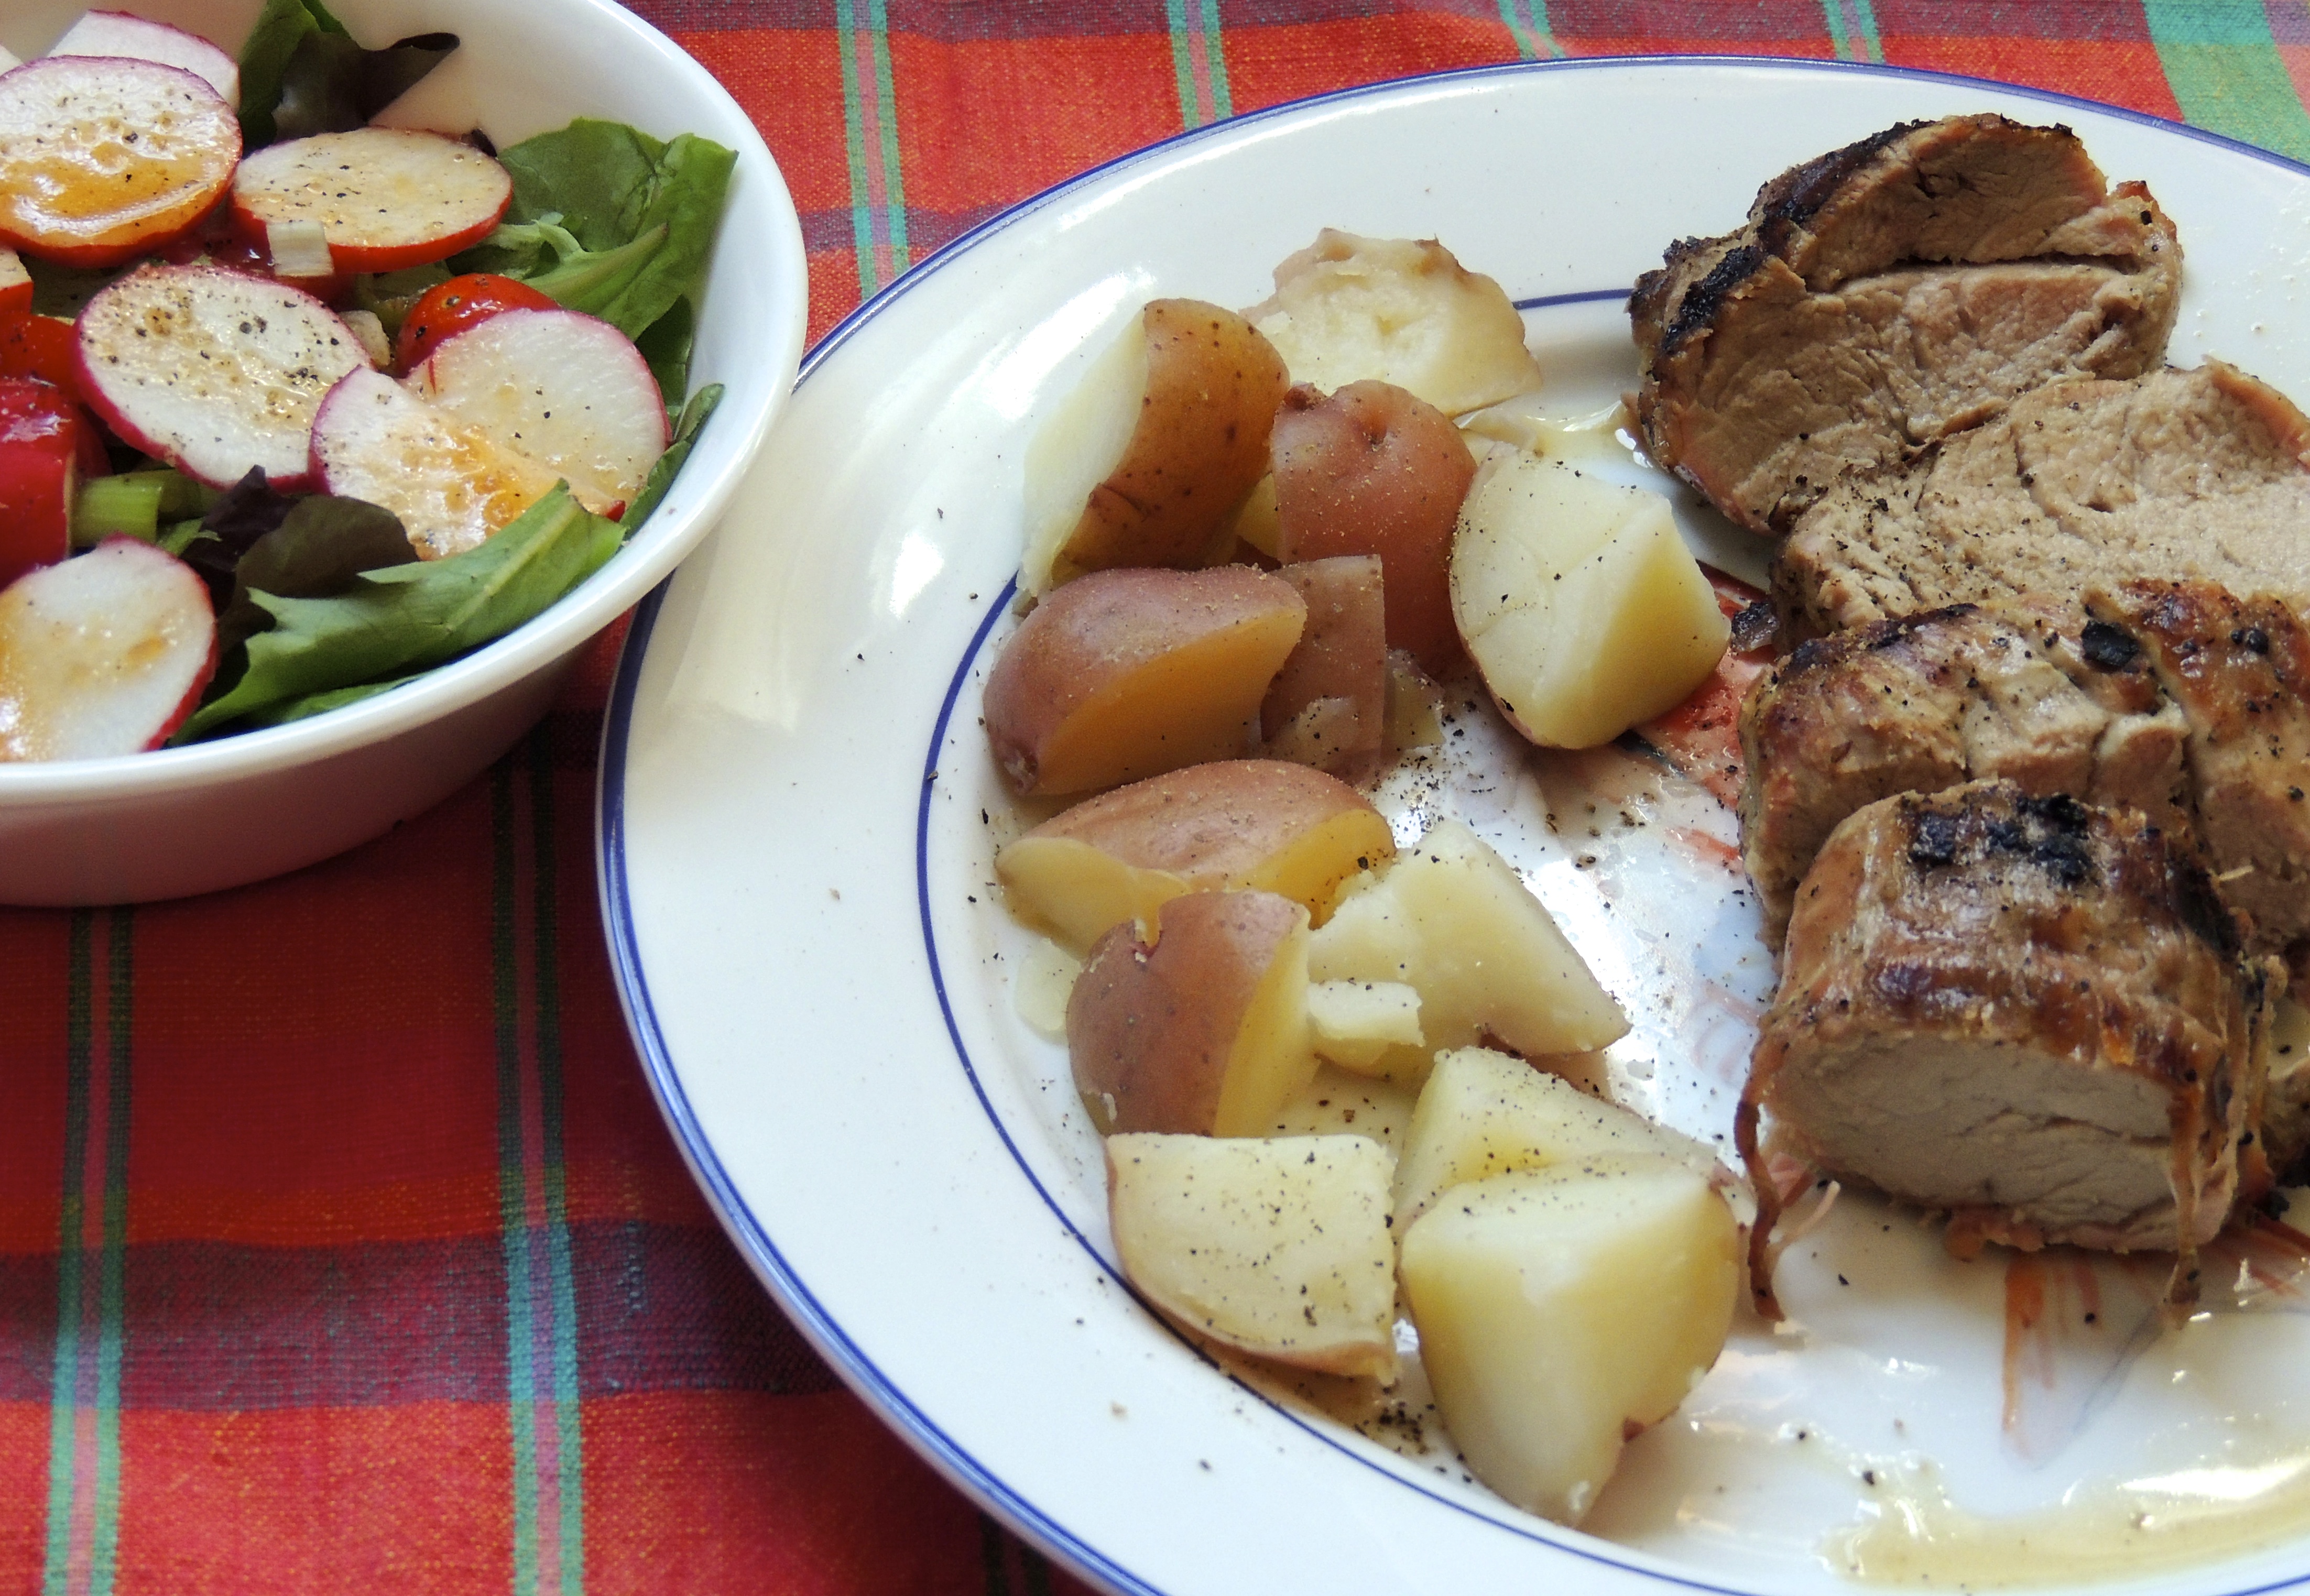
It’s nice to have this recipe isn’t it? Pork tenderloin is a lean cut of meat, although it is considered “red meat” for those of you who limit your red meat intake… it goes great with little red potatoes, a salad, or rice and blackbeans… yum!
I was thrilled to find this recipe on FineCooking.com… woohoo! Happy to share my good finds with you!
F L A S H B A C K
O N E Y E A R A G O… Featured Artist… Frank Emrick!
T W O Y E A R S A G O… Stunning photography… Is this real?
Catch you back here tomorrow!


![Israeli CousCous [Cookthink.com]](https://artfoodhome.com/wp-content/uploads/2013/08/israelicouscous-cookthink-com.jpg)