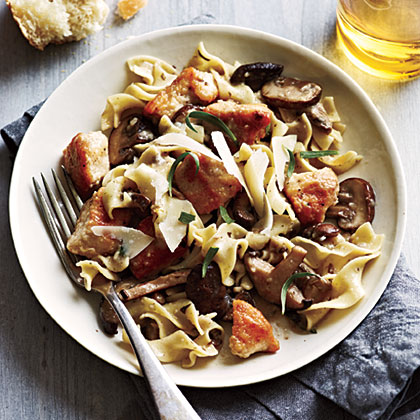
For those of you out there who have never made a beef stew, I’m going to show you a quick and easy recipe… In the photo above… I look like I have control with one tiny piece of bread (whole wheat at that!), right? Truth is, I took all these photos while cooking (which is similar to juggling in my opinion), by the time it was ready, LETS EAT is what came to mind… and we did. I think I had two bites left and said HHHHHHIIIIIIIIEEEEGGGGHHHHH! I forgot to take a PHOTO! Poor Fred. Every time I make a recipe that ends up on this blog he watches a tornado with a camera in the kitchen, then a crisis afterwards because I FORGET TO SHOOT THE LAST PHOTO, good grief, the most important one! Lo and behold, there was one slice of bread left… enough to make me look dainty. Ha.
Ok, on to the recipe… click HERE for the printable recipe (minus all the photos)…

Ingredients: 1 # stew beef, carrots (4-6 should be good), 4-6 medium potatoes (I used red and did not peel, but that’s up to you), 1 onion, chopped (I used slices to try, but it cooks down so you really can’t tell), salt, pepper, worcestershire sauce, olive oil and beef broth.

Start by chopping the carrots, potatoes and onions, I usually cook this for a few hours so the veggies will be done and the meat will be tender.

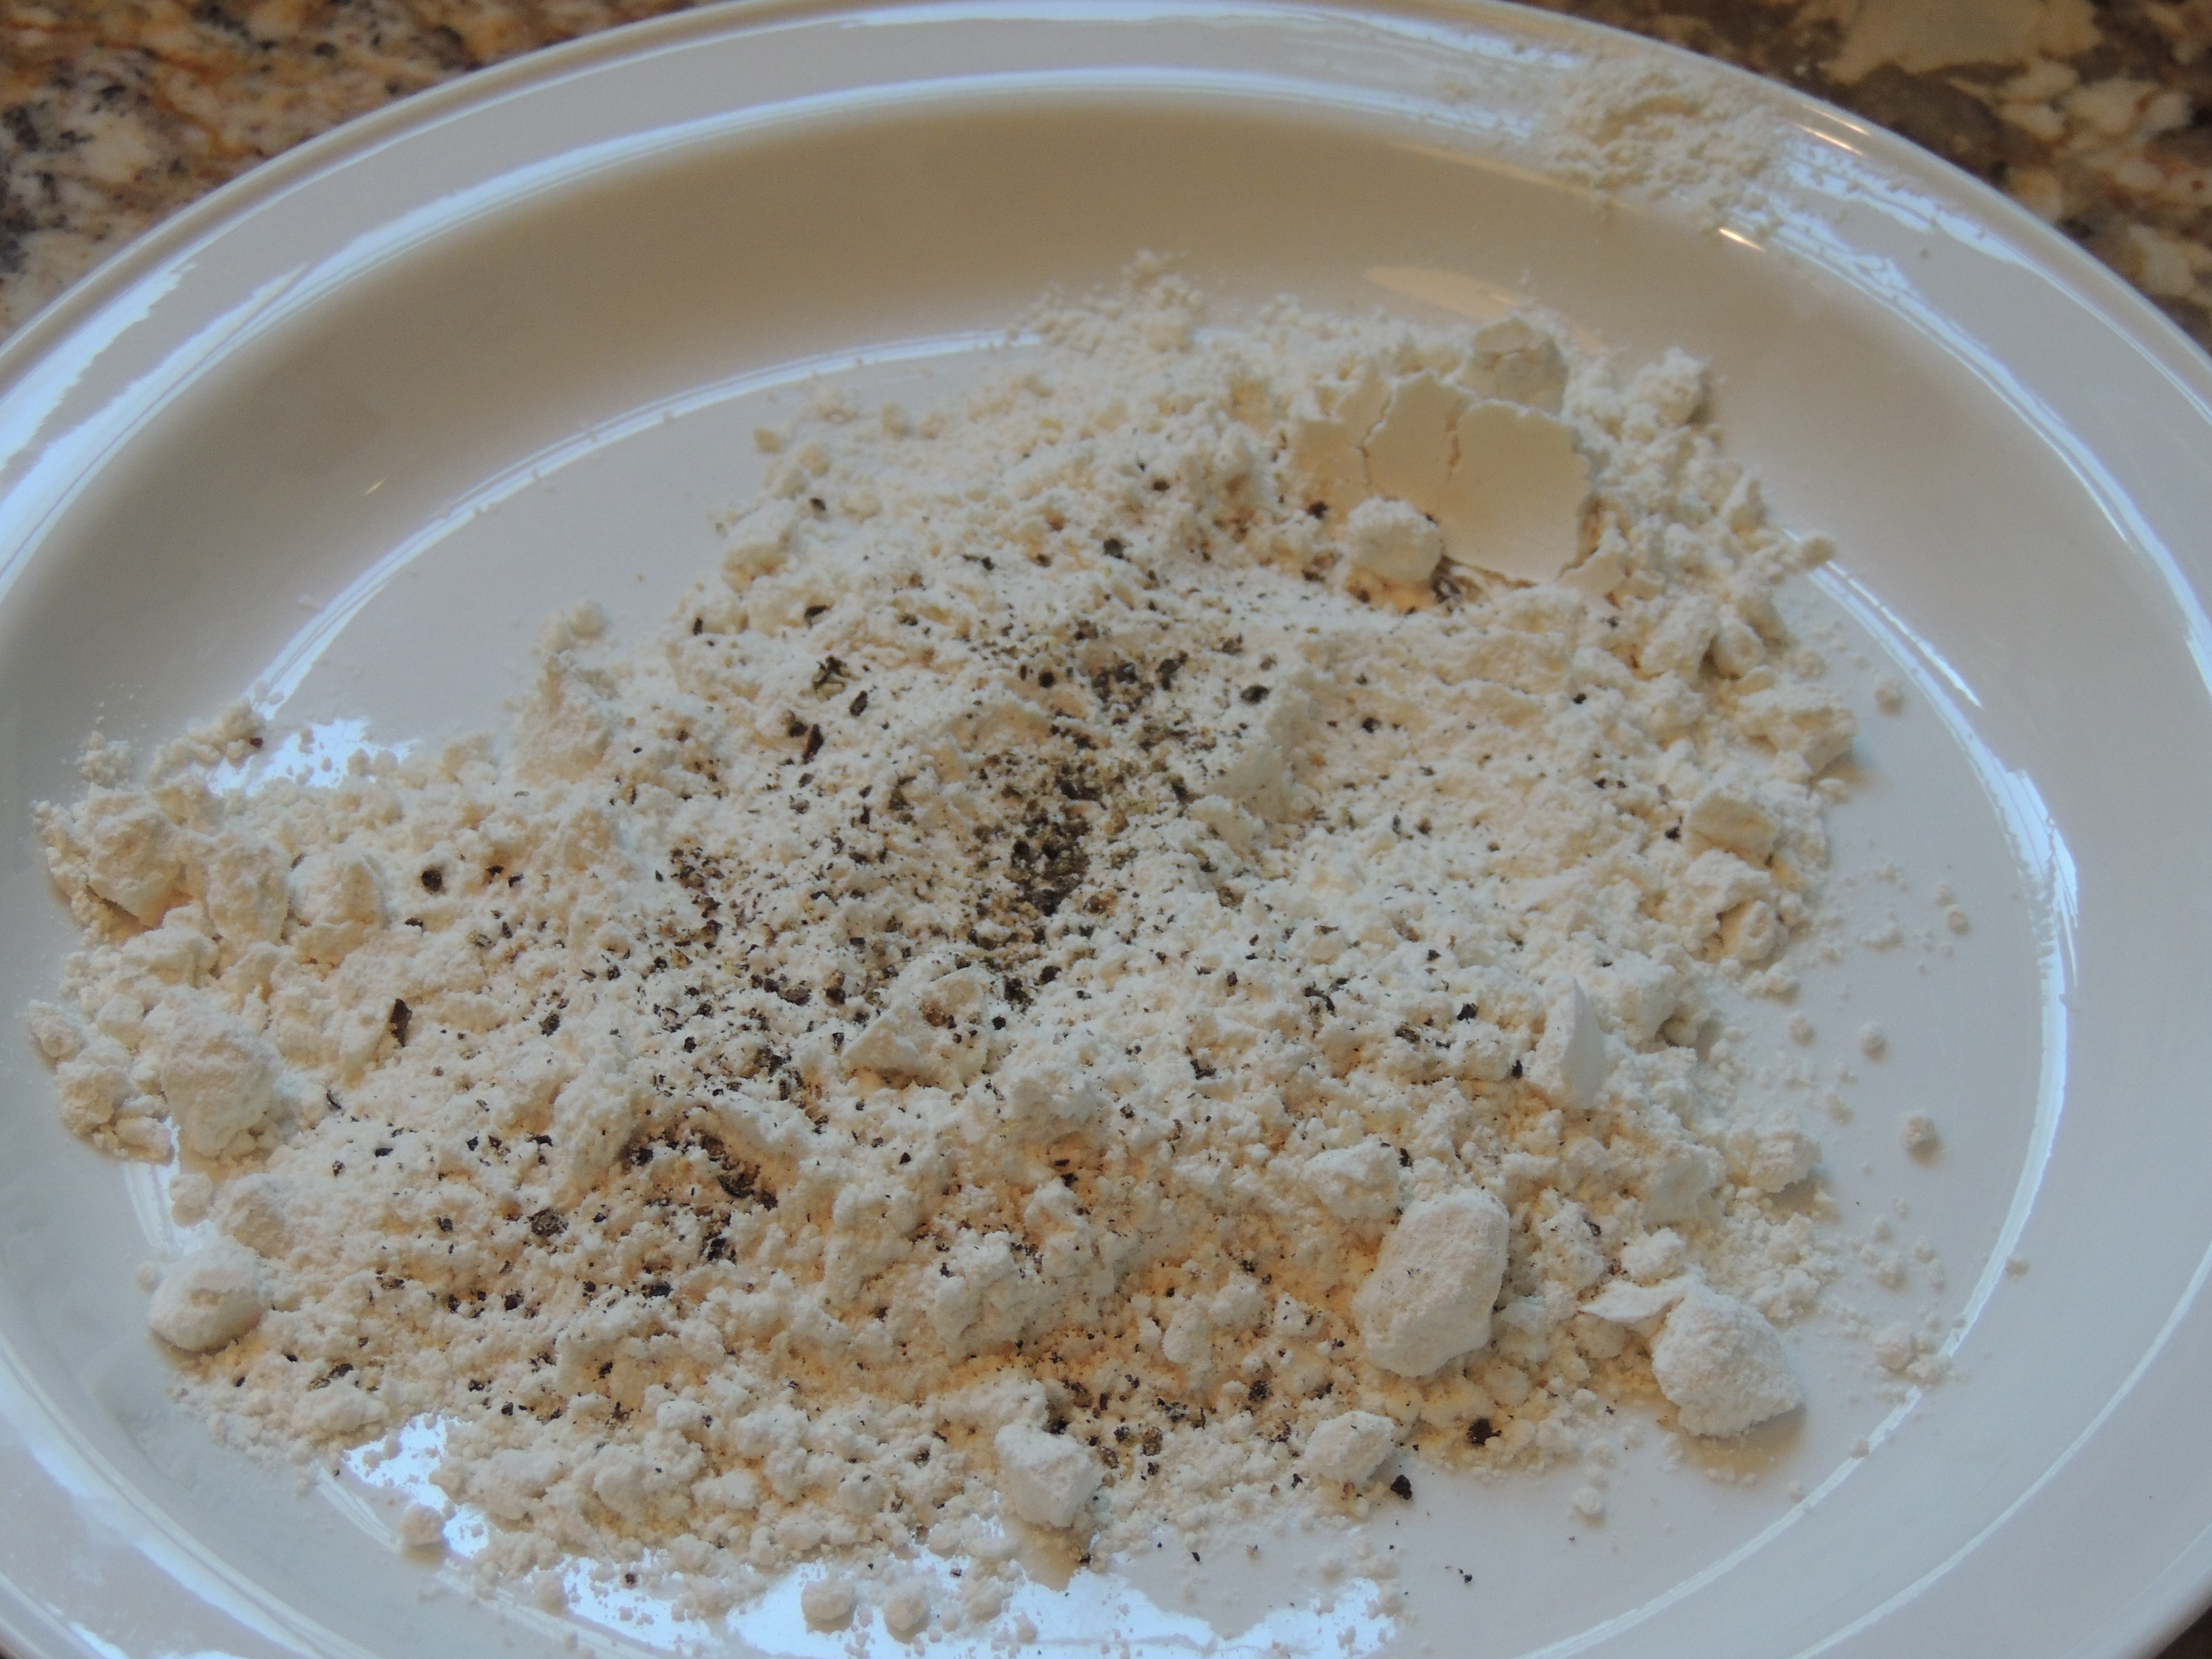
In a plastic zip bag or on a plate, add a few spoonfuls of all purpose flour (I always use unbleached), add salt and pepper.

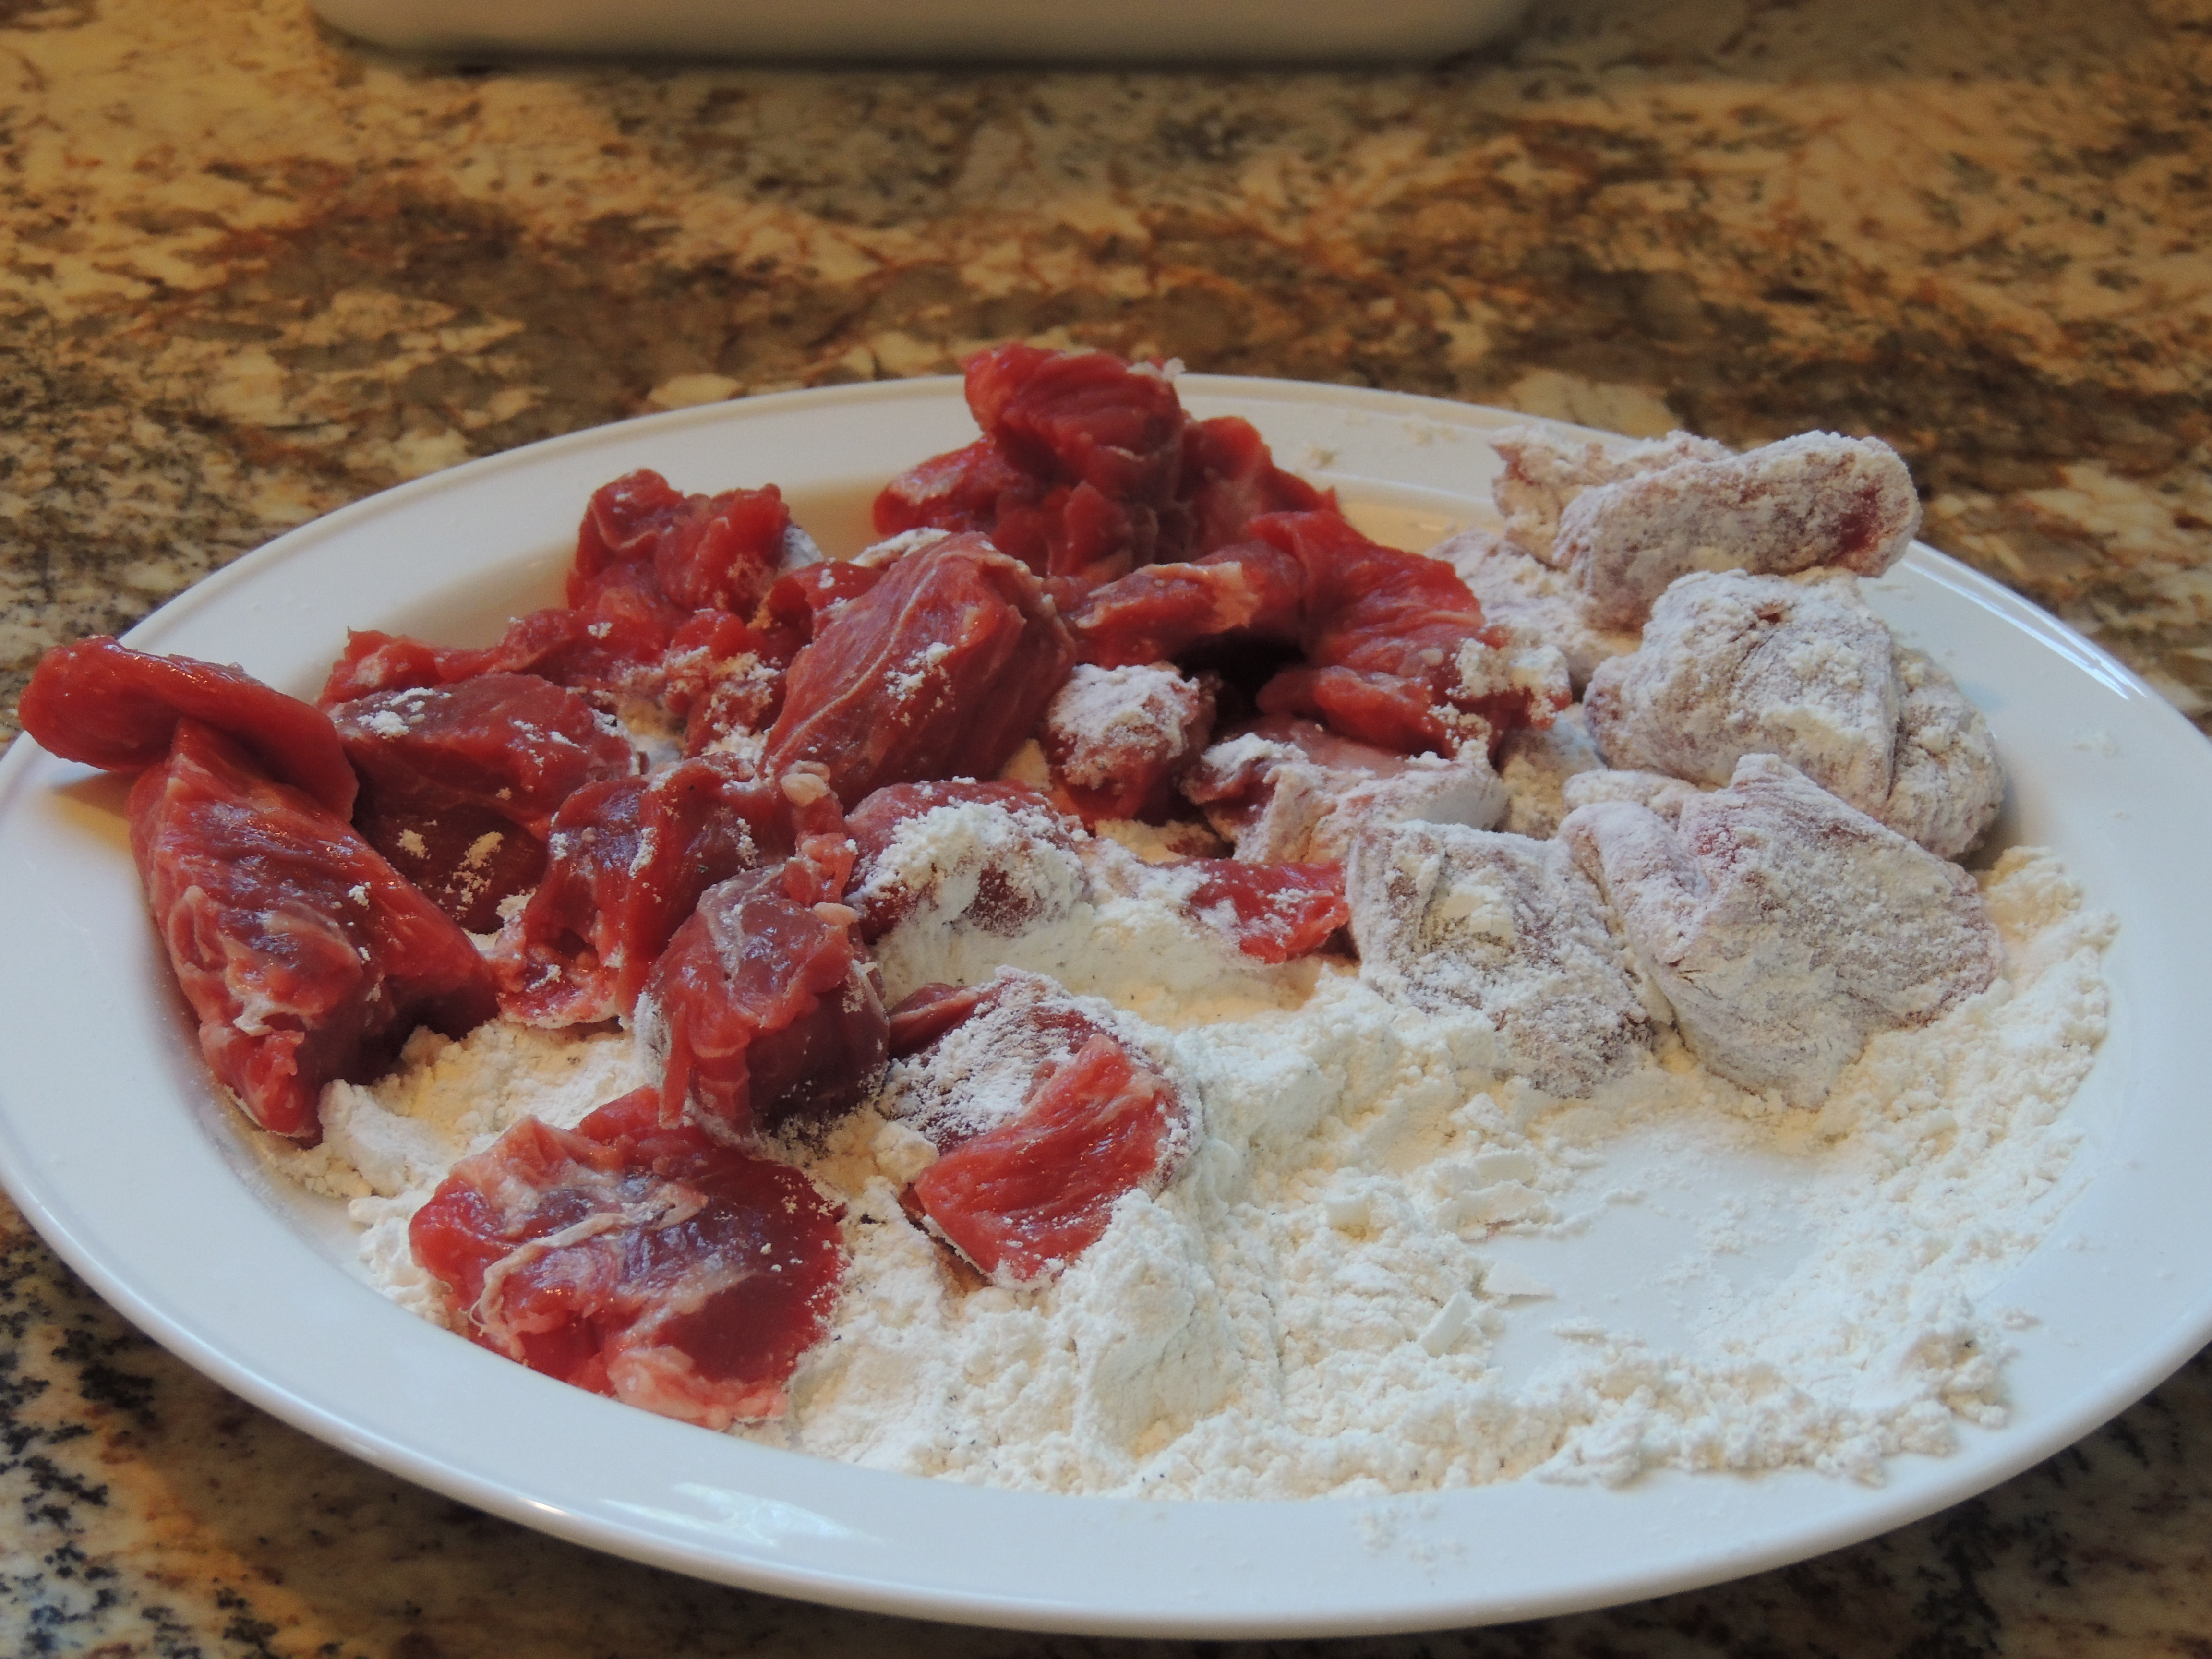
Roll the pieces of stew beef around so that they’re coated in flour, this will help thicken the stew slightly.

Heat some olive oil (or canola oil) in a heavy bottom pan.

Drop the flour coated beef stew pieces into the hot oil to brown (not cook all the way through).

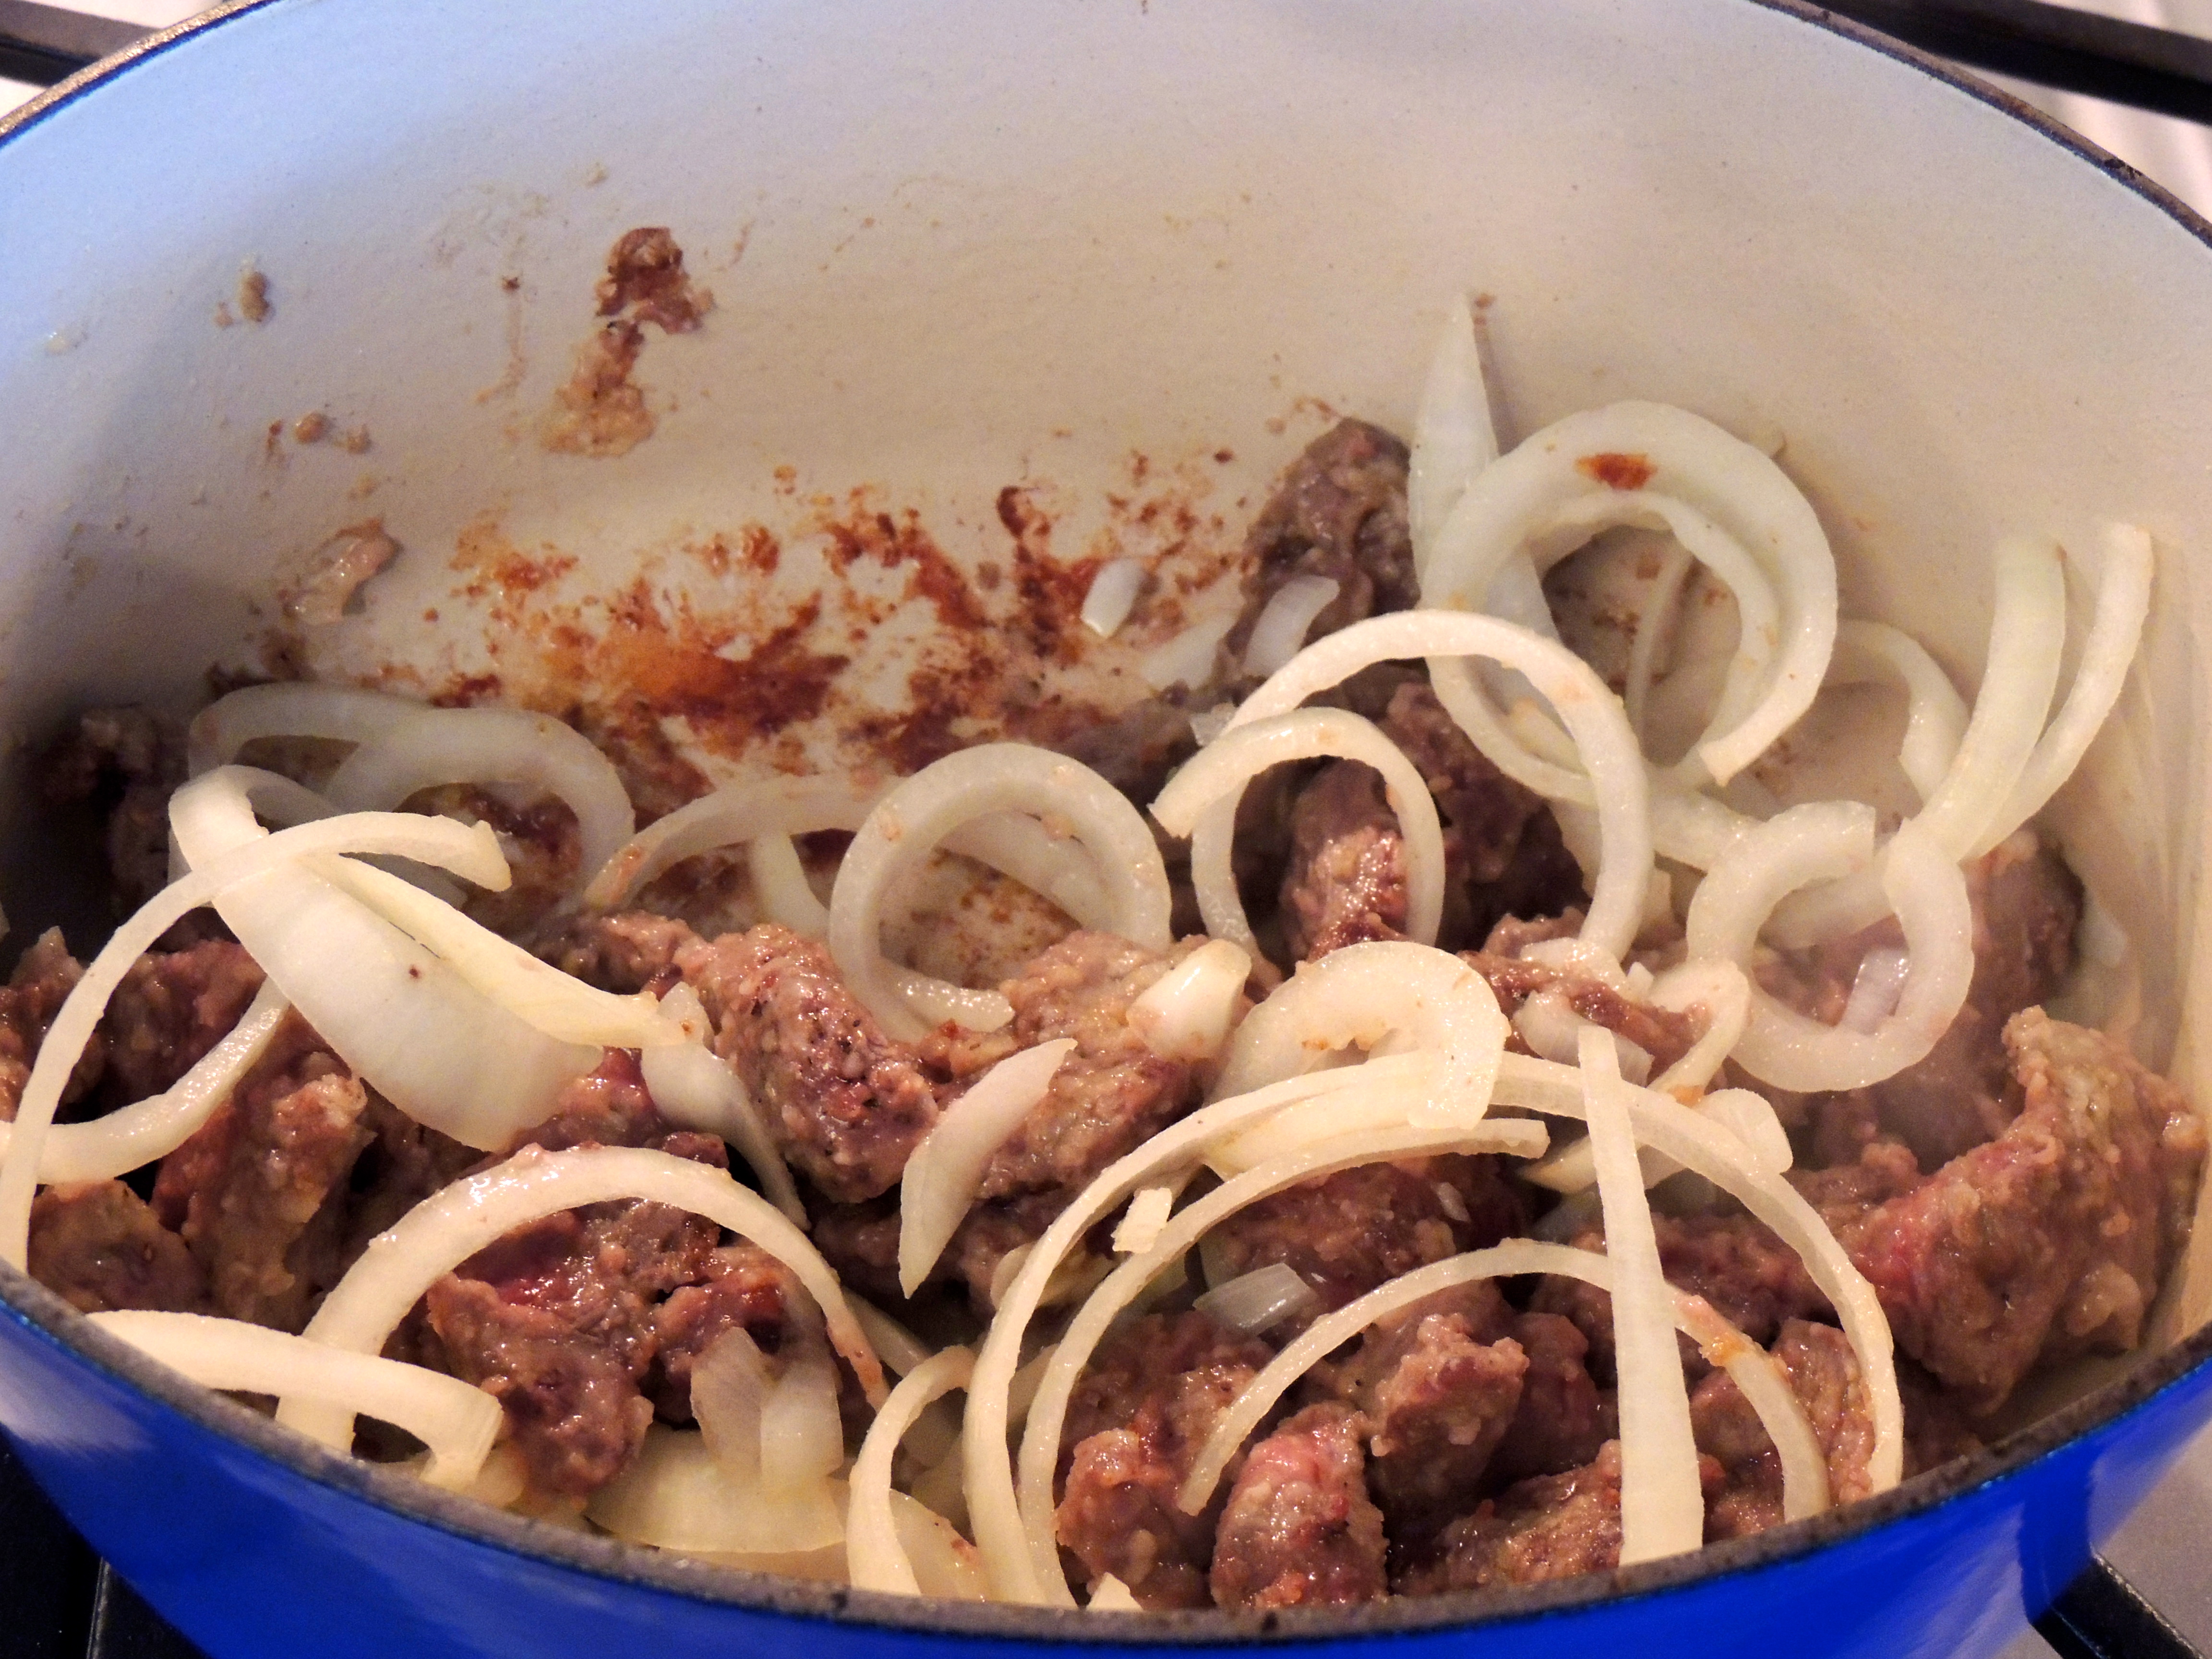
Once the meat has browned, move it off to the side…

Now, toss in the onions. stir them around until they’re translucent…

Once onions are translucent, stir to combine.

Now is the time to add some beef broth and Worcestershire Sauce (at this point you can also add some red wine if you like). You can use all beef broth or part beef broth and part water. The amount will depend on how many veggies you added… you’ll want to almost cover it… Stir it around and loosen up all those tasty brown bits that are stuck to the bottom of your pot. They add some heavenly flavor!

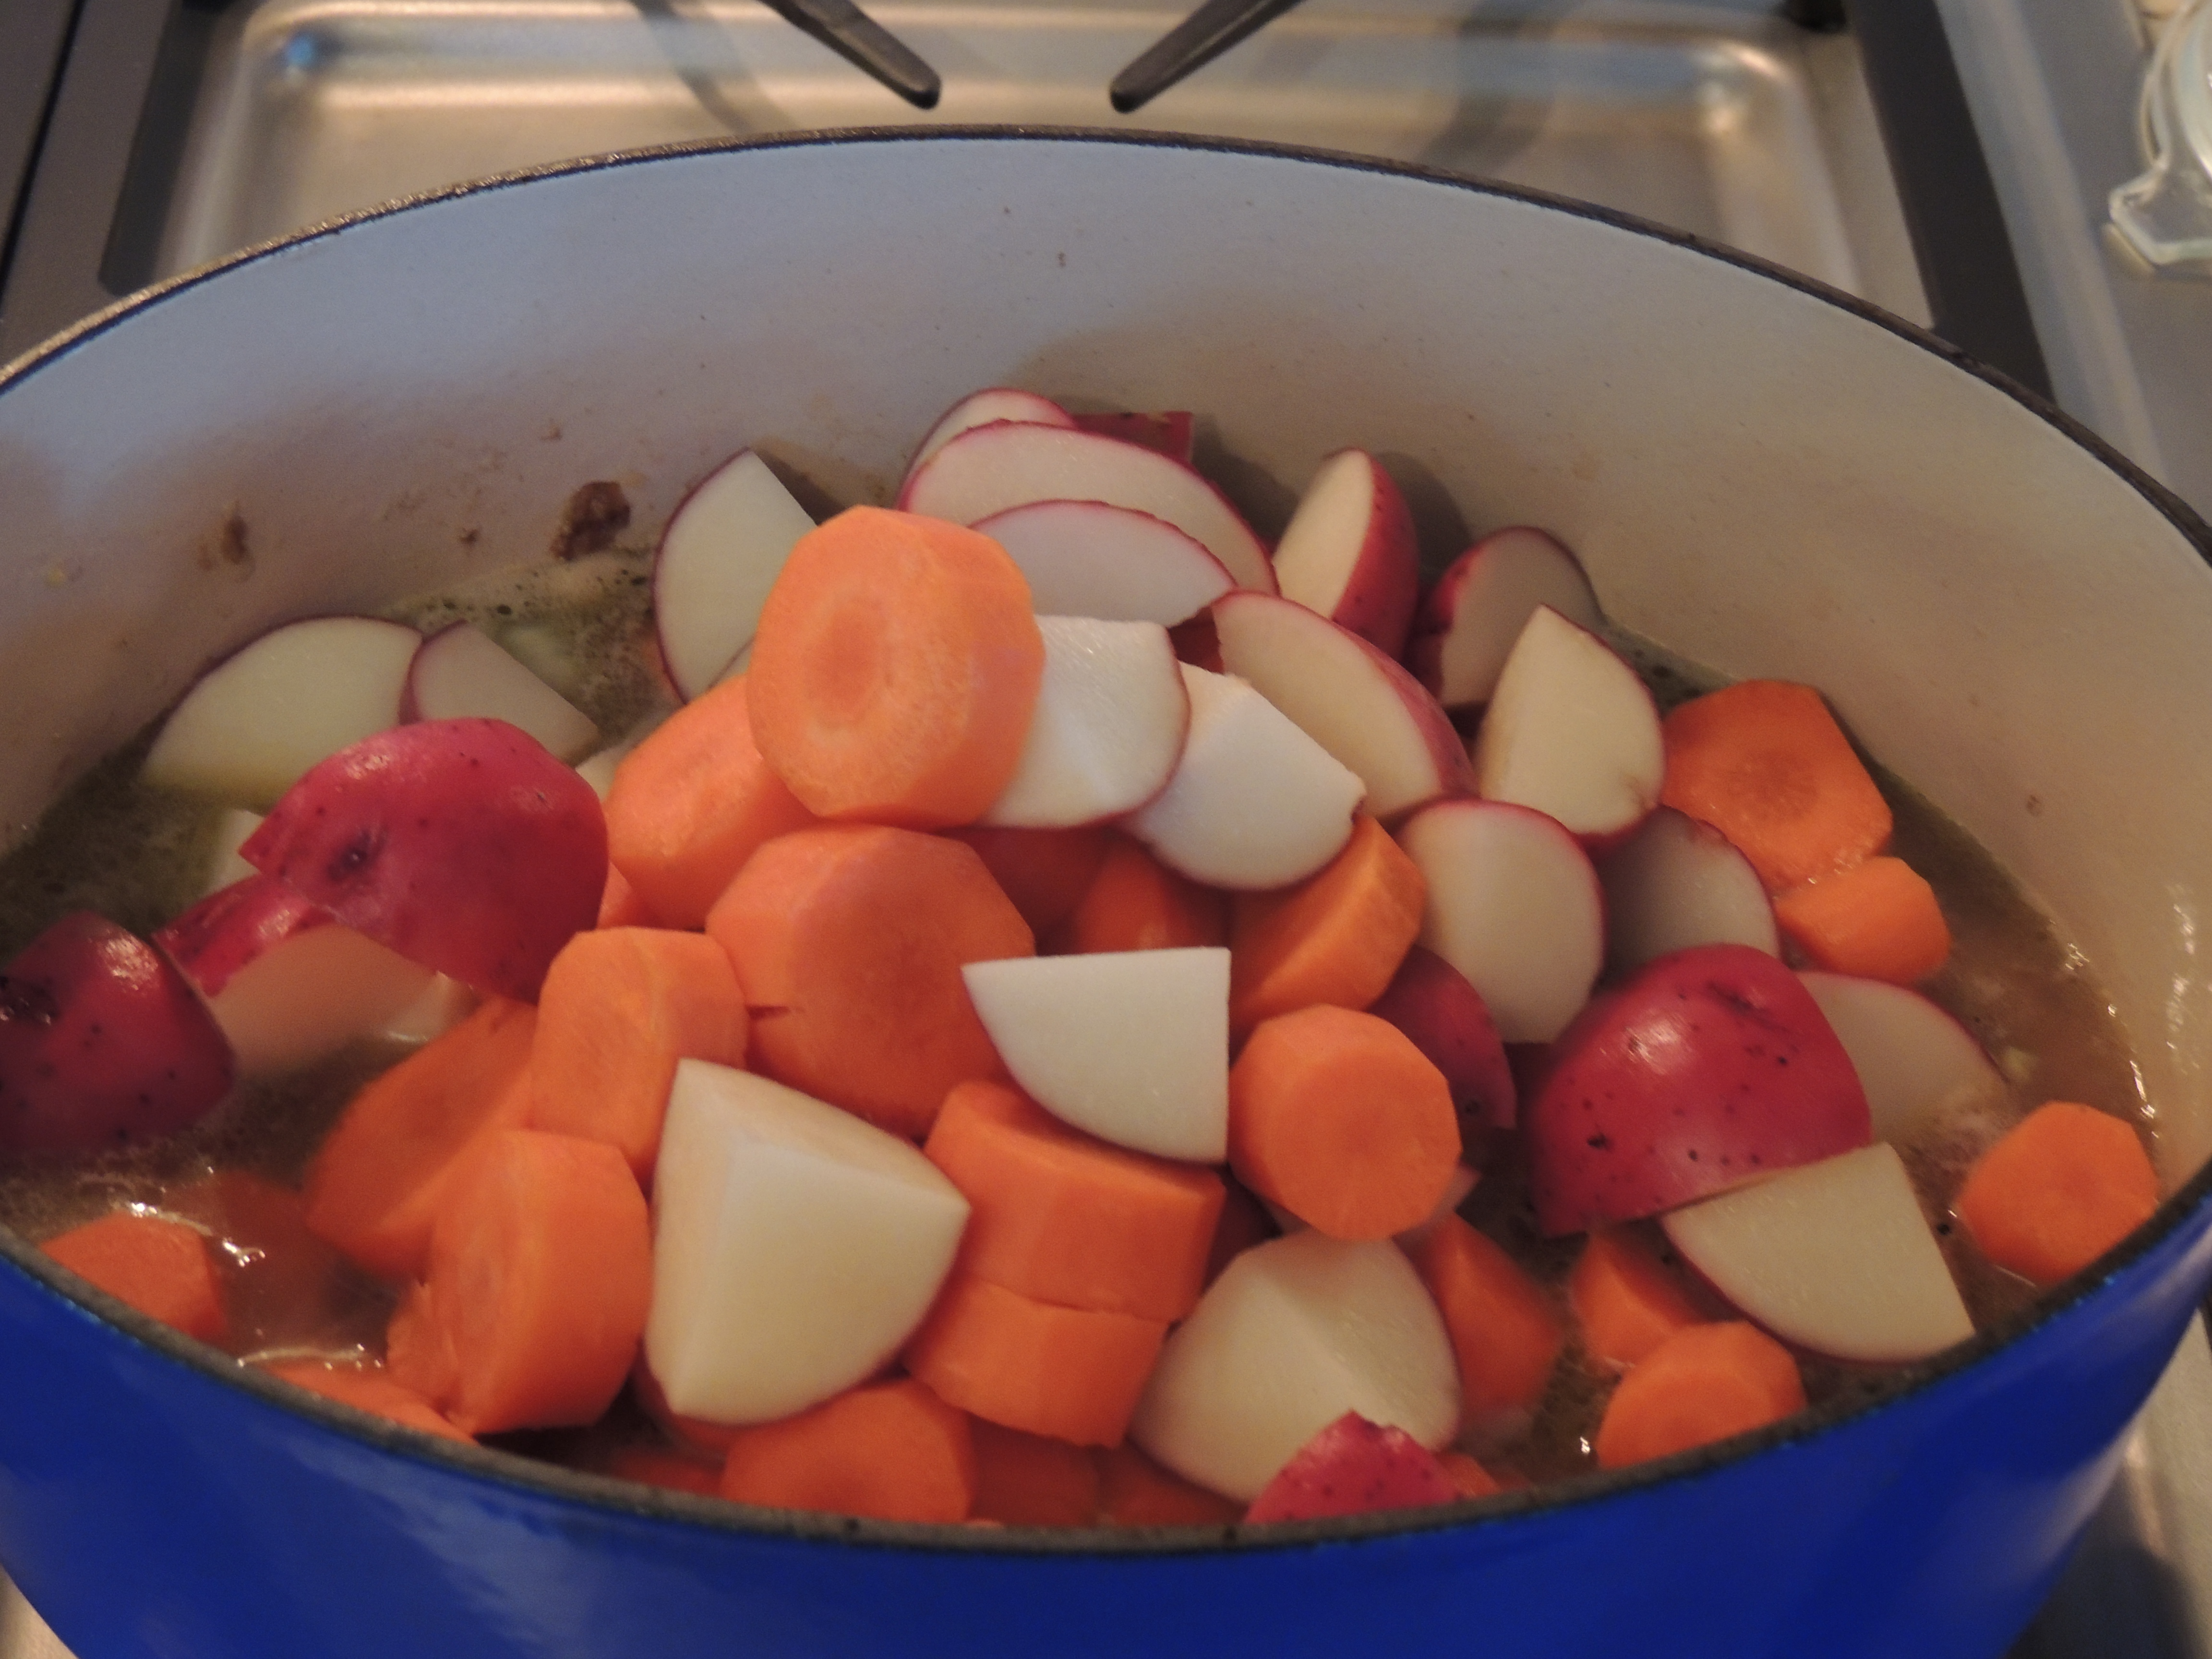
Now add the potatoes and carrots, salt and pepper and any other seasonings you might like…

Now it’s ready to cook! Turn the heat on medium high until it comes to a slight boil (where you see bubbles), then turn it down to low and simmer. I usually do this with the lid off most of the time… or I’ll crack it so steam can escape if I don’t want the liquid to reduce any more…

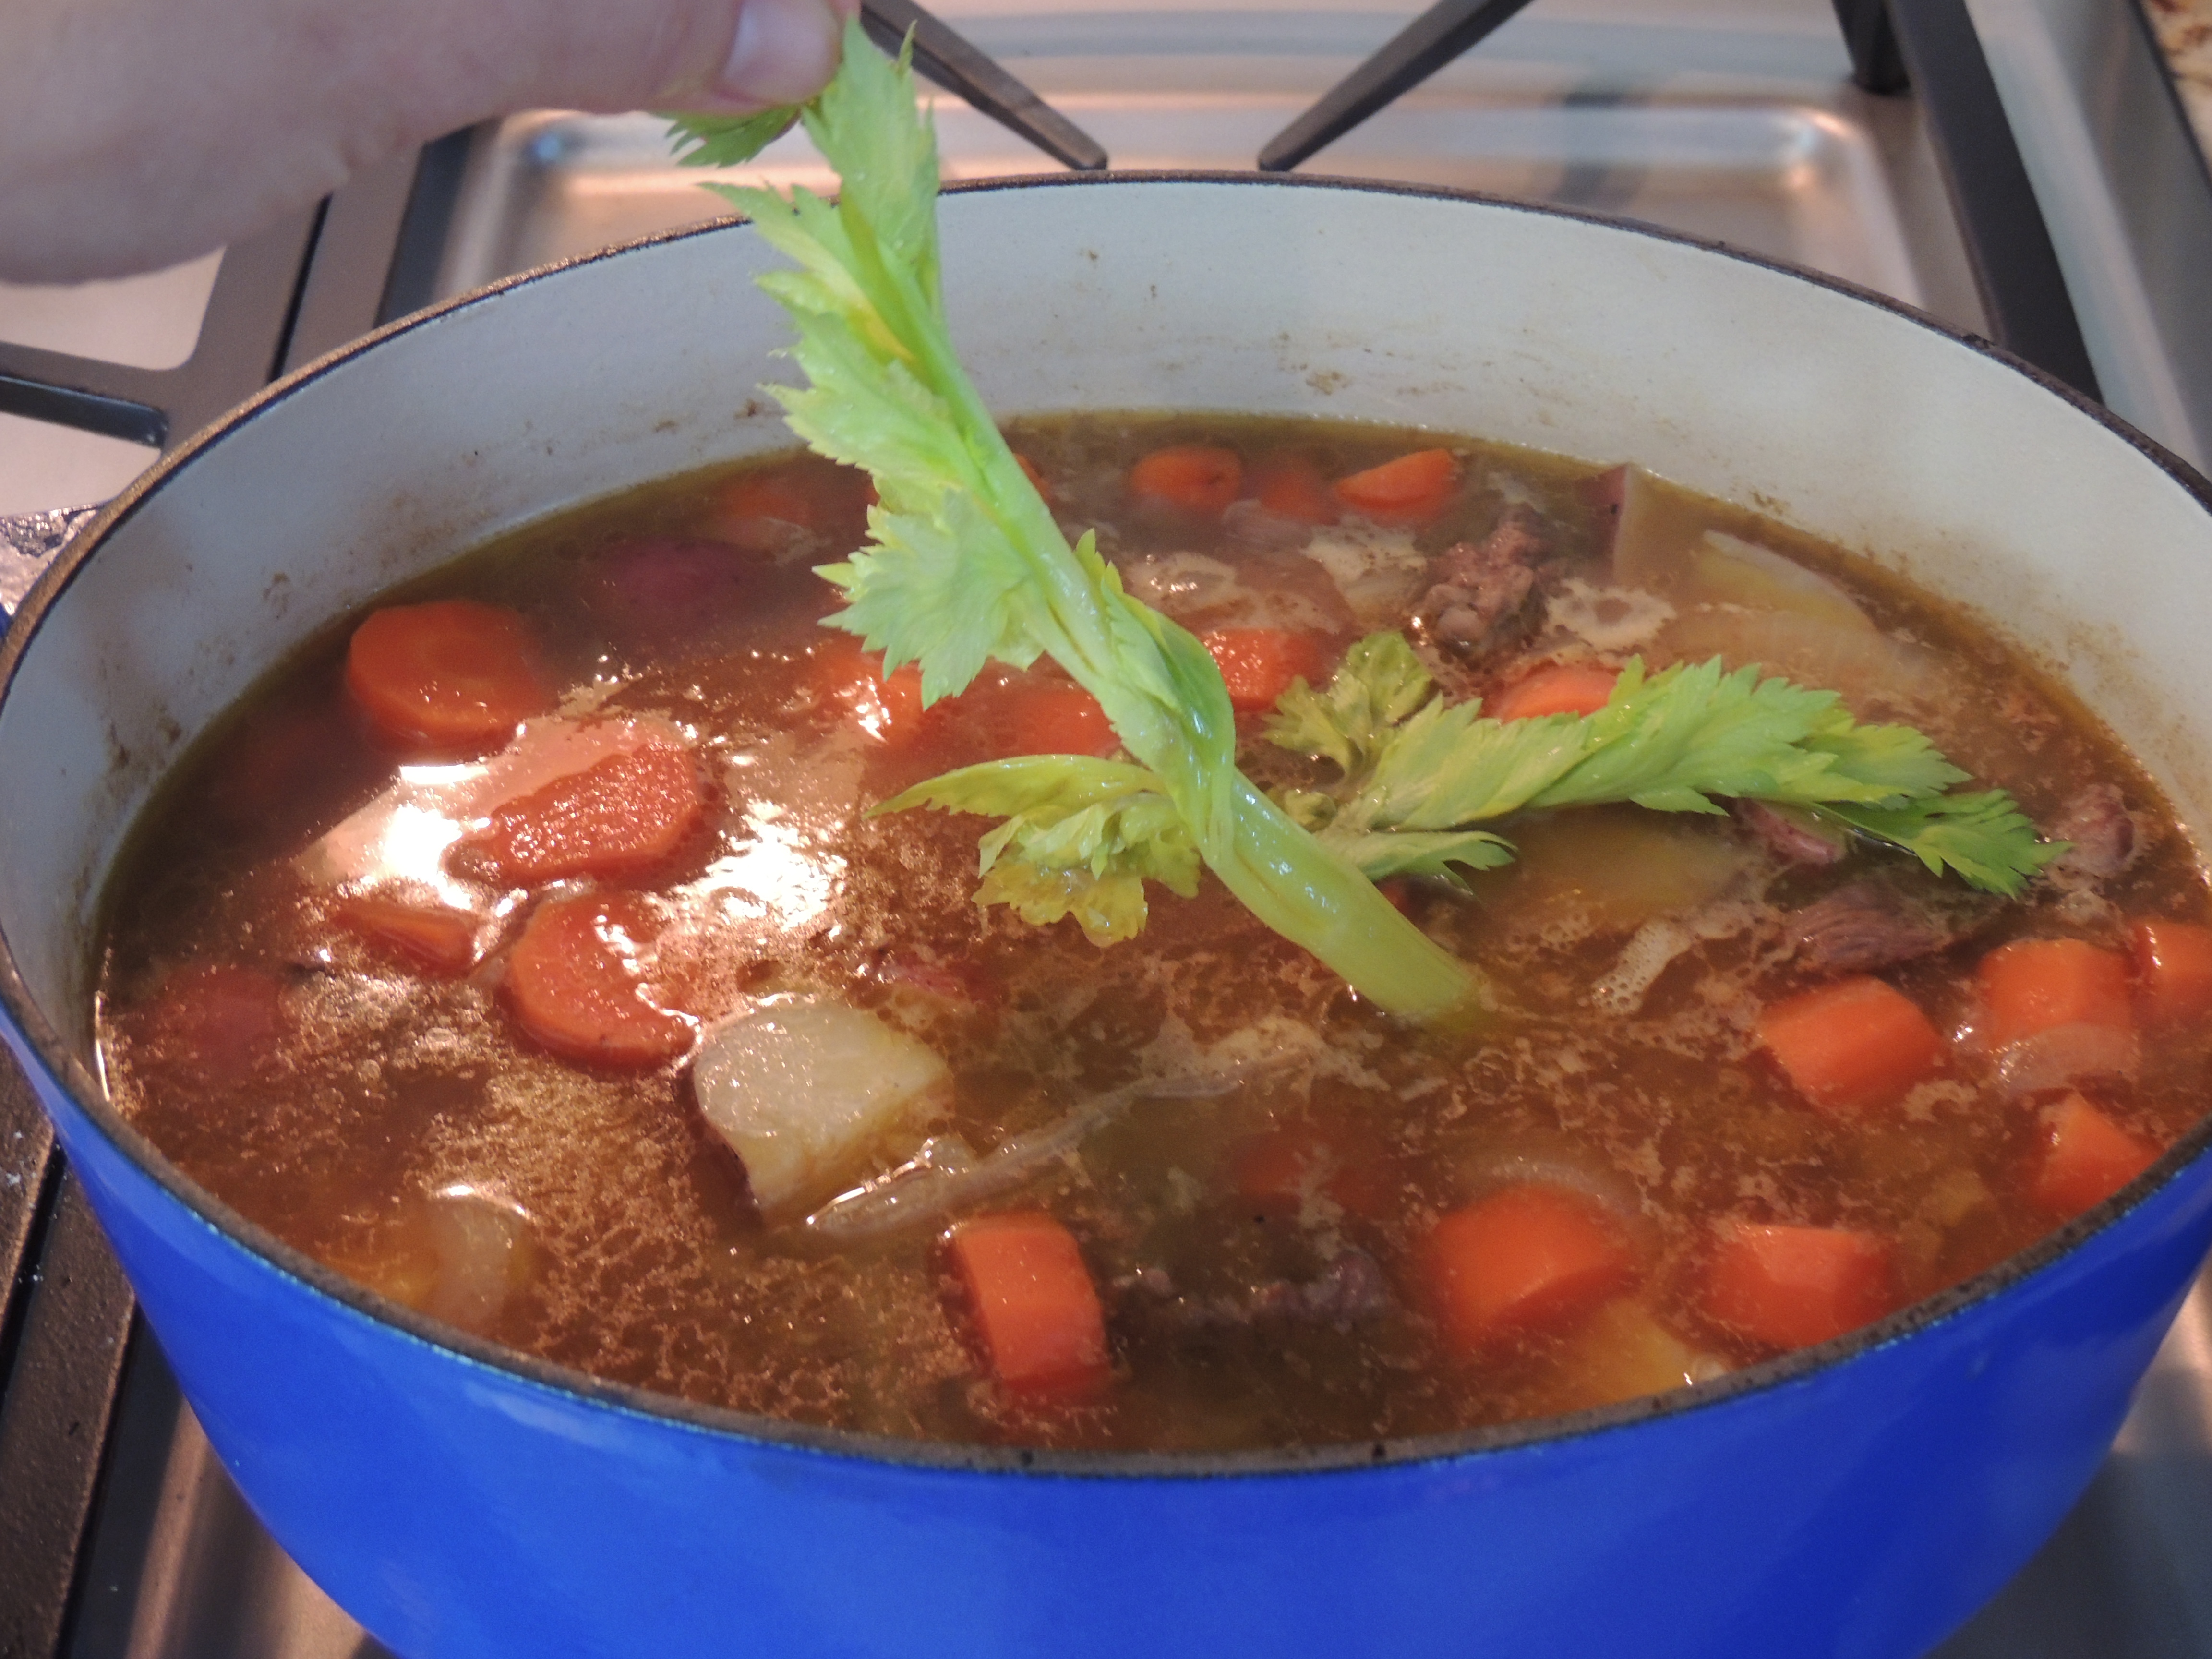
Something that gives soups and stew some nice flavor are the center pieces of celery, you know, the ones with all the leaves… toss them in whole, and you can pull them out when it’s done. It adds a nice flavor.
And that’s it! This is a great dish to make on a cold day, keeps the kitchen nice and warm. You can serve this with warm bread and a salad… or all by itself! Enjoy!
Catch you back here tomorrow!