These cookies have been a holiday tradition as long as I can remember. We had such fun making these. My mom and dad did all the hard work, we got to decorate – we had to decorate each one individually. Take your time, make it nice, don’t do it quickly (or heap a pile of frosting on top just so you can eat it, hee). Same with the tinsel, remember tinsel? One strand at a time! I think tinsel started out fun and then tested my patience, ha ha…
From what I remember we had a reindeer, a Santa, a snowman and a Christmas tree cookie cutters. If you don’t have a cookie cutter use a glass and decorate them like ornaments! Right now I only have a Christmas tree cookie cutter, it’s my favorite and I haven’t seen another that I like as much (that won’t burn edges, etc) There are so many ways to decorate them! You can limit your colors, like I did, or have a plethora of colors and make them REALLY different!
Let the artistic side in you come out, make that wonderful “Grinch” green, mix your yellow/blue food coloring to achieve the different colors!
This recipe makes quite a few, but they are so good they are in danger of becoming extinct rather quickly!
There is nothing like a good homemade peanut butter cookie! I tell myself they’re healthy (yeah, right) – full of protein, ha. Well, not so bad if you only make the once in a great while! This recipe makes a lot, so share with your neighbors! I shared some and froze some so we weren’t eating them all! Try to control yourself with the cookie dough…. good luck!
With a mixer, beat together the butter, sugar and brown sugar…
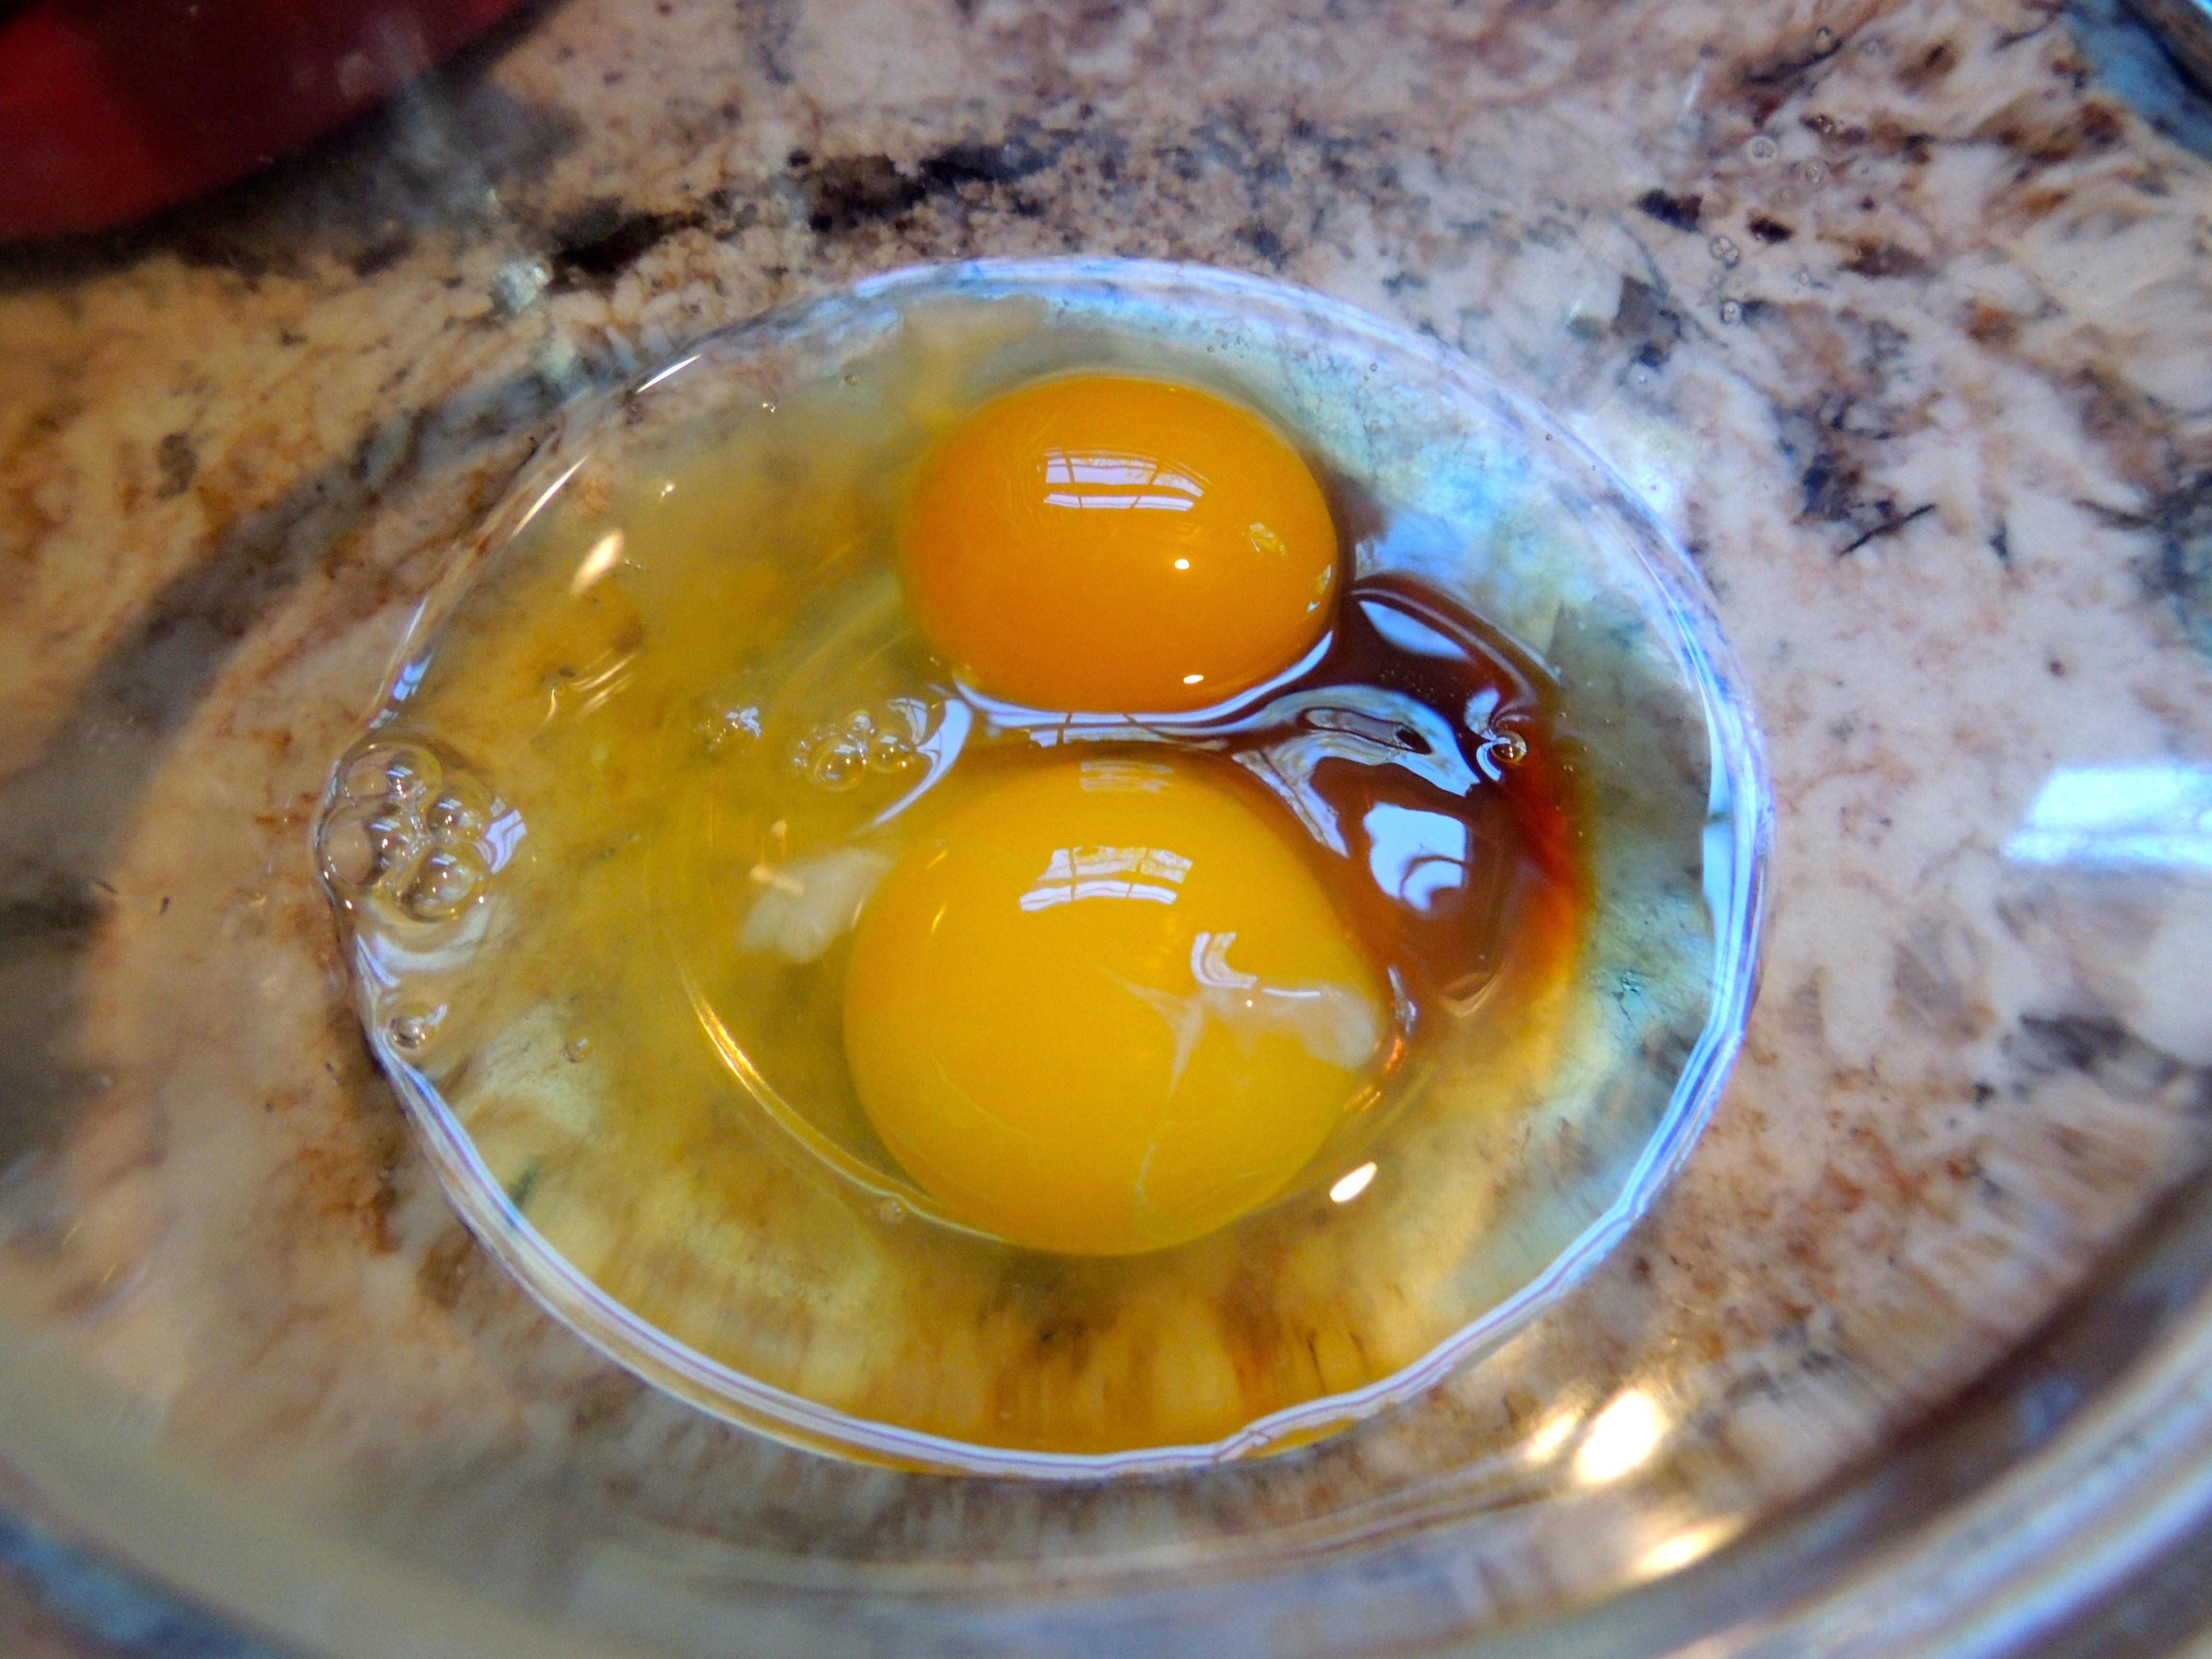
Next… eggs and vanilla!
Add eggs and vanilla… mix just to get the ingredients blended together nicely…
Ooooh, lookin’ good!
Oooh, yeah, this is what you want to see!
Dry Ingredients…
I put dry ingredients (flour, baking soda, salt) in a separate bowl, then give it a stir to mix it around, and then add to the wet ingredients…
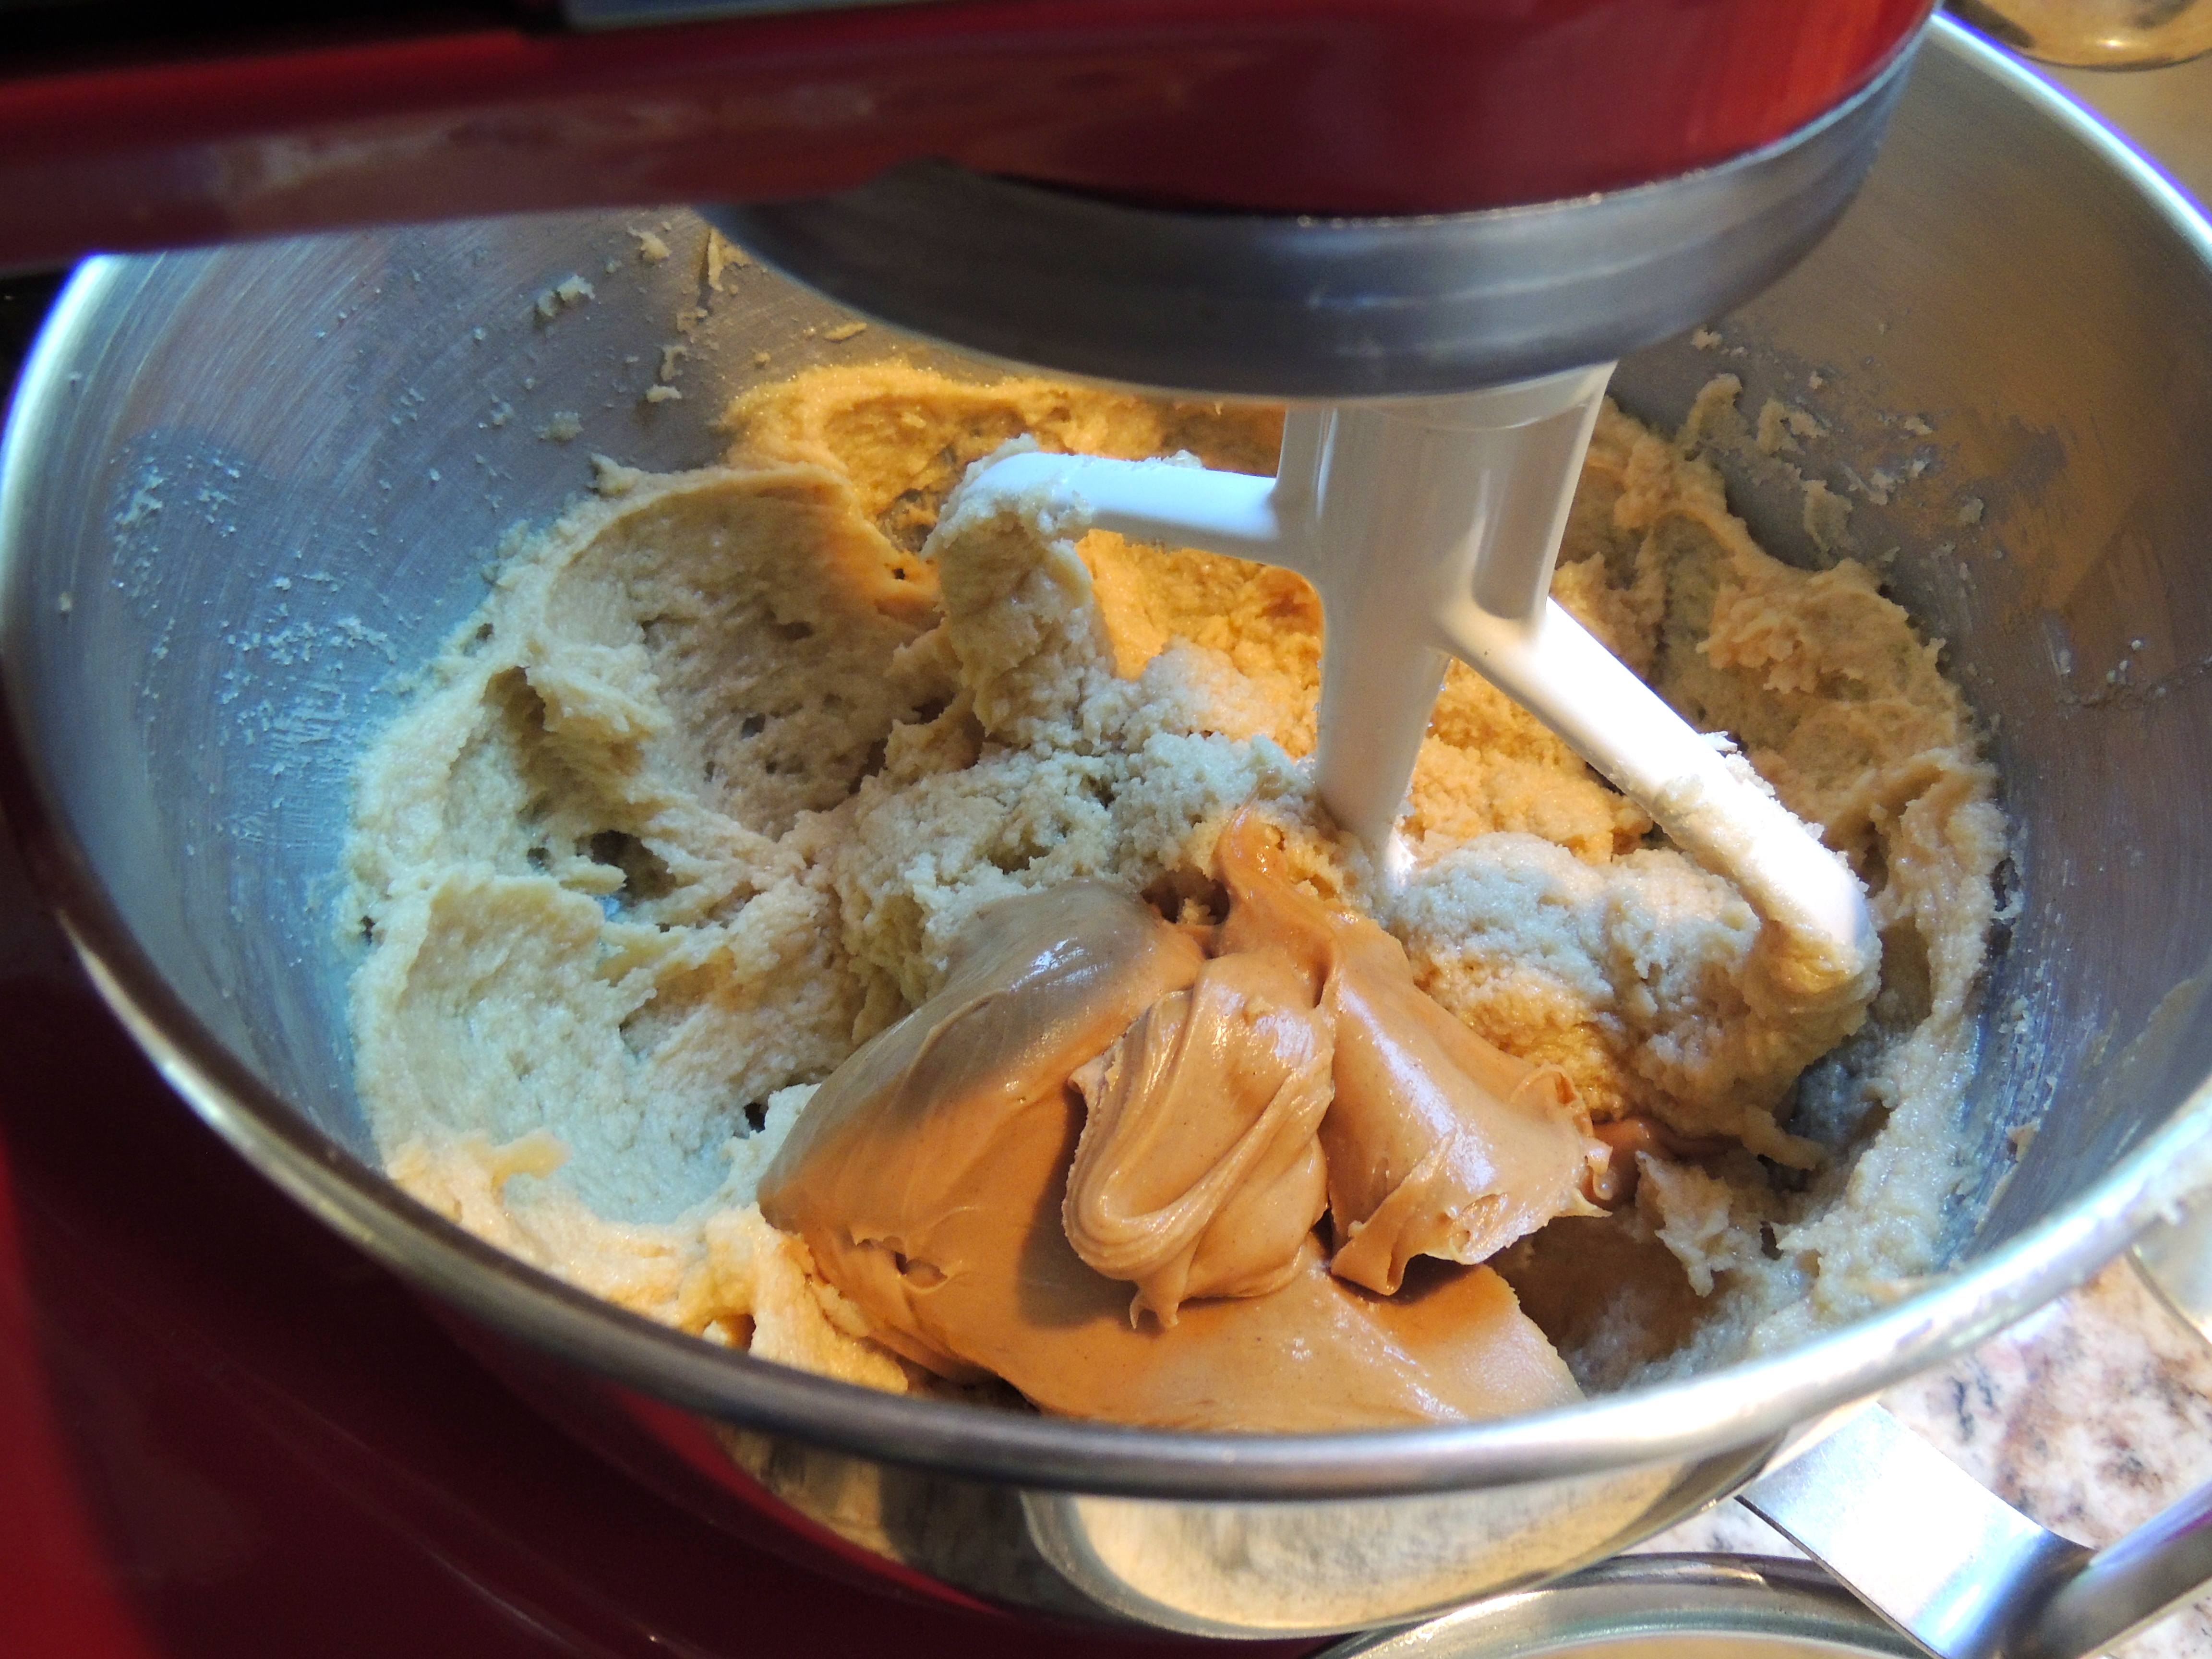
Add the peanut butter!
Next… add the magic touch… the ingredient that makes peanut butter cookies, well… peanut butter cookies! Add the peanut butter, and mix to combine.
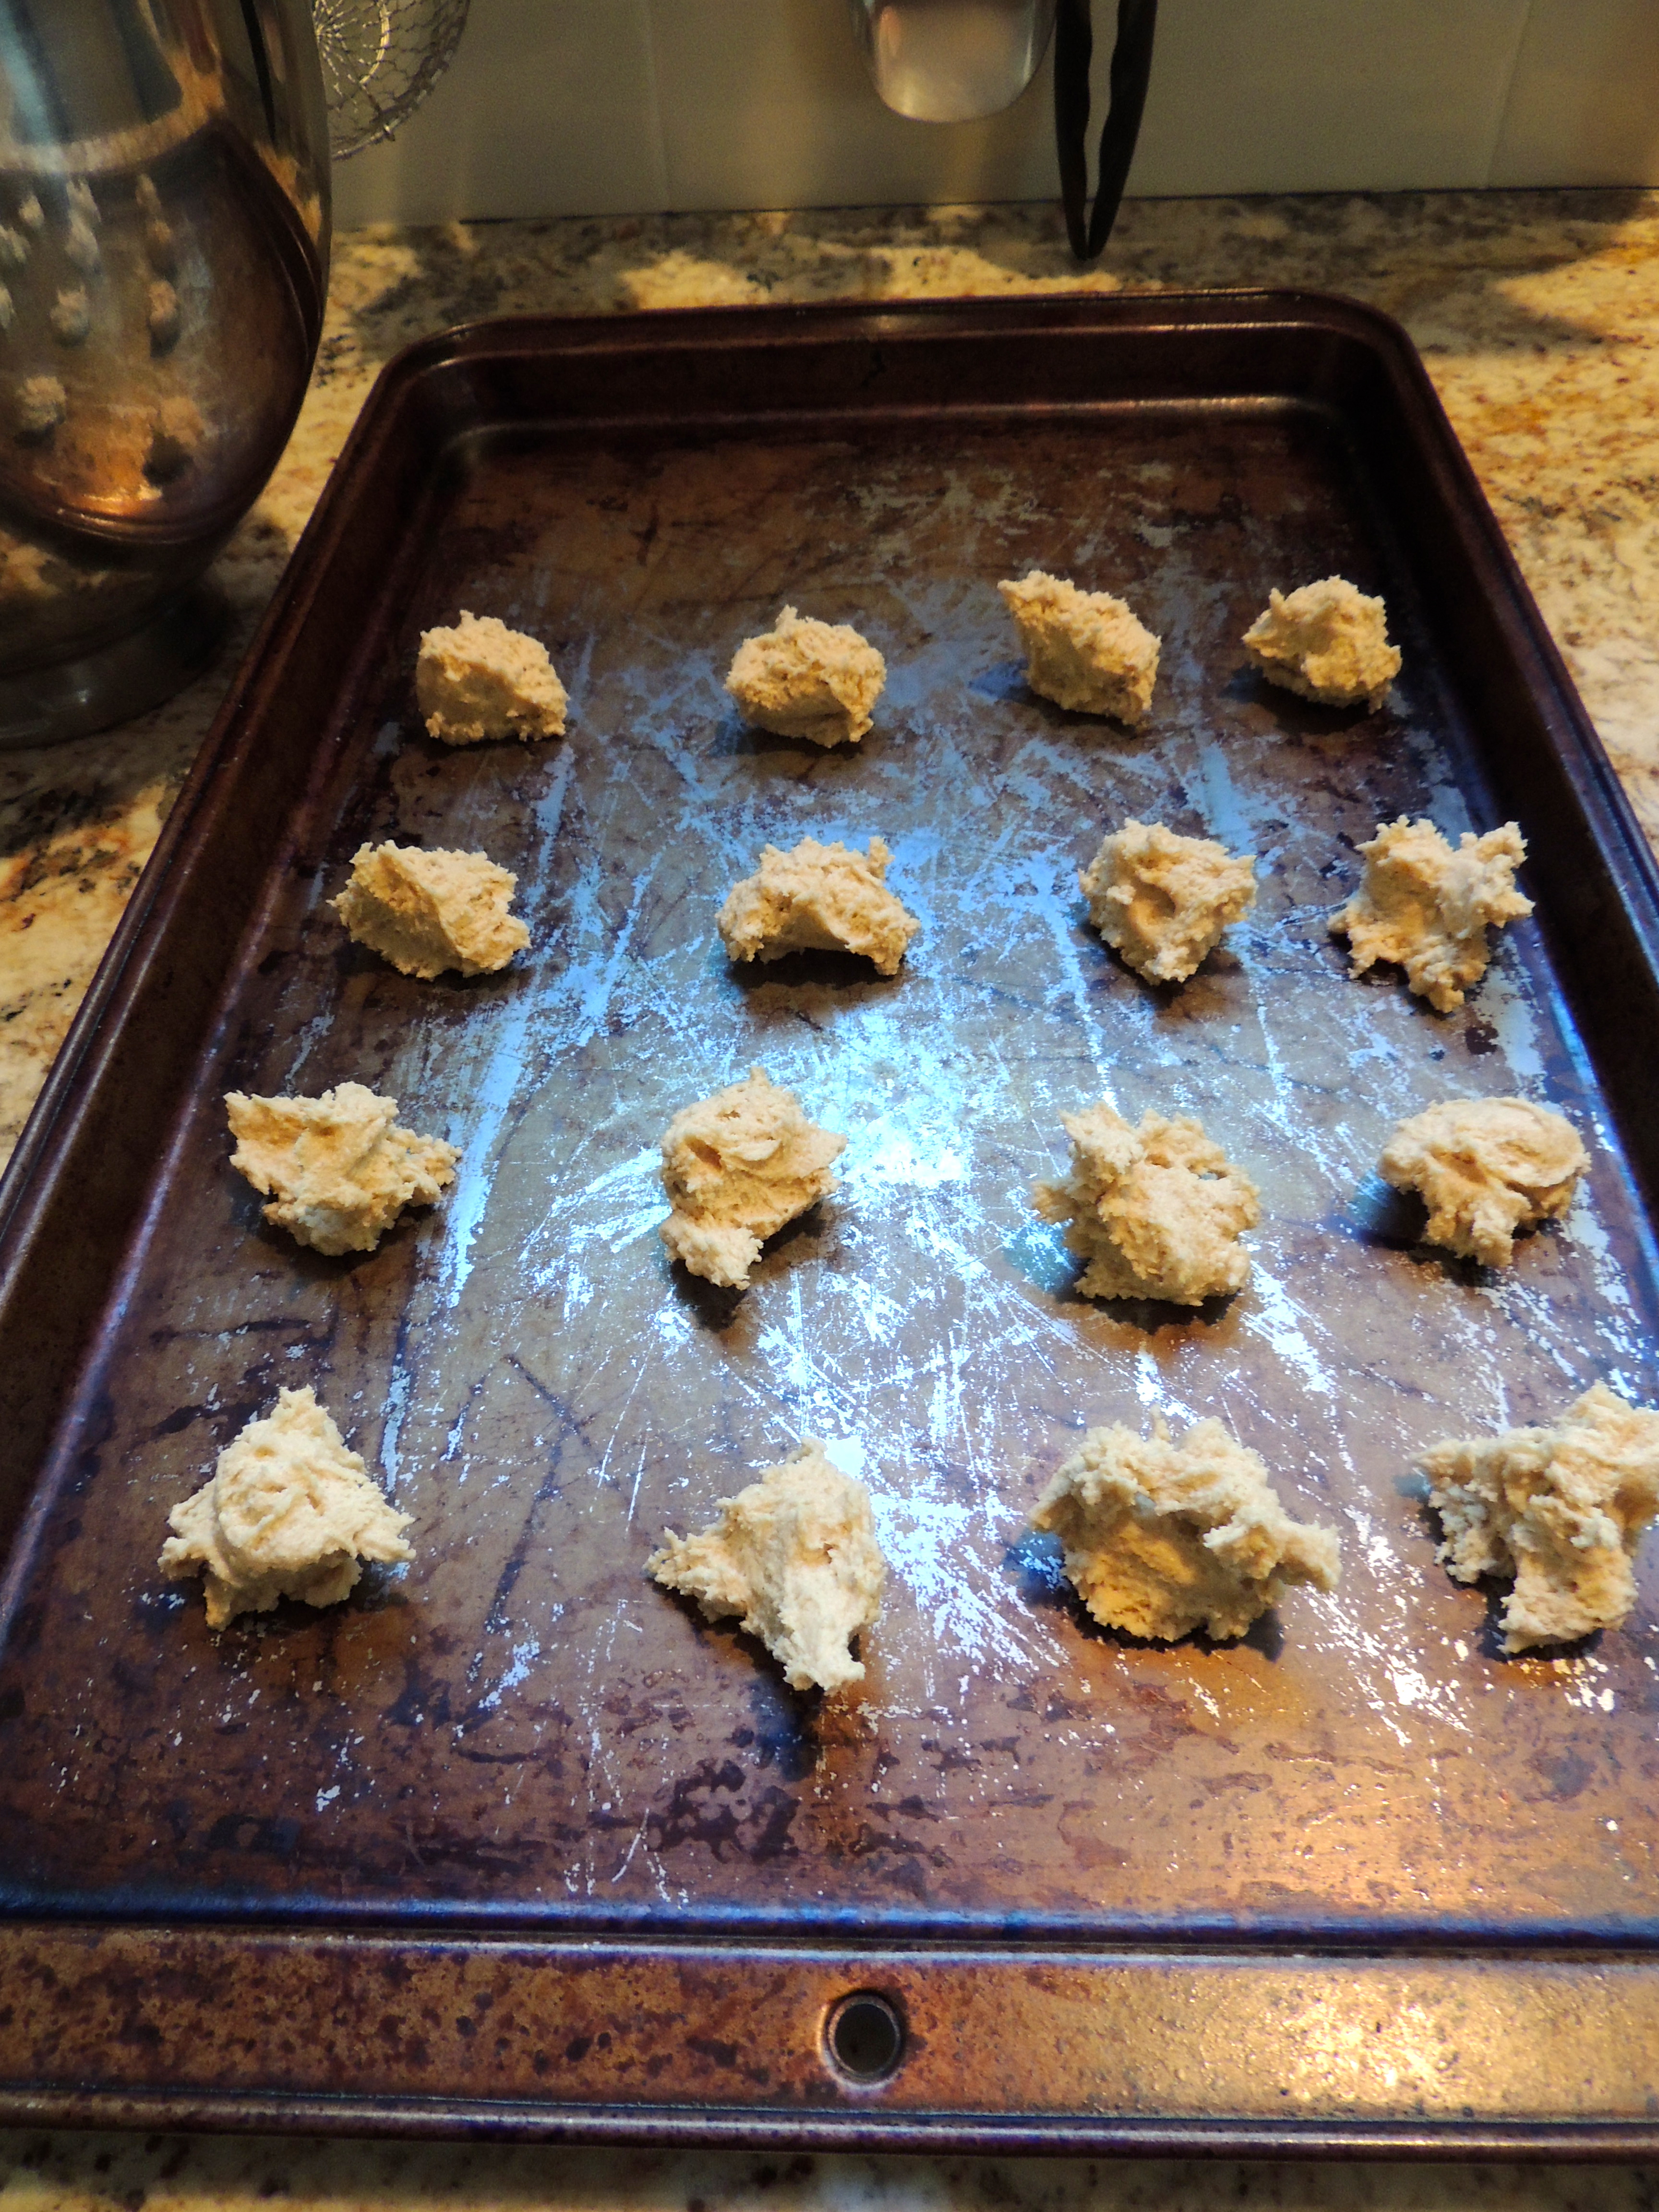
Drop by teaspoonfuls onto cookie sheet
Get two teaspoons, scoop one teaspoon (mine are rather small, they get larger as they bake), then use the other spoon to drop it onto the un-greased cookie sheet…
Roll into balls lightly with your palms
Pick up the little blop of heavenly dough, and roll between your (clean!) palms lightly to form a ball. In no way does it have to be perfect!
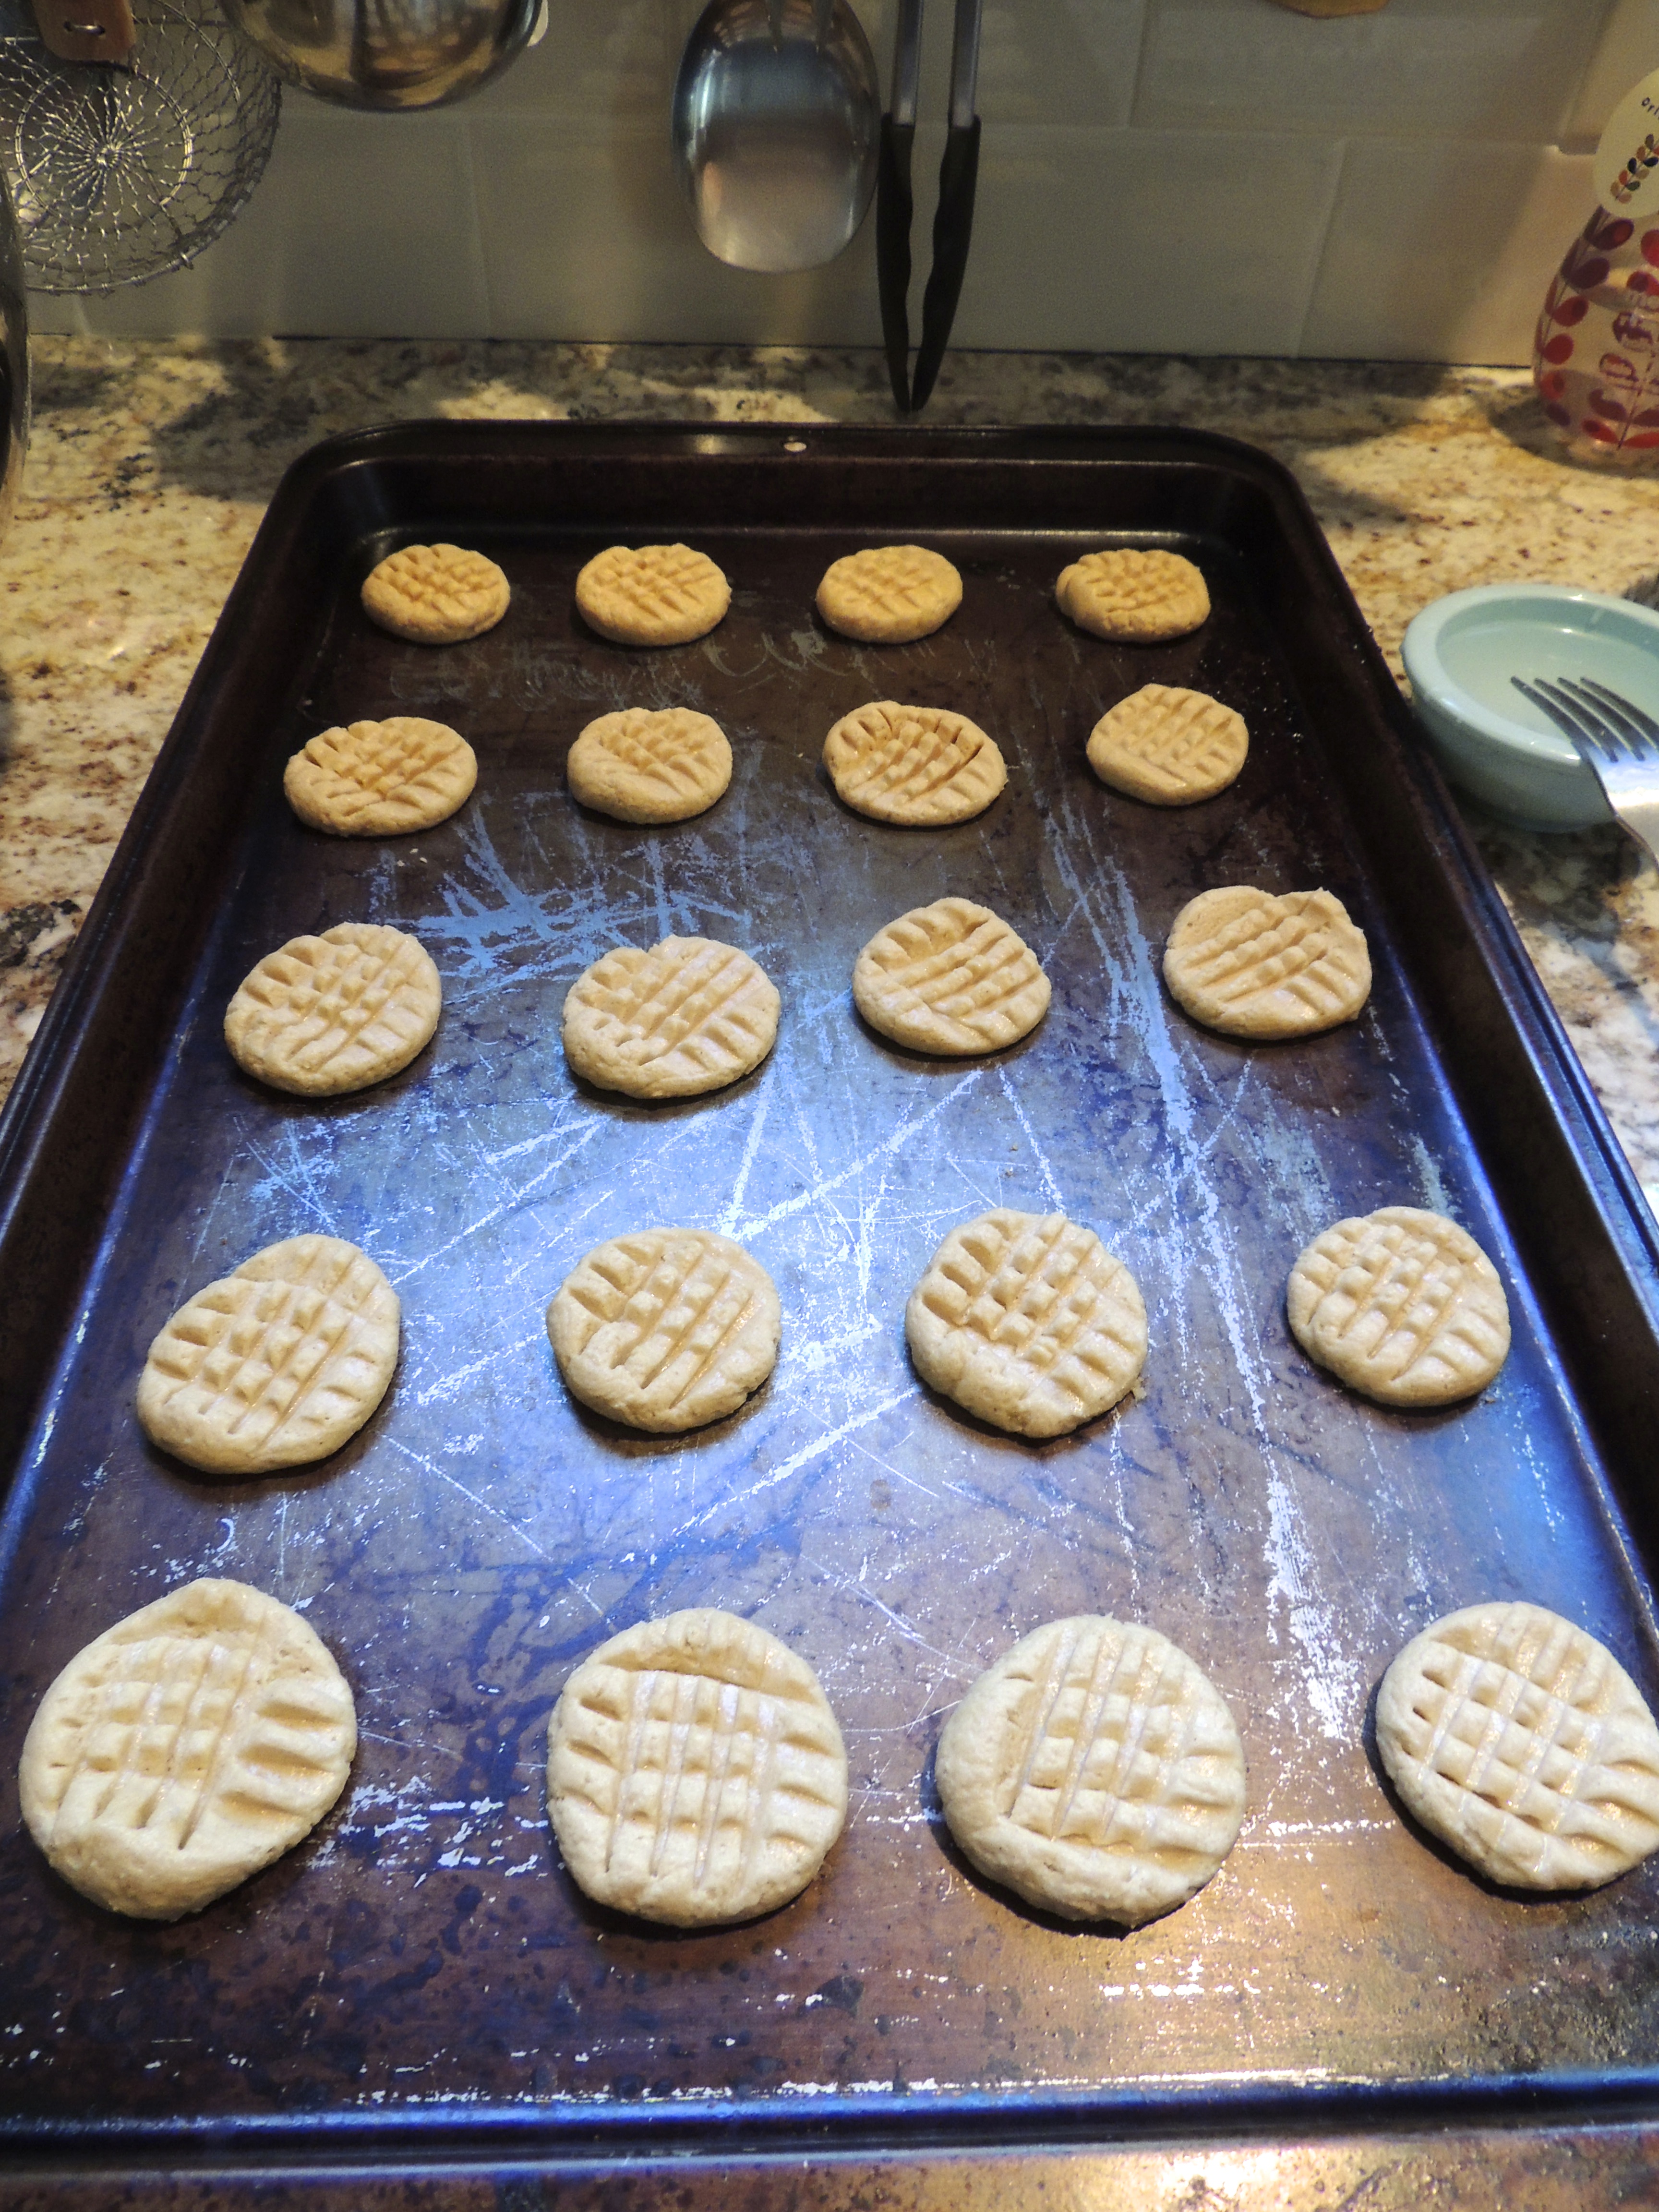
Press with fork (lightly)
Then dip a fork in water (and shake off excess water) then lightly press down…
Press with fork the opposite way if you like
If you’re feeling fancy, press the opposite direction…
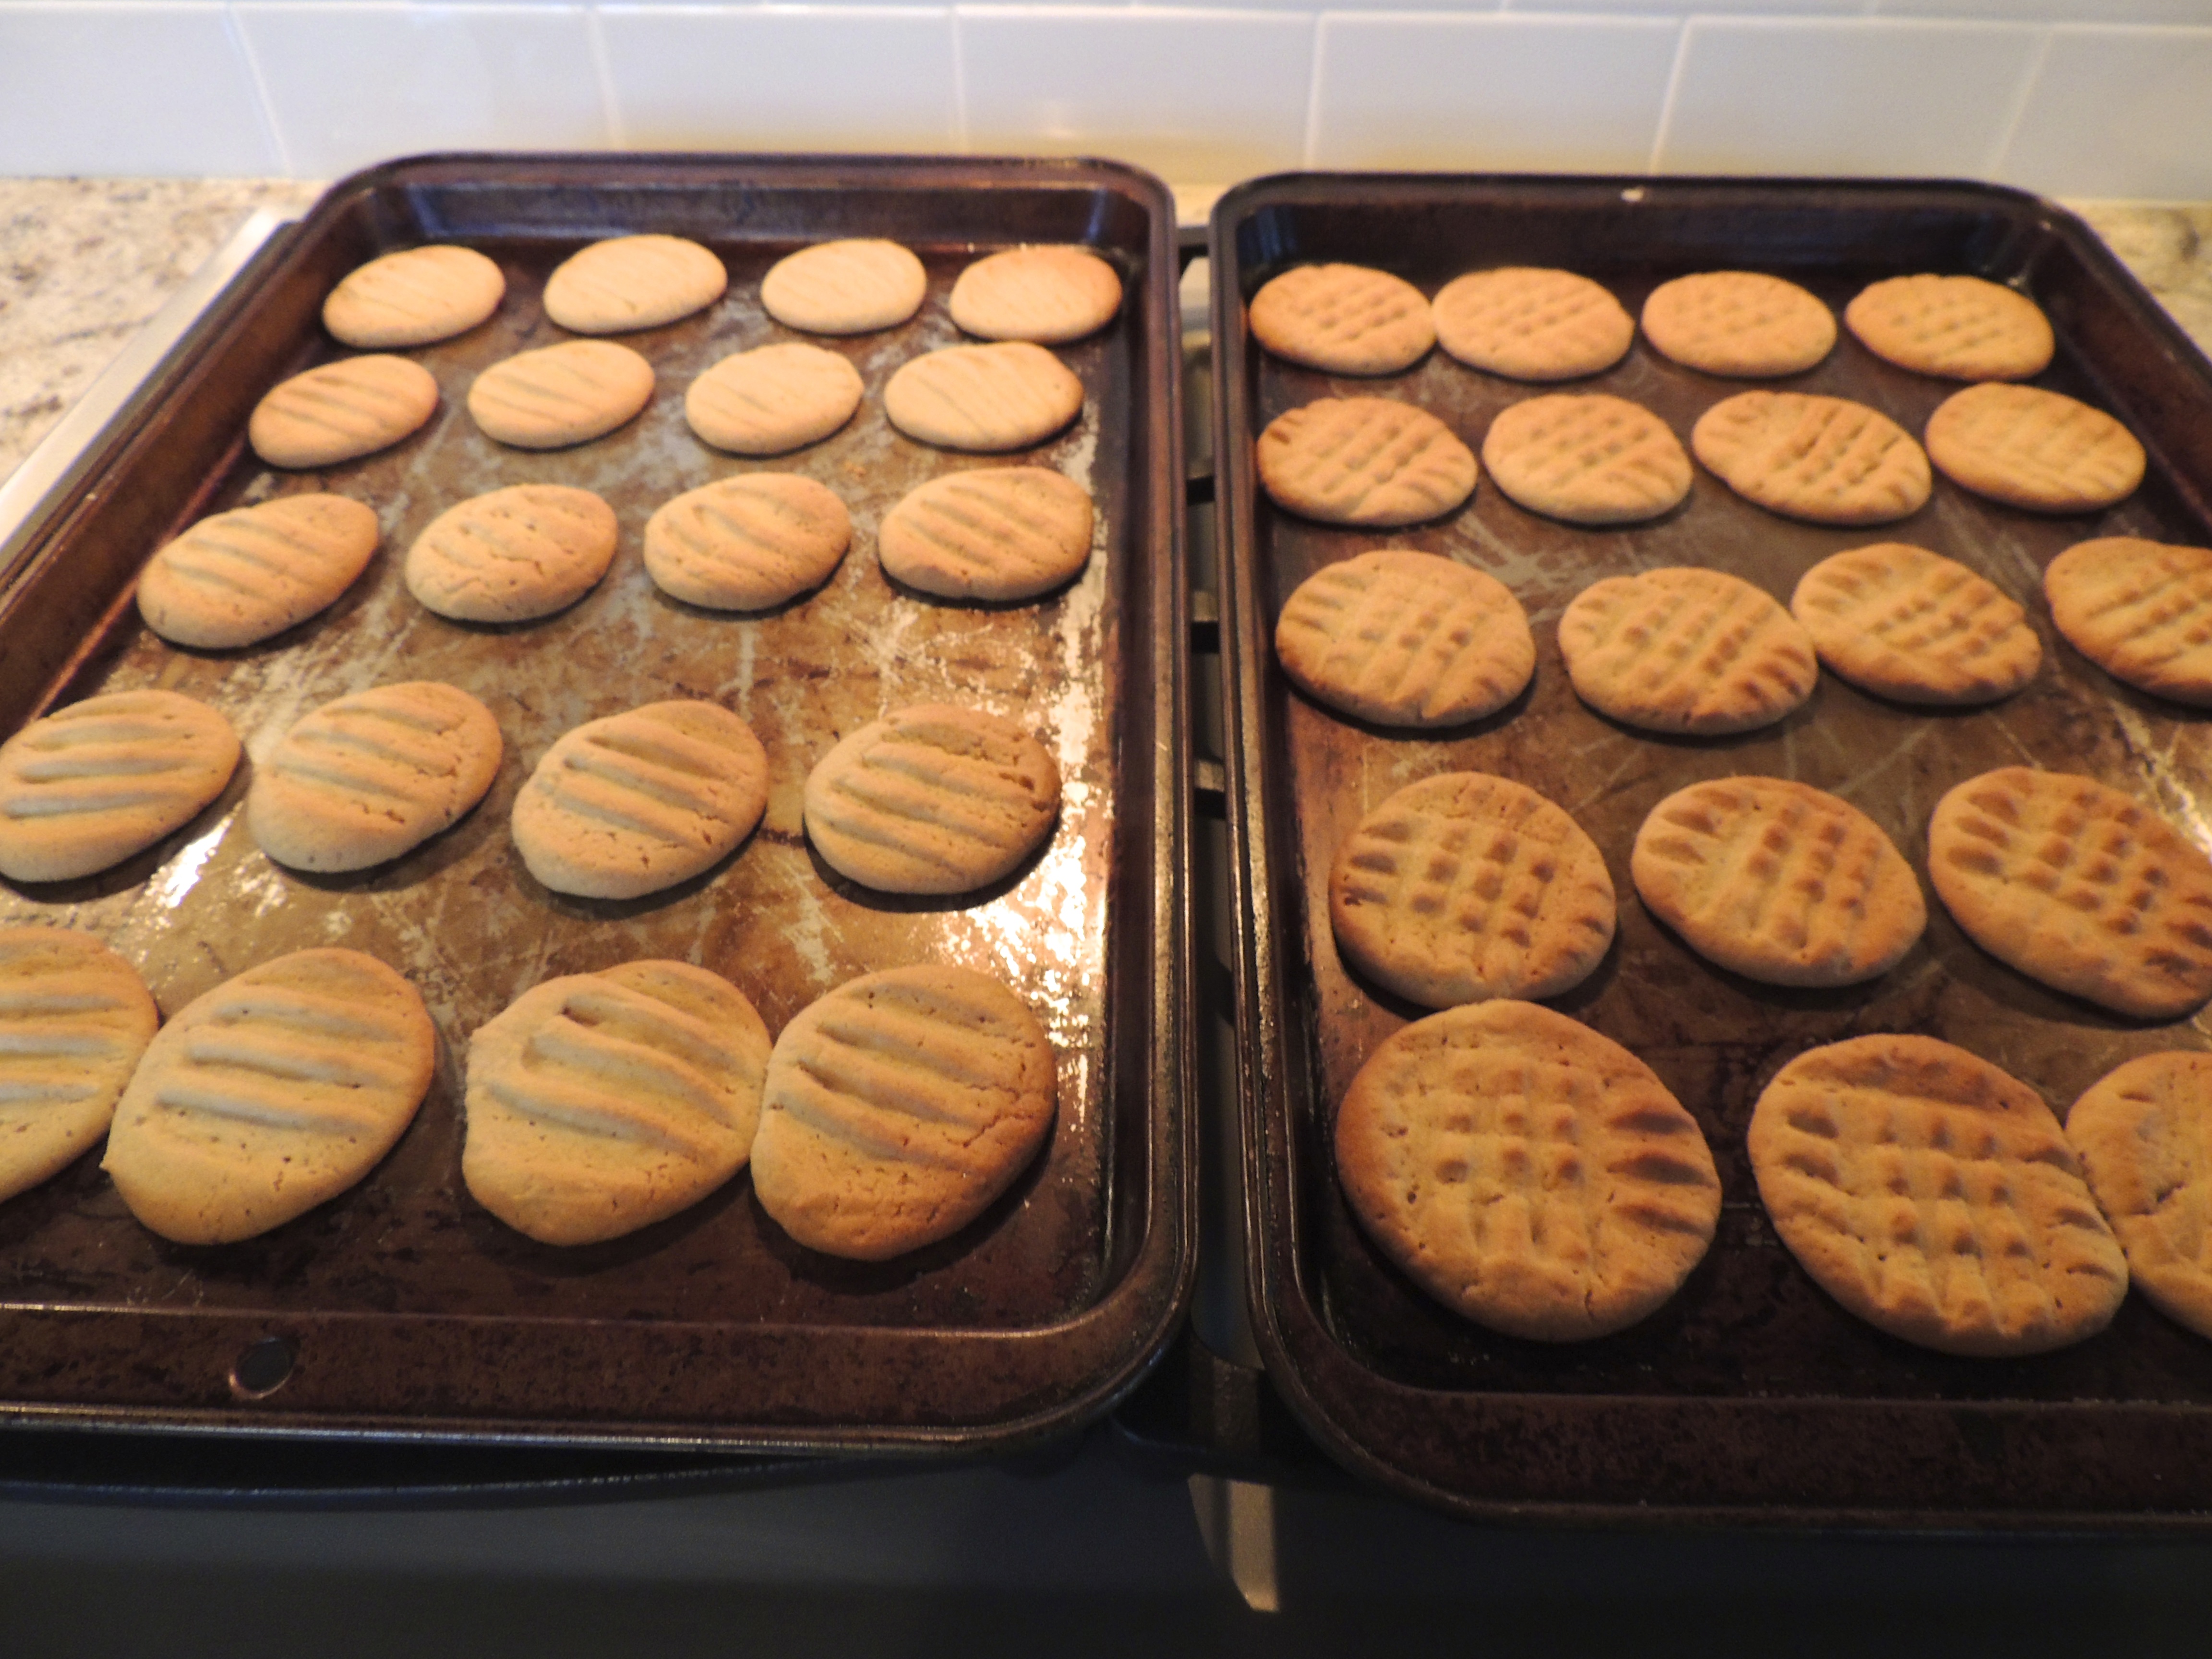
TA DA!
You will not believe how wonderful these smell!
TO FREEZE AND BAKE LATER:
Drop by teaspoonful onto cookie sheet, but leave room between them!
This recipe makes a lot of cookies (nearly 6 dozen). So I am sure to share and freeze some so that we don’t end up eating them ALL. To freeze, drop by teaspoonful onto cookie sheet then roll into balls leaving enough space between each cookie to “breathe” (allowing them to freeze).
Cover!
Then wrap in wax paper and then plastic wrap. For some reason I forgot the wax paper this time. No big deal… wrap them up good and put in the freezer several hours until they are frozen and hard.
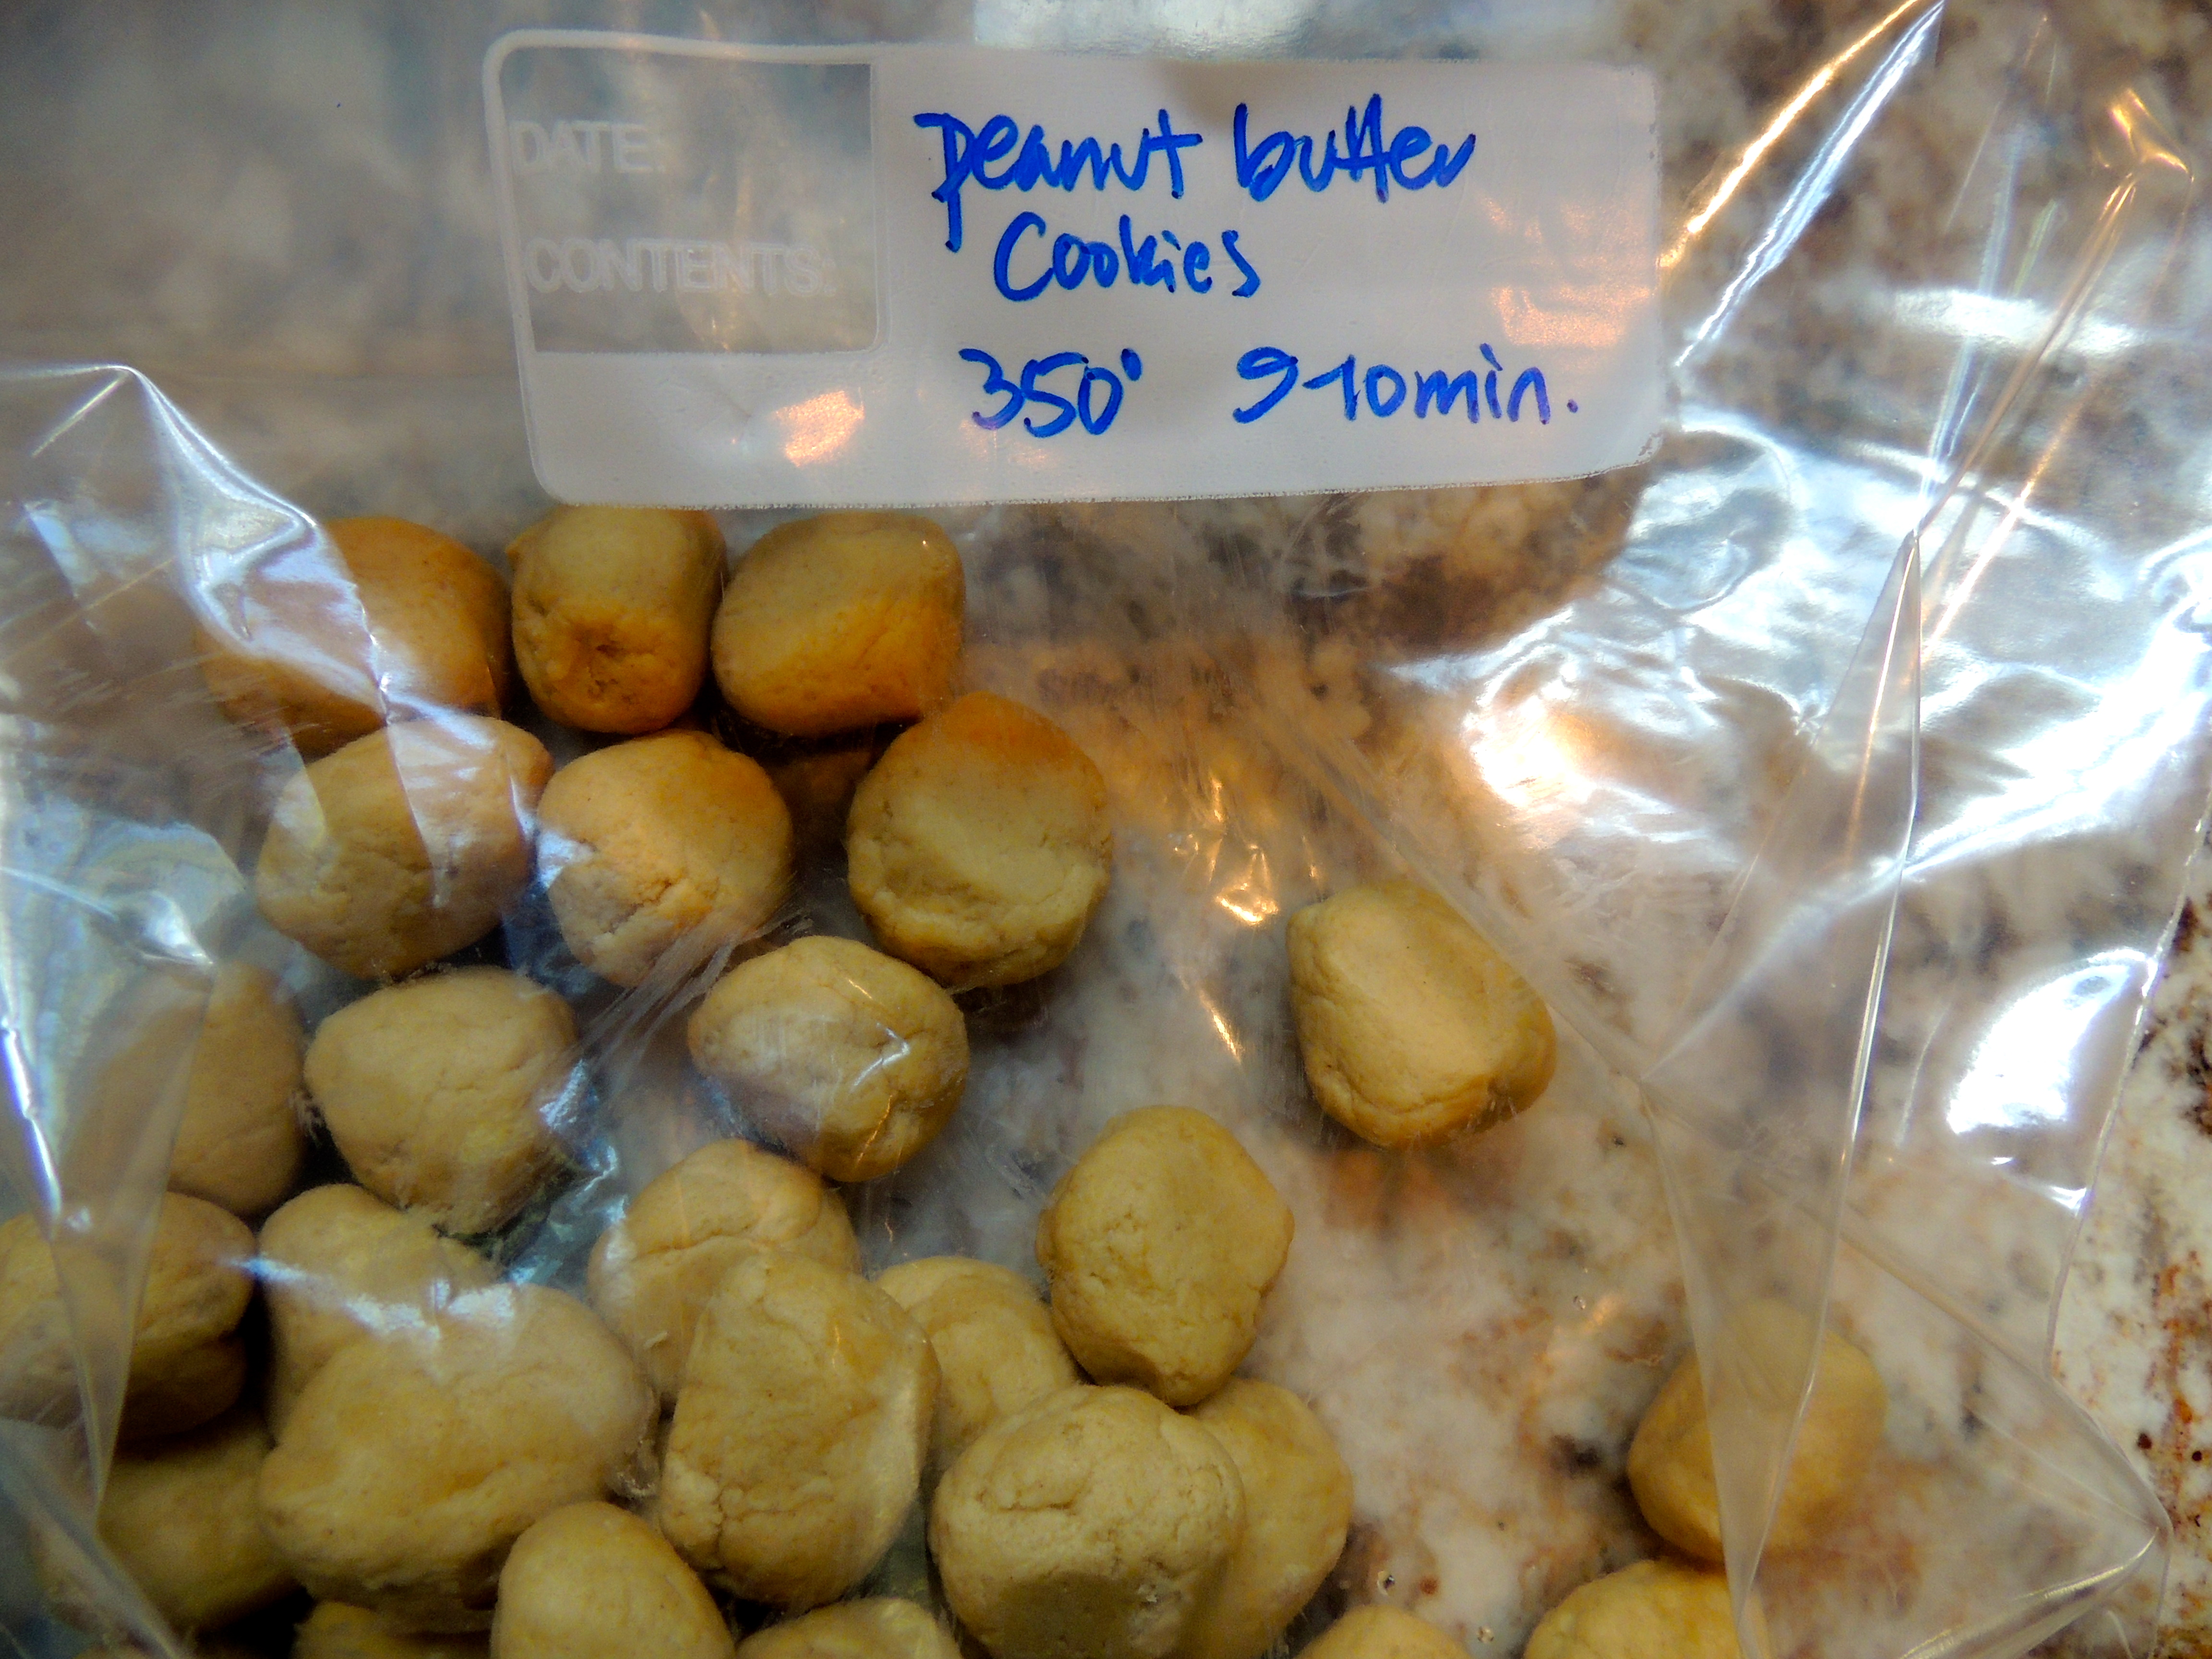
Don’t forget to label!
Once they are frozen toss them into a zip top freezer bag and be sure to label. I like to add directions for baking as well so I don’t have to look it up! To bake after freezing: place on a cookie sheet and wait until they defrost (doesn’t take too long) (you need to press with a fork dipped in water and you can’t do this when they’re frozen). Then bake at 350 degrees F for 10 minutes!
ENJOY! I think these will quickly become a favorite!!
Growing up we had a tradition in our house… Christmas cookies… bake them and decorate. There was nothing better! To top it off they are the tastiest you will ever eat! The frosting sets so they don’t get smushed into each other. You don’t need any special tools (we use zip top storage bags). Make and bake the cookies. Then make the frosting. Scoop some of the “white” into a zip top bag, then divide the frosting into bowls of whatever other colors you like. (Red, green and blue is what we usually did, in addition to white). Add food coloring to each bowl and get it the color you like. A good “grinch” green mix blue and yellow food coloring until you hit that great green… or if you don’t feel adventurous, just use the green food coloring. Next, snip the very corner of the bag, and the frosting will flow through that to decorate. Easy and so much fun. You really see the artsy folks stand out here! Click HEREto print the recipe minus all the photos, etc.
Decorate however you like, neat, messy, in whatever colors you create!
CHRISTMAS BUTTER COOKIES
Sift 2 3/4 cups of flour, 1 teaspoon baking powder and 1/2 teaspoon of salt.
In mixer bowl add 3/4 cup soft butter, 1 cup sugar, 2 eggs, 1 teaspoon vanilla.
Beat until fluffy and light. Slowly beat in flour mixture. CHILL ONE HOUR.
Flour your work surface and roll out dough. Use cookie cutters to cut into desired shapes.
Place on ungreased cookie sheet. Bake at 375 degrees for 8-10 minutes.
YIELD: 4 dozen (IF you don’t eat the dough… good luck to ya!)
FROSTING
Mix 1/4 cup butter, 4 cups (1 box) confectioner’s sugar, 1/4 cup scalded cream and 1 teaspoon vanilla. Blend until smooth. Scoop into separate bowls and add food coloring (hint: yellow and blue mixed makes an awesome ‘grinch’ green). Scoop colored frosting into Ziplock bag (doesn’t have to be Ziplock, any zip top is fine, I use freezer quart size bags) and snip a little off the corner. Squeeze onto cookie to decorate! If you need the frosting thinned a bit more, I have great luck just using light cream, add a little at a time until it will easily come out of the bag to decorate.
Whenever I make these cookies and take them somewhere, people go nuts! Seriously… These are too good, and when I give out the recipe, NO ONE can believe they’re “light”. This recipe is from Cooking Light magazine. Make no mistake, part of what makes them so light is the serving size (one). With 81 calories, 3 grams of fat, 1.4 gm saturated fat, and 0.5gm fiber you have to be careful to not eat more than one (or two), but if you exercise a lot and can burn off what you eat… by all means, have at it! I love the cookie dough (I’m aware of the safety issues… to me, the dough is worth risking my life for taking a wee bit of a risk… I’m happy to report that in my little world there is no calorie content in the dough UNTIL IT IS BAKED… (and if you believe that I have swamp land, I mean a deep water lot for sale, hee hee).
I do make a few modifications, ALTHOUGH they’re perfectly fine as the recipe indicates. Here are some of the changes I’ve made throughout the years.Leave out the brown sugar. OOPS… it happened once and I thought they turned out BETTER. But the difference between it being there and NOT being there is barely noticeable (therefore why waste the extra calories?).I use regular chocolate chips instead of mini. I didn’t care for the mini chips, they were, ahhhh, TOO MINI… I like a hefty bite of chocolate not a tiny smear where you THINK you may have just gotten chocolate (or maybe not)…I usually use walnuts and I don’t always toast them. One reason, I’m almost always in a hurry. Another reason, I forget about them until I smell them burning. Soooo, since nuts are good for you I use a generous amount, usually a few handfuls. Same with chocolate chips… I put a few handfuls… I buy good chocolate chips, free of allergy causing soy and other miscellaneous ingredients that takes away from the flavor of the chocolate. I also use dark chocolate chips…I usually (not always) make the cookies SMALLER. I like them bite size. No crumbs that way, boy do I have things figured out or what? You just have to watch them closely because they won’t always take as long to bake. I think you tend to eat less when you think, HAVE I JUST EATEN FIVE COOKIES? When in reality it was probably 2.5… a way I mess with myself, ha ha…Lastly, I use a Silpat cookie sheet liner instead of parchment, but either way it’ll work just fine! Give these a whirl, I do believe they’ll quickly become your favorite! Click HERE for the recipe from MyRecipes.com where you can easily print (as well as see the full info on nutritional info) or see below…
Oatmeal, Chocolate Chip, and Pecan Cookies
These easy drop cookies are crisp on the outside and slightly chewy on the inside. Chocolate minichips disperse better in the batter, but you can use regular chips.
YIELD: 3 dozen (serving size: 1 cookie)
Ingredients
1 1/4 cups all-purpose flour (about 5 1/2 ounces)
1 cup regular oats
3/4 teaspoon baking powder
1/2 teaspoon baking soda
1/2 teaspoon salt
3/4 cup granulated sugar
1/2 cup packed brown sugar
1/3 cup butter, softened
1 1/2 teaspoons vanilla extract
1 large egg
1/4 cup chopped pecans, toasted
1/4 cup semisweet chocolate minichips
Preparation
Preheat oven to 350°.
Lightly spoon flour into dry measuring cups; level with a knife. Combine flour and next 4 ingredients (through salt), stirring with a whisk; set aside.
Place sugars and butter in a large bowl; beat with a mixer at medium speed until well blended. Add vanilla and egg; beat until blended. Gradually add flour mixture, beating at low speed just until combined. Stir in pecans and minichips. Drop dough by tablespoonfuls 2 inches apart onto baking sheets lined with parchment paper. Bake at 350° for 12 minutes or until edges of cookies are lightly browned. Cool on pans 2 minutes. Remove cookies from pans; cool on wire racks.
Julianna Grimes and Ann Taylor Pittman, Cooking Light
DECEMBER 2007